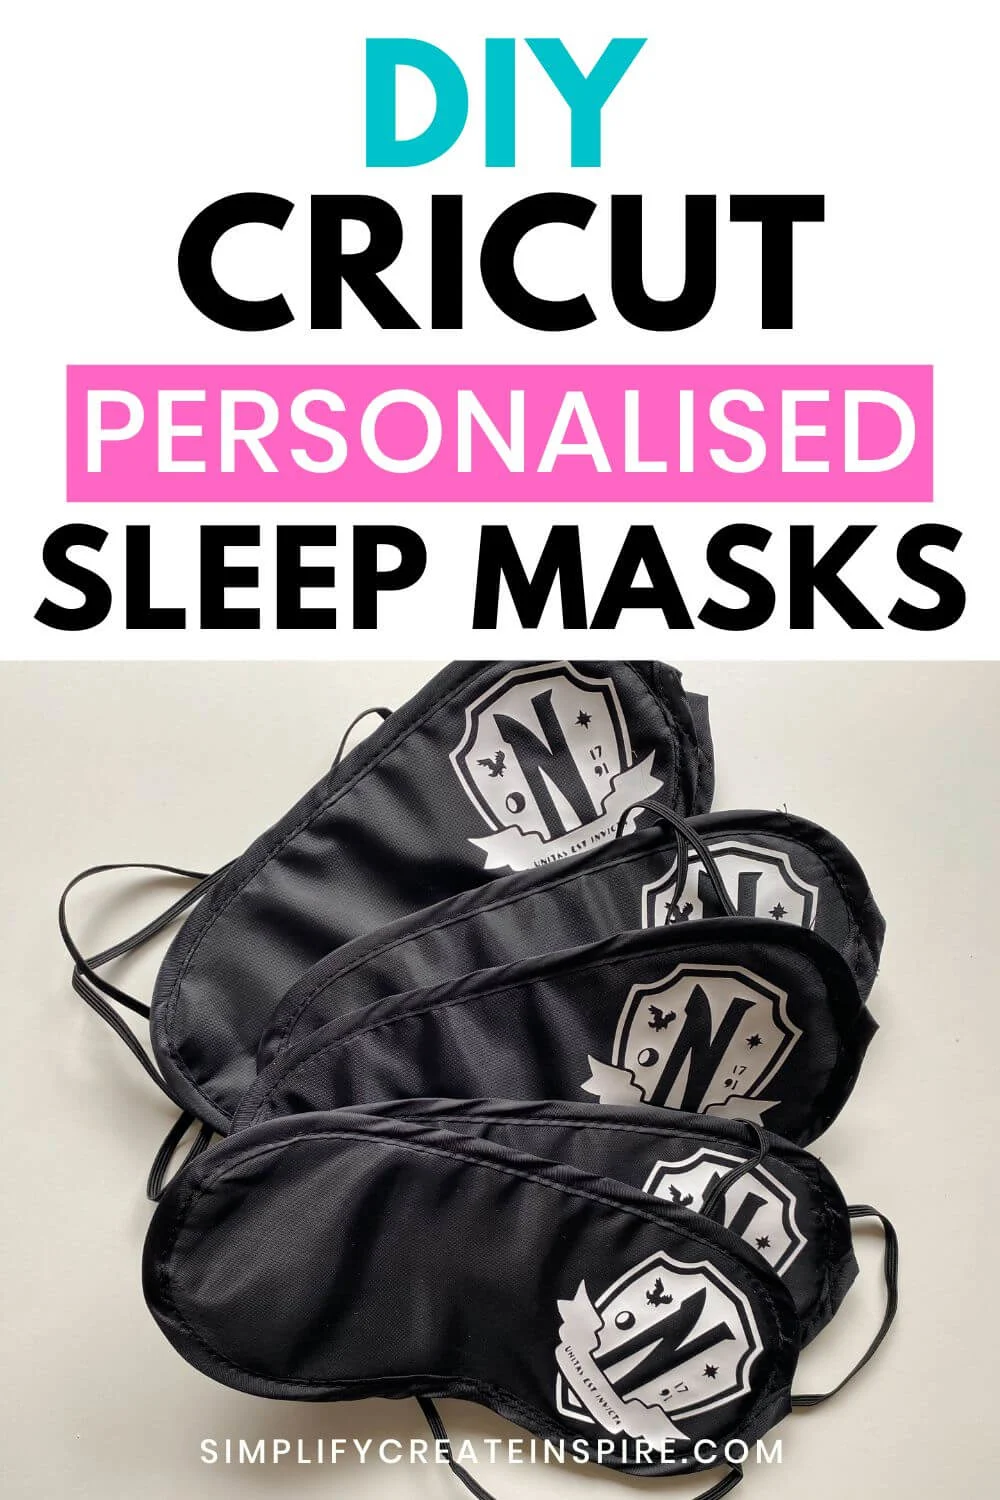
You can easily create personalised DIY sleep masks using your Cricut! These Wednesday party favours were so easy to make using the Cricut Joy. Best of all, you can make these personalised sleeping masks for any occasion and theme!
This step-by-step tutorial will show you how to make your own custom sleep masks.
Personalised Sleeping Masks: The Perfect Party Favour
Personalising sleep masks with Cricut using heat transfer vinyl is an easy Cricut beginner project and a great option if you’re looking for affordable DIY party favours.
You can make them for birthday parties, hen parties, bridal showers… any occasion!
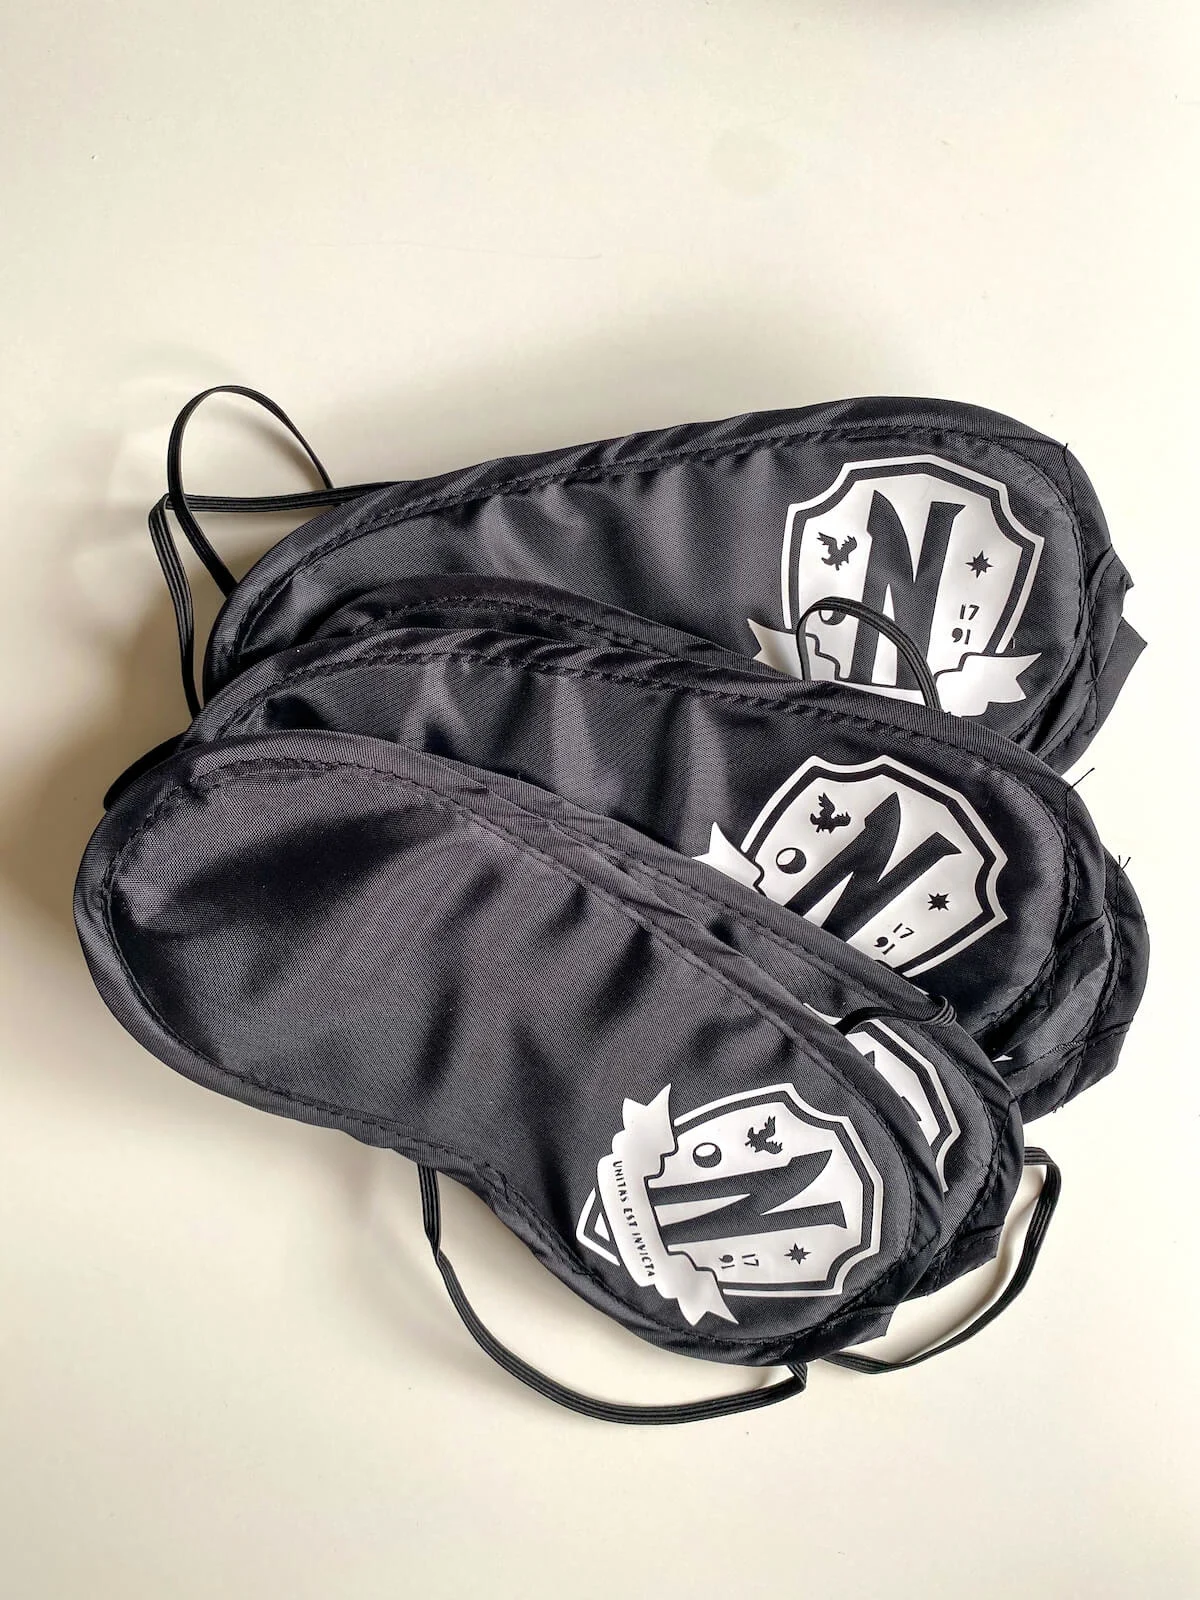
I made these sleeping masks as party favours for my daughter’s Wednesday-themed slumber party. They each have the Nevermore Academy symbol for my Wednesday-obsessed daughter and her friends.
These DIY eye masks are the perfect slumber party favour and being able to DIY them makes them affordable and fun!
Best of all, you can make them on any Cricut machine (or other vinyl-cutting machine), including the small but mighty Cricut Joy!
RELATED: Non-Candy Party Favour Alternatives
Watch The Video Tutorial
What You Will Need
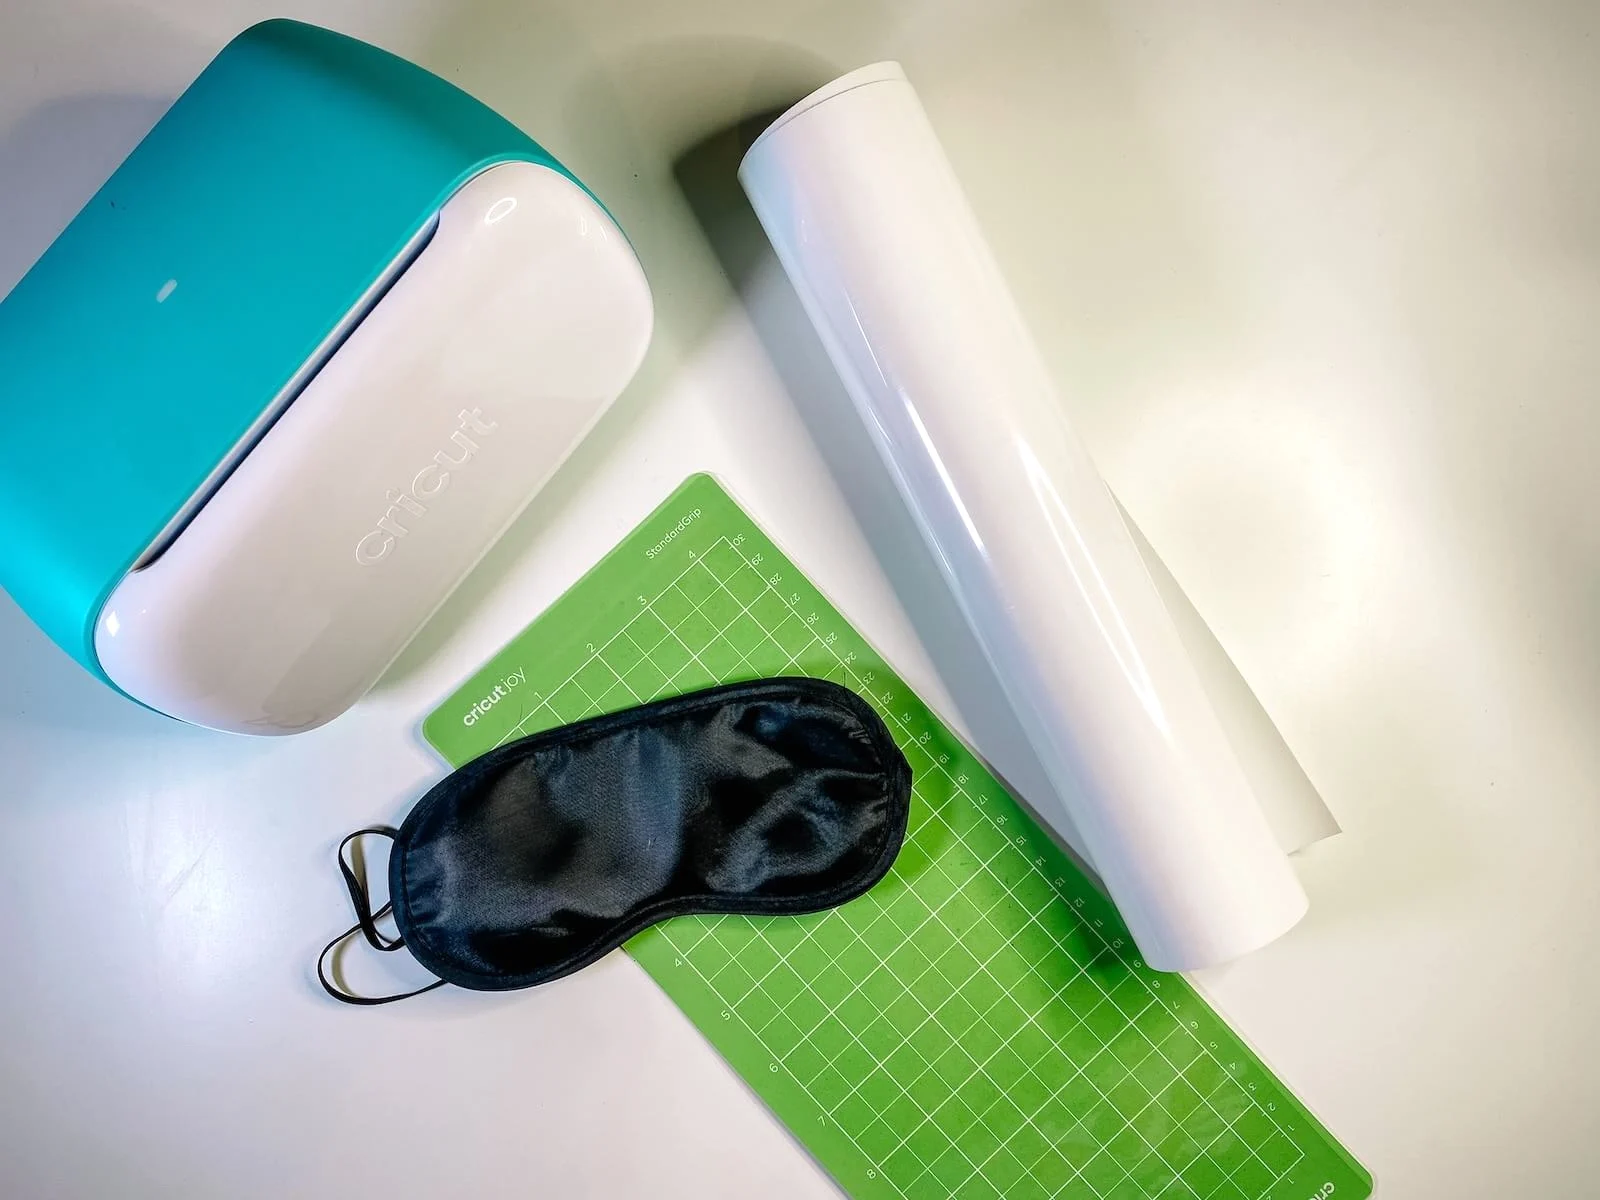
To make your own DIY sleeping mask party favours, you will need the following supplies:
- A vinyl cutting machine – I used my Cricut Joy
- White Iron-on or Heat Transfer Vinyl
- Cricut HeatPress and mat (or household iron)
- Black sleeping masks
- Your chosen SVG file (or create your own design in Cricut Design Space)
How To Make DIY Sleep Masks With Your Cricut
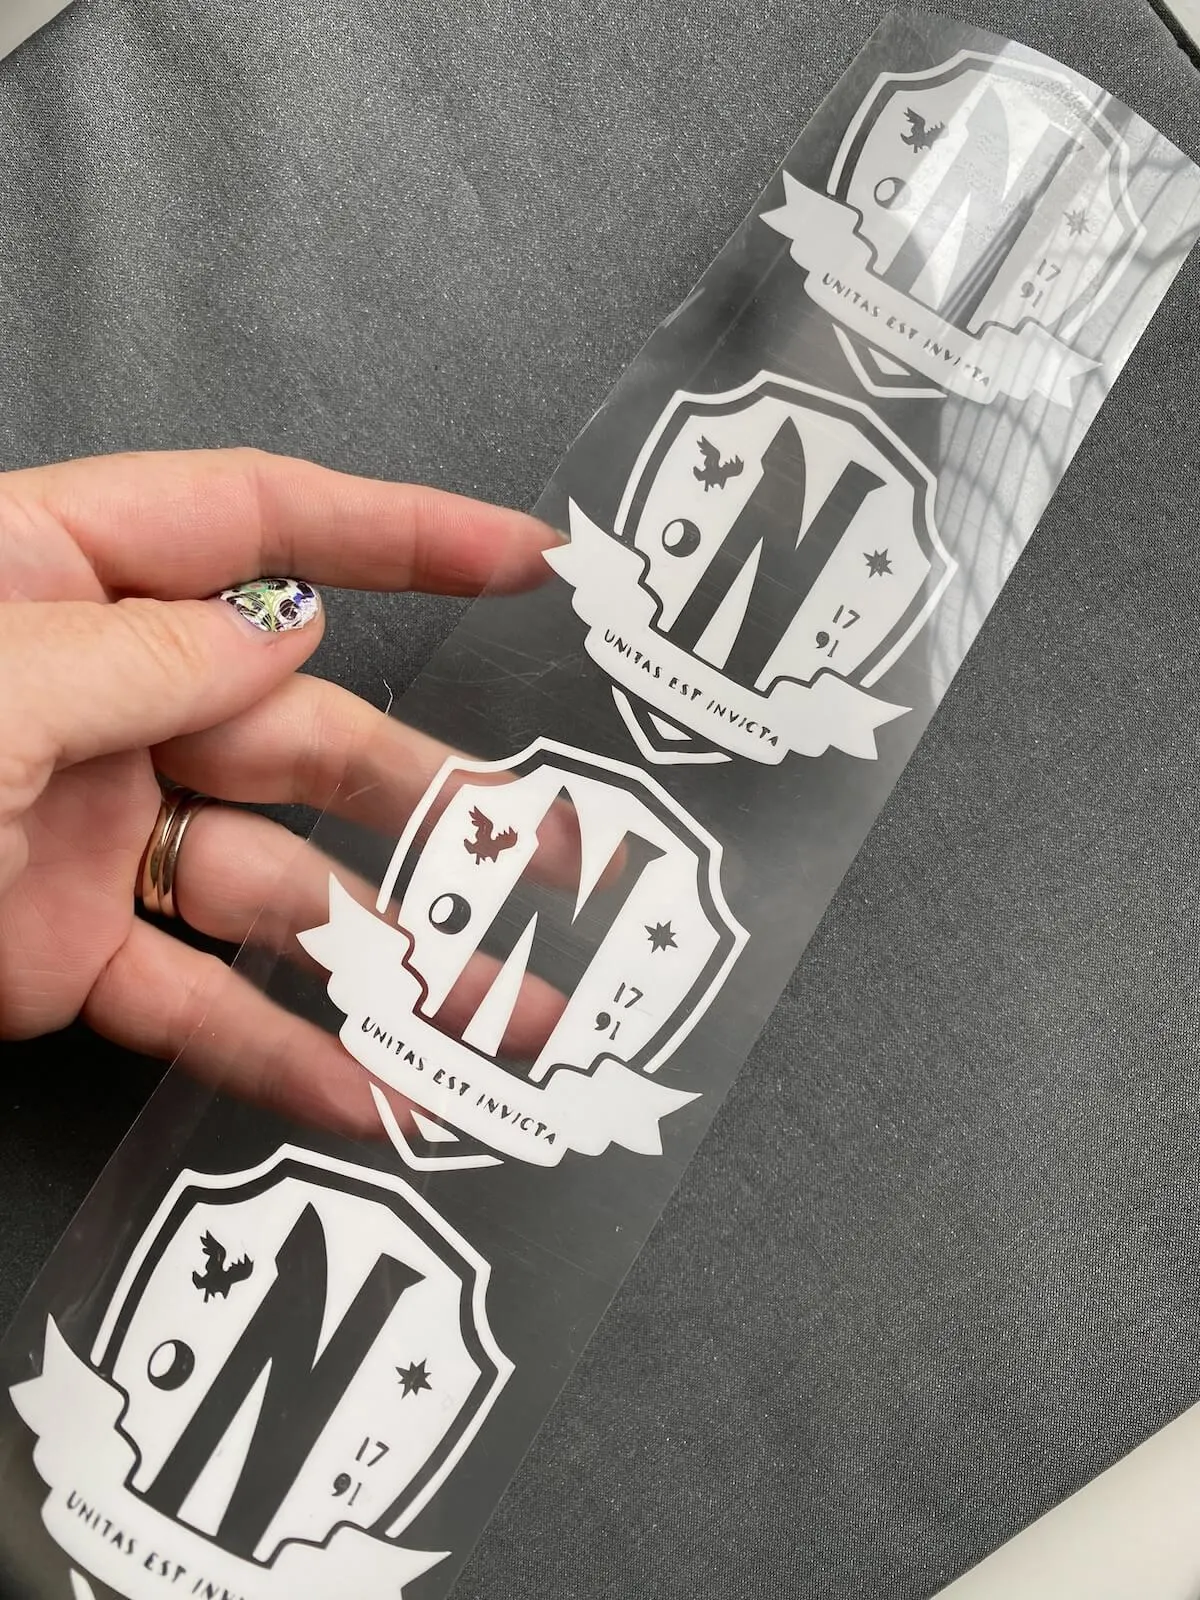
Making your own personalised sleep masks is super easy! You can have a heap done in under half an hour. Wooo! I love a quick Cricut project!
First, open up your Cricut Design Space software and plan out your design. You can do this using either your computer or the Cricut Design Space app on your phone or tablet.
You can use the free images and fonts in Cricut Design Space. If you have a Cricut Access Subscription, this will also give you access to a gazillion other designs and font options.
Otherwise, you can get SVG on Etsy or Creative Fabrica for almost any theme. You can also create your own in Canva and upload it into the Cricut Design Space.
Measure your sleeping mask to determine the maximum size of your design. Resize your design to fit the size.
Once you are happy with your design, you are ready to prepare your Cricut for cutting.
Make sure to choose the ‘Mirror’ option when using HTV to ensure your design doesn’t end up backwards. This is especially important for any designs with text.
Select the type of vinyl you are using – such as standard iron on vinyl or Cricut Smart Iron on (you don’t need a cutting mat if you are using this).
Place your heat transfer vinyl shiny side down on your cutting mat if you are using one. Load up your Cricut and cut your vinyl designs.
Take care to weed the extra vinyl from your backing layer using your weeding hook and cut out your designs.
Applying Your HTV Design
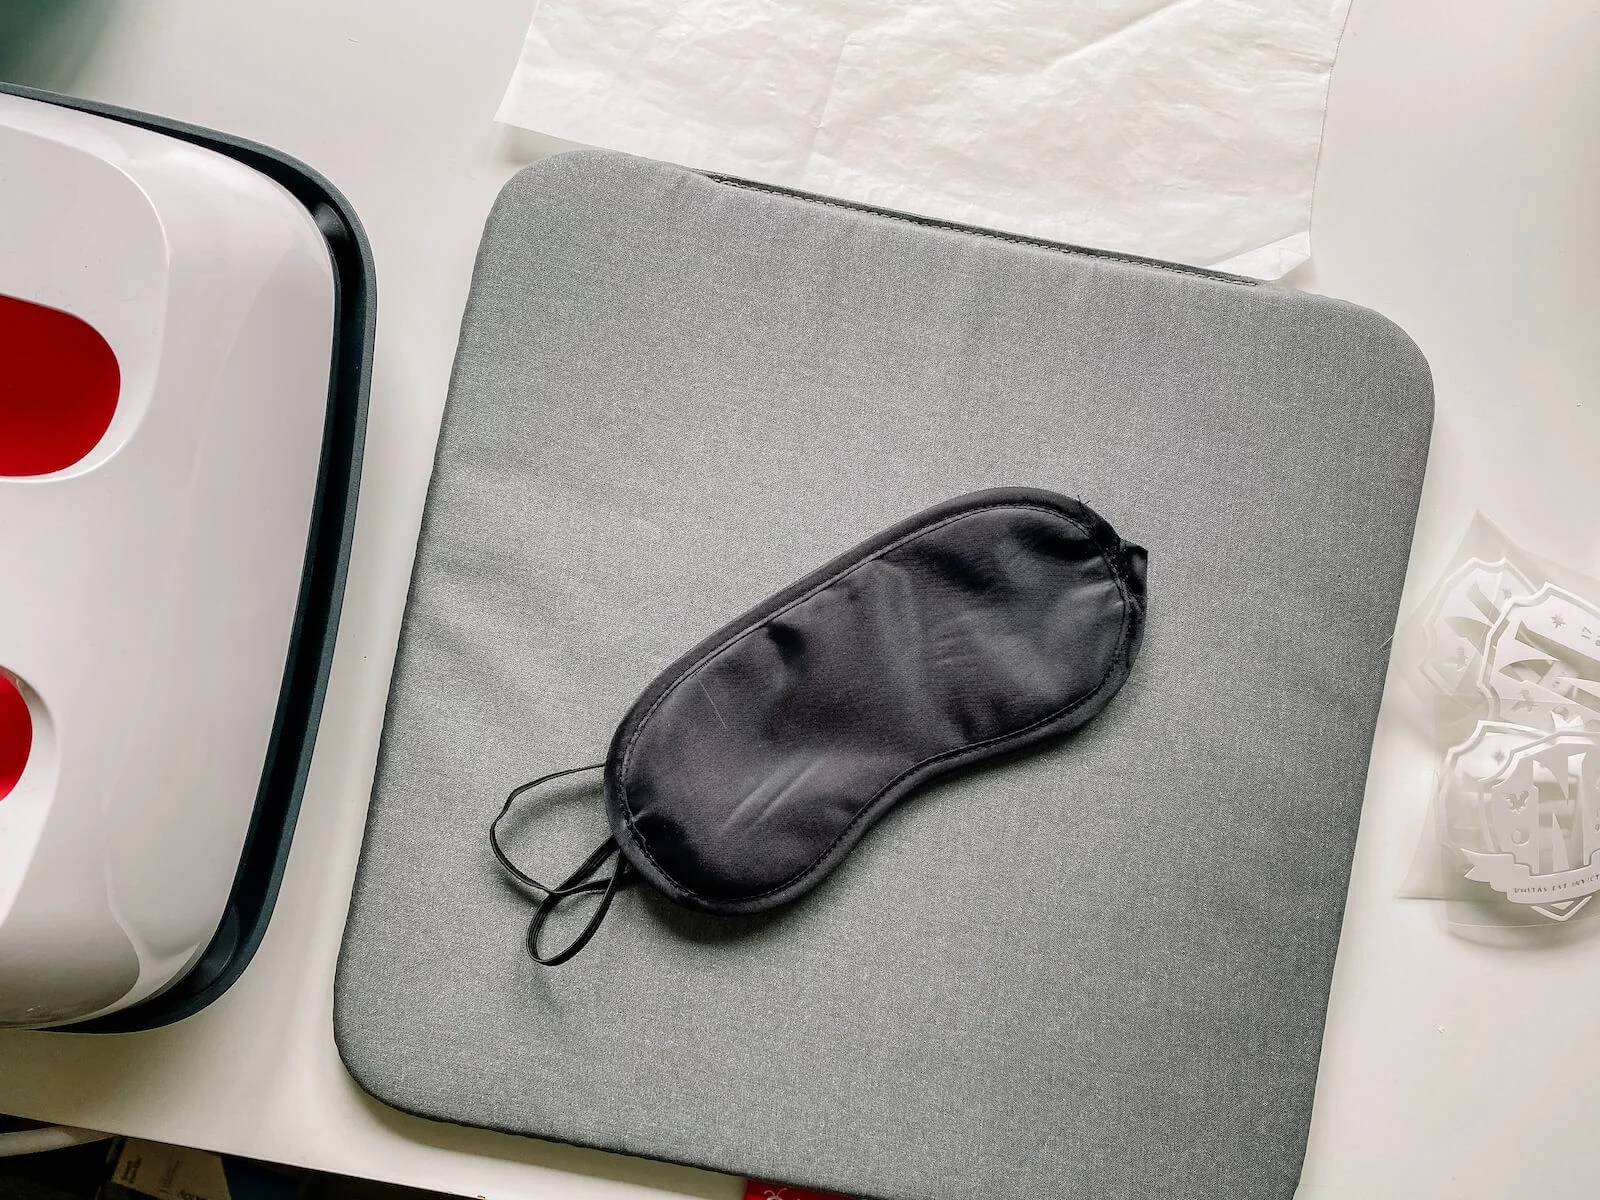
Pre-heat your Cricut EasyPress or iron. Refer to the Cricut heat guide for the ideal settings for temperature and heat times.
Once your machine is ready, place your design where you want it and place a layer of parchment paper over the top.
Place your HeatPress over your design, press the start button to start the timer and apply pressure.
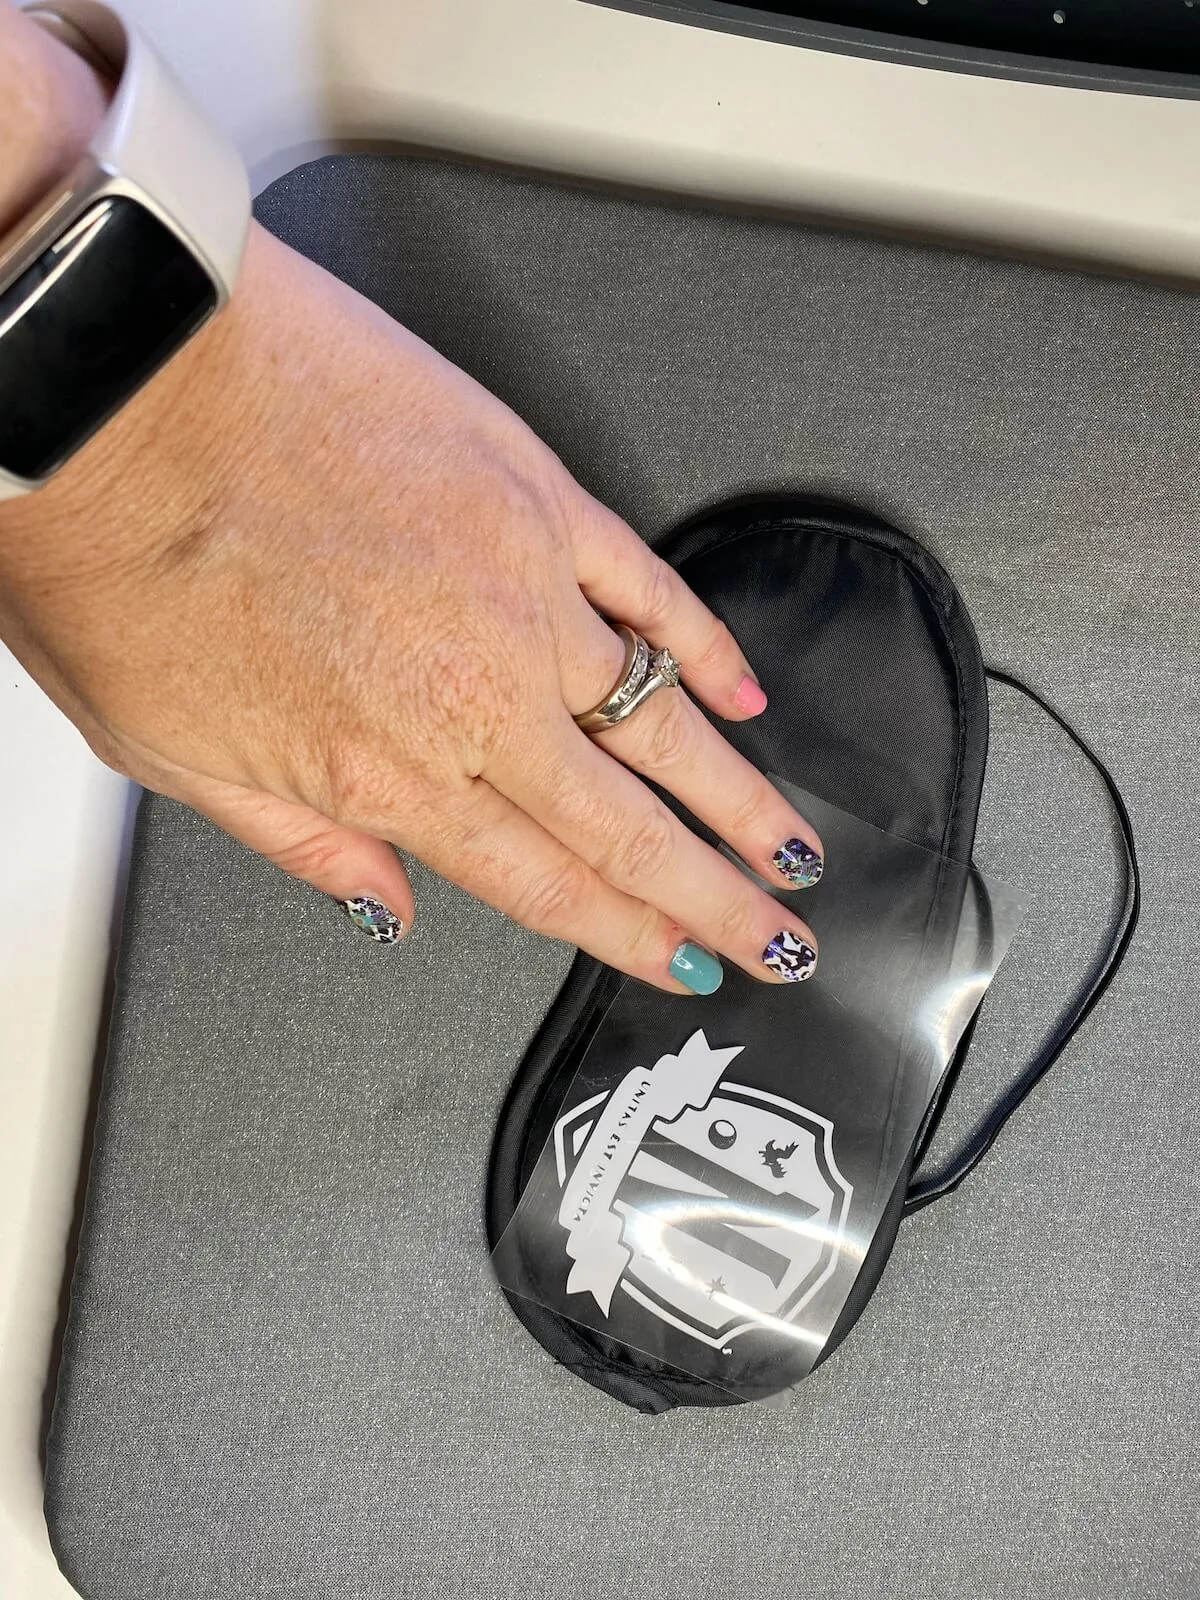
Allow to cool and carefully lift away the backing layer. If your design lifts, repeat the heating process. Some surfaces need a little extra time, however, it’s usually pretty spot-on for satin sleeping masks.
The settings I used were 140C and 20 seconds using the HeatPress 2.
Repeat for any other sleeping masks you are making and you’re done! Cute party favours ready to gift.
Conclusion: Personalised Sleeping Masks
These personalised sleeping masks are adorable and a fun gift idea! Best of all, they are an affordable DIY party favour too. I hope you have enjoyed this tutorial. If you have any questions, drop them in the comments below.
Find more Cricut inspiration:
- Cricut Joy review: Is it worth it?
- Easy Cricut Joy projects for beginners
- Essential Cricut Joy accessories for beginners
- DIY Cricut personalised sleeping masks
- DIY Disney autograph book with Cricut
- Personalised acrylic bookmarks
- No-Sew Disney Cruise Fish Extender Door Hanger
- Personalised acrylic keychains
- Personalised Cricut koozies
- Cricut Tic Tac Toe Bags
