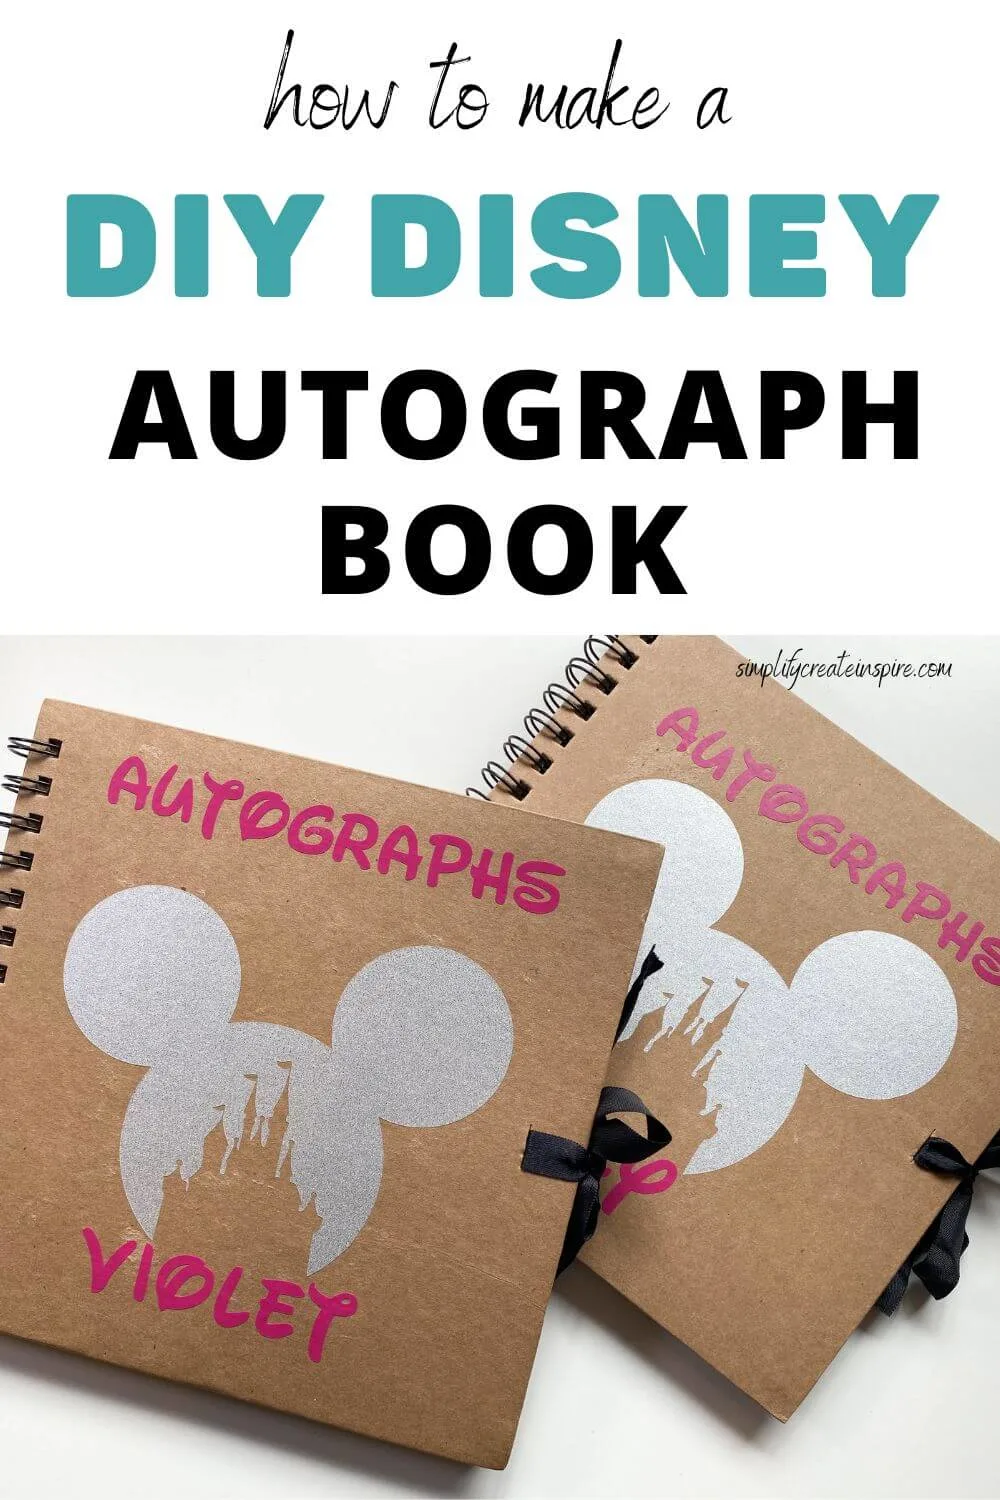
If you’re planning a Disney trip soon, making your own DIY Disney autograph book is a great way to save a few dollars… since we all know how expensive a Disney trip can be! This tutorial shares how to personalise a basic scrapbook into your very own DIY autograph book memento.
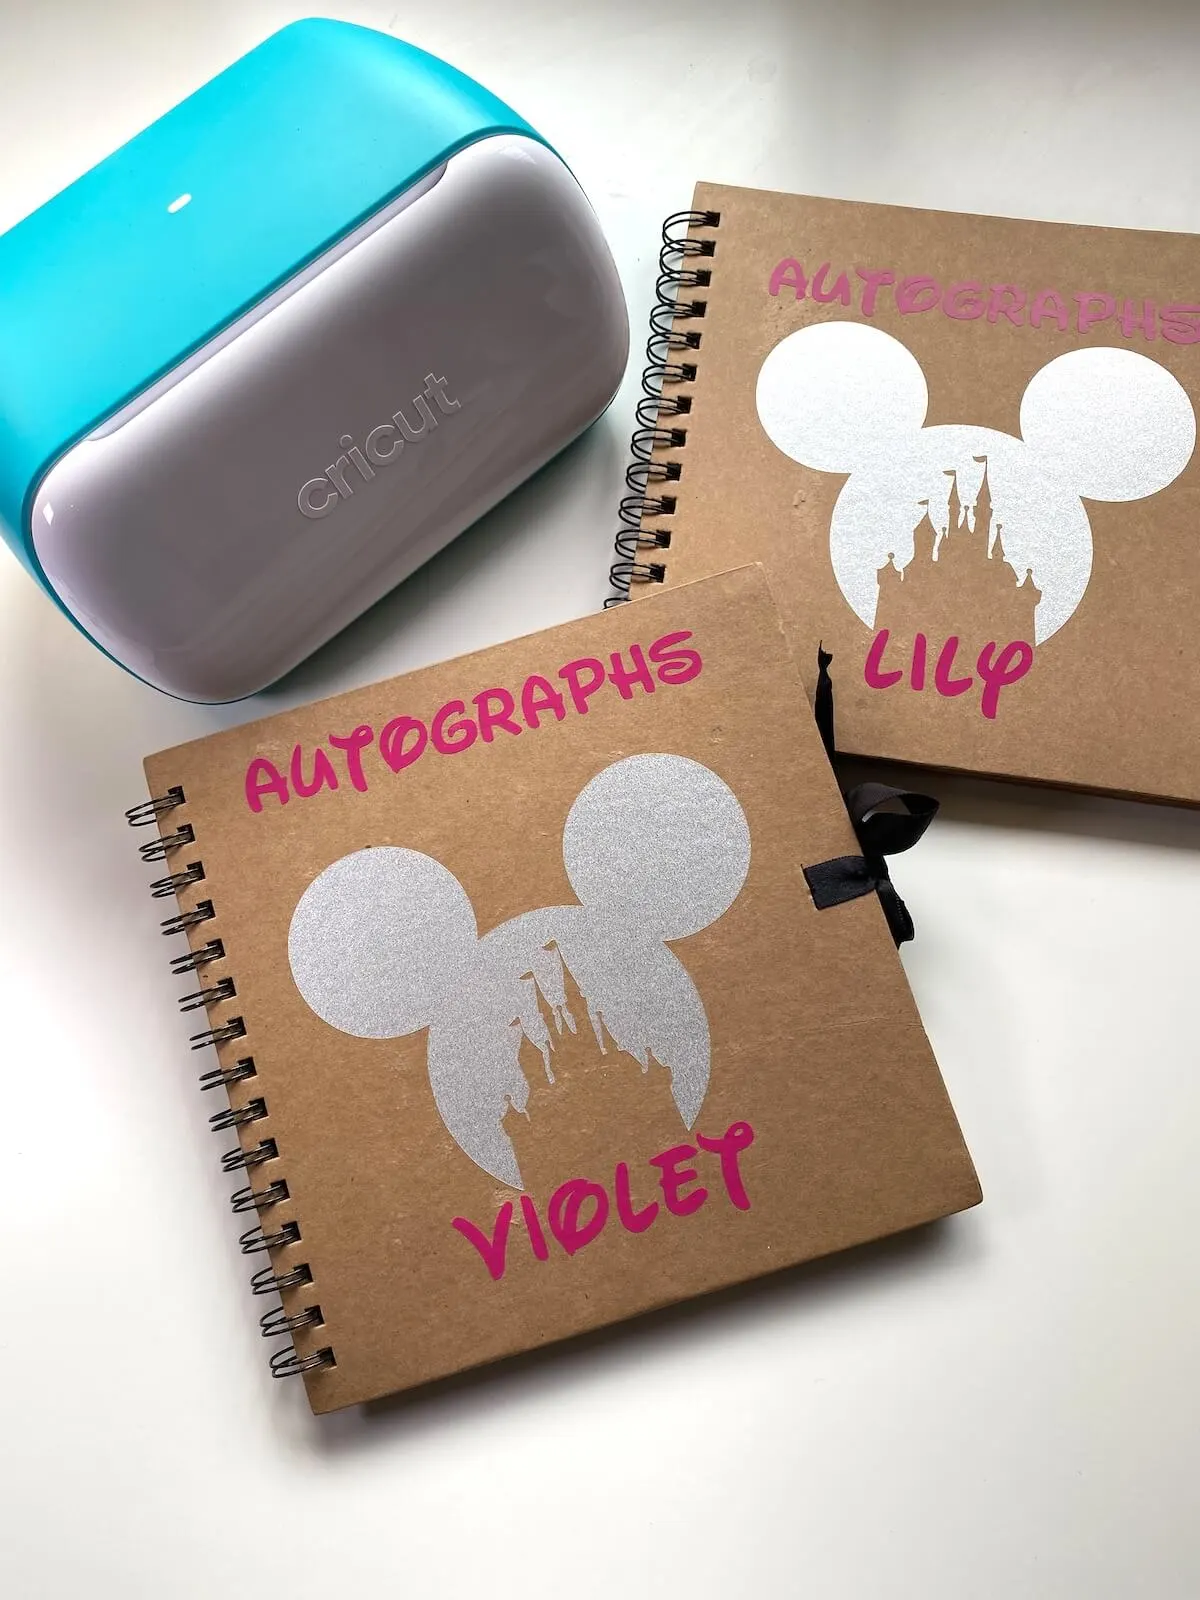
What Is A Disney Autograph Book
A Disney autograph book is a must-have souvenir for any Disney trip. It is a book designed to collect the signatures of Disney characters that you encounter during your visit to any of the Disney Parks.
Or in our case when making these DIY signature books, for your Disney cruise experience.
You can purchase pre-made Disney autograph books at the Disney Parks and online, but making your own can be a lot of fun.
These autograph books hold a special significance as they capture the memories of meeting beloved Disney characters and add a personal touch to your Disney experience.
Creating your own DIY Disney autograph book adds an extra element of fun and personalisation to your trip. Not only does it save you money, but you can also choose the size and type of book to use.
How To Make Your Own DIY Disney Autograph Book With A Cricut
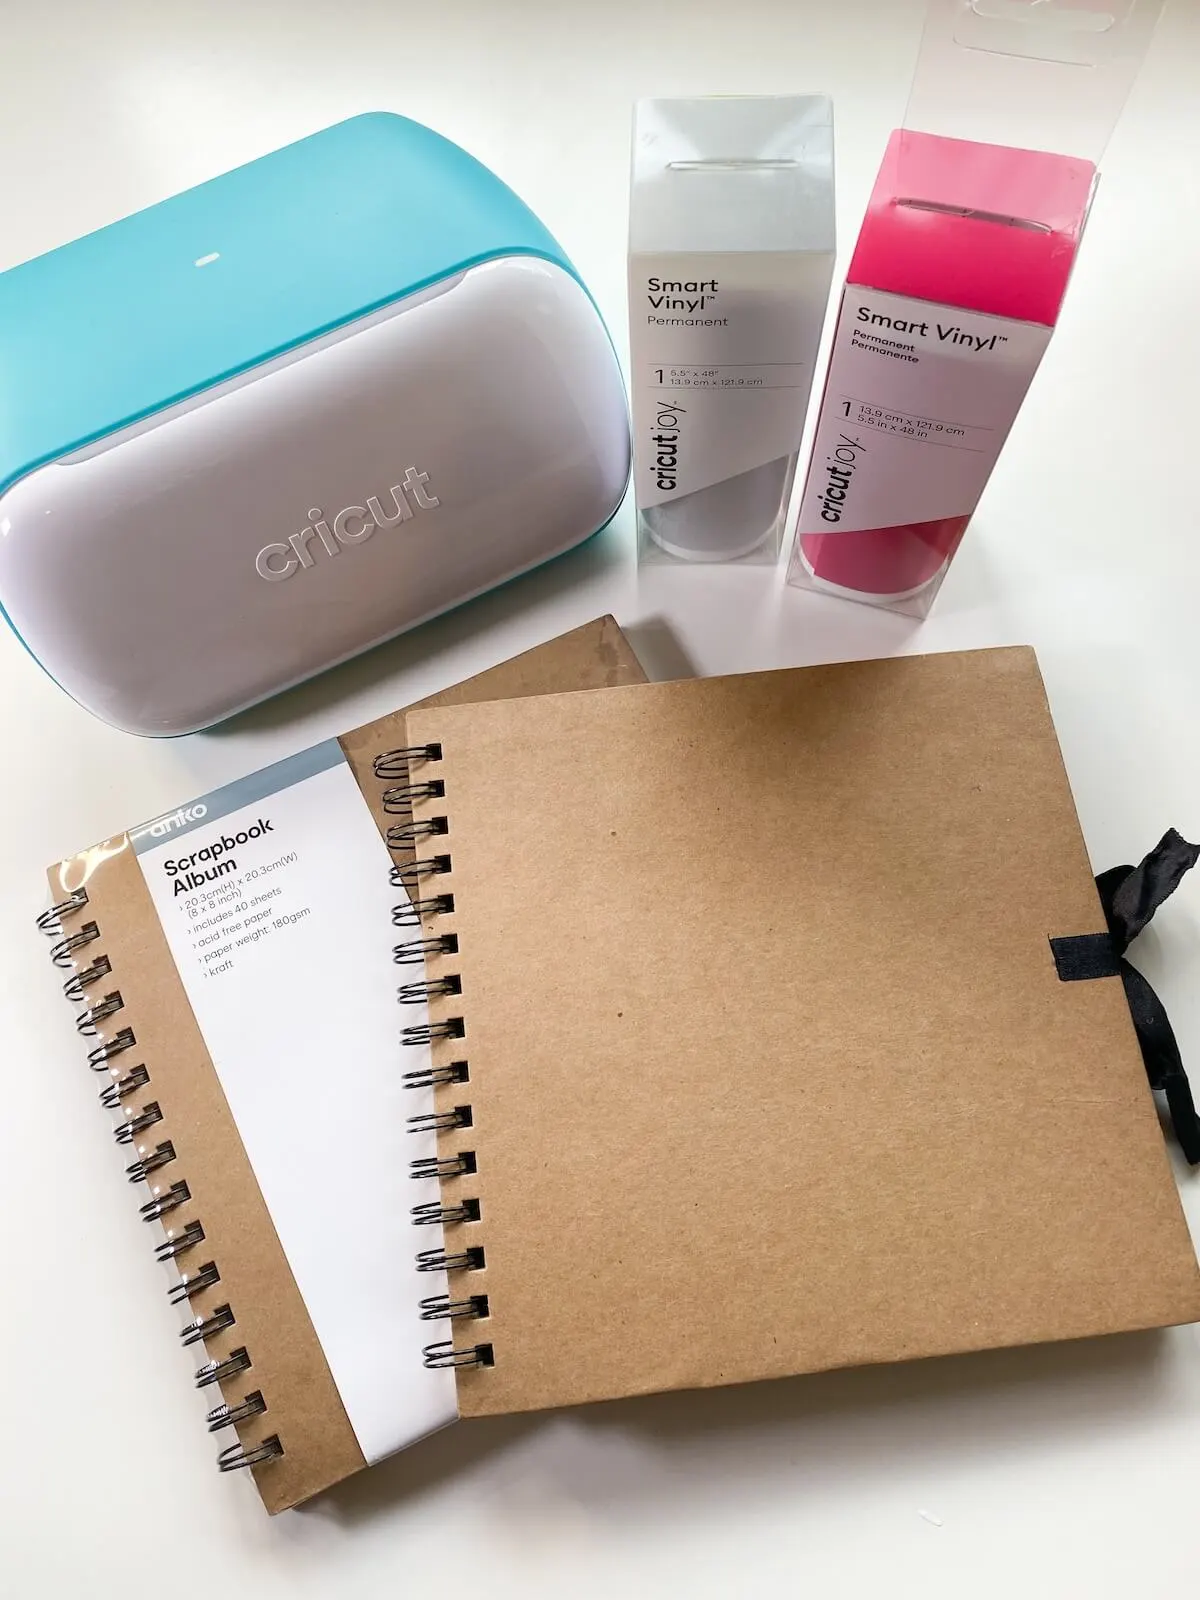
To make your own personalised autograph book, you will first need your supplies. For this tutorial, I have used my Cricut Joy vinyl cutting machine to personalise my books, however, this isn’t essential.
You can also use a variety of other materials, which I will share below.
What You Need to Create Your Own Autograph Book:
- A hard-cover scrapbook
- A Cricut machine – I used my Cricut Joy
- Permanent vinyl – I used silver & pink
- Transfer tape
The scrapbooks I found to make these autograph books were from Kmart Australia. They were just $4 and they have hard covers and thick kraft scrapbook pages. I also loved the fact they were spiral bound and had the ribbon tie for an extra detail.
You can get similar scrapbooks like this one. This one is actually super cute with the edge detail and it comes in several colours.
The other reason I chose this book is the fact that the pages are unlined and they are thicker than notebook paper. This means the kids can also add photos next to the autographs of the characters they meet.
For my cover, I used 2 different types of vinyl – Cricut Smart Vinyl in Party Pink and Cricut Smart Vinyl in Silver. The silver permanent vinyl is glitter.
In hindsight, I would recommend you choose standard vinyl instead of glitter as the glitter requires a strong grip transfer tape which isn’t ideal on a cardstock cover. However, it does look really pretty with the shimmer!
Designing Your Cover
You can design your autograph book cover in the Cricut Design Space software, using the free shapes and images or if you have a Cricut Access subscription, this gives you even more options. There are some Disney-licensed files depending on where you live… but not available for us here in Australia.
Alternatively, you can upload SVG files into Cricut Design Space.
There are some really cute Disney SVG files on Etsy, or design your own in Canva.
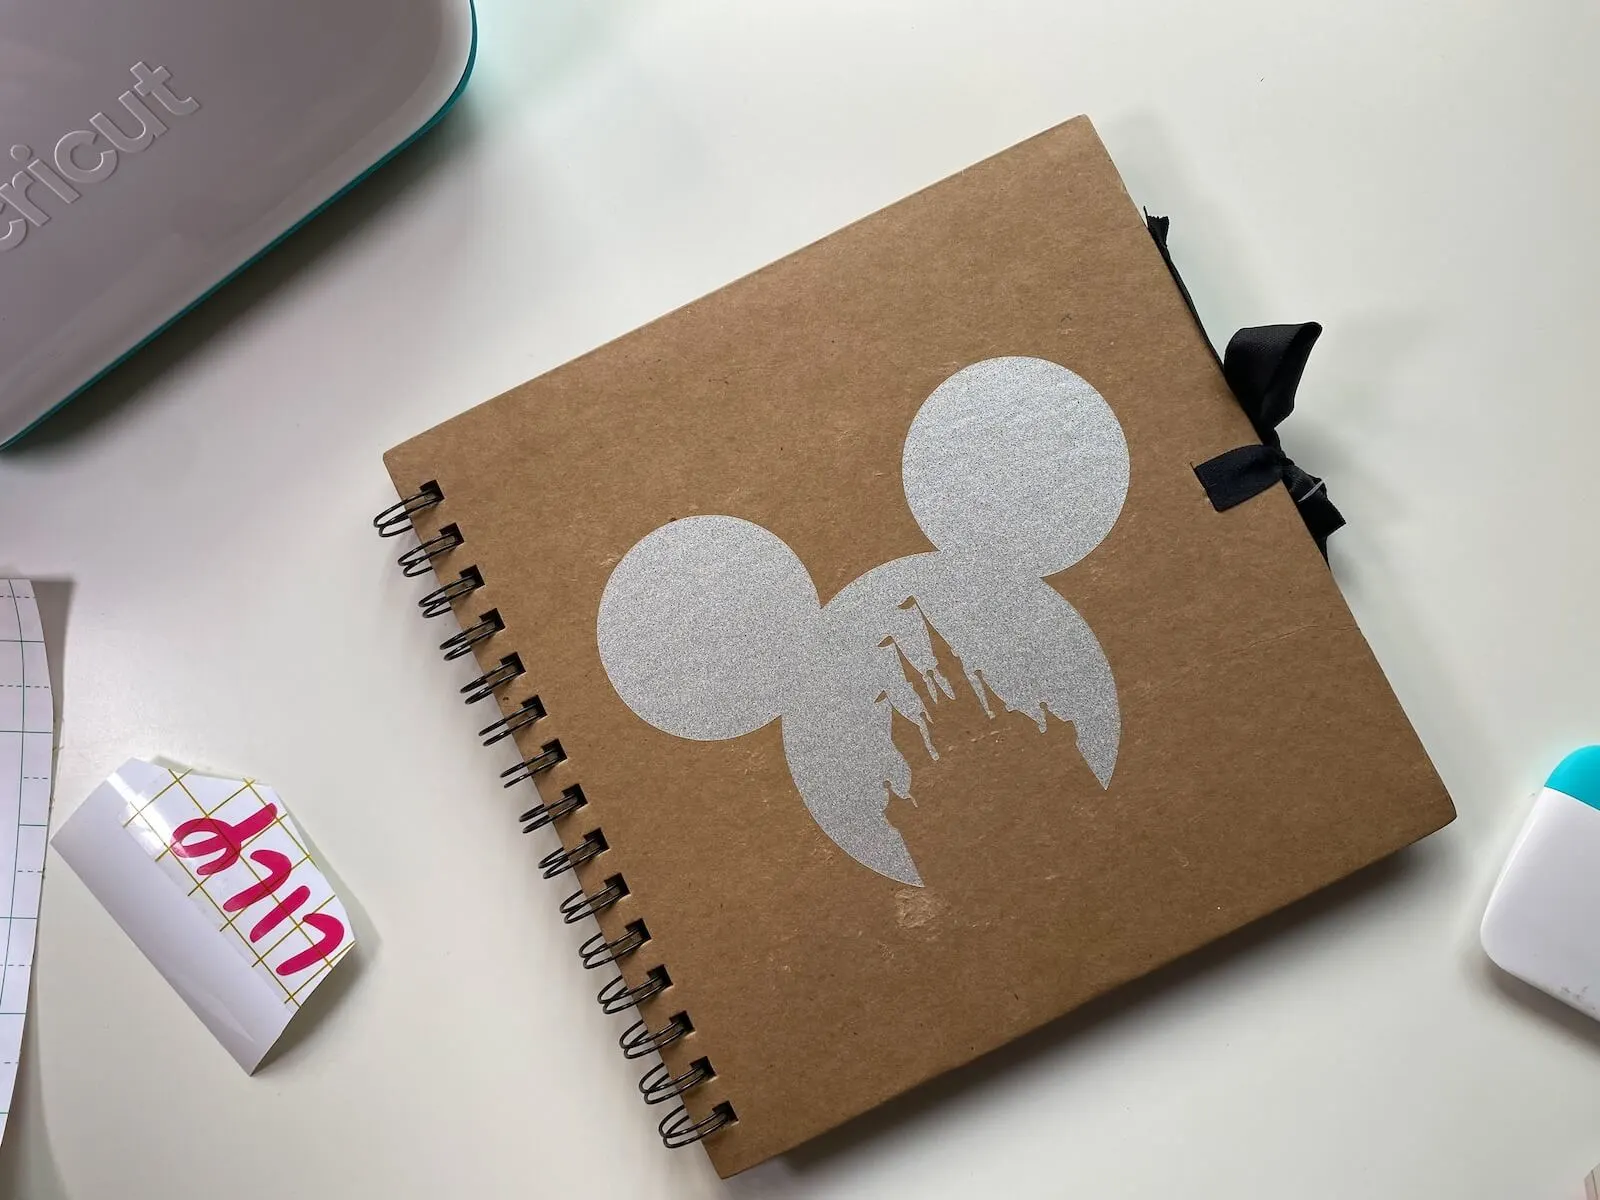
I chose a Disney castle image that I uploaded. I also uploaded a free Disney-inspired font. This is called Waltograph.
Once you install a font on your computer, you can access this font in Cricut Design Space. Find your uploaded fonts by clicking the font dropdown and choosing ‘System’. All of your uploaded fonts should appear here.
Make sure to measure the size of your autograph book cover so you can size your images to fit.
Plan out your design and text then cut them with your Cricut machine.
I added my daughter’s names and the word autographs on these books, keeping it relatively simple but still with that personalisation so they know whose book belongs to whom.
Applying Vinyl To Your Scrapbook Cover
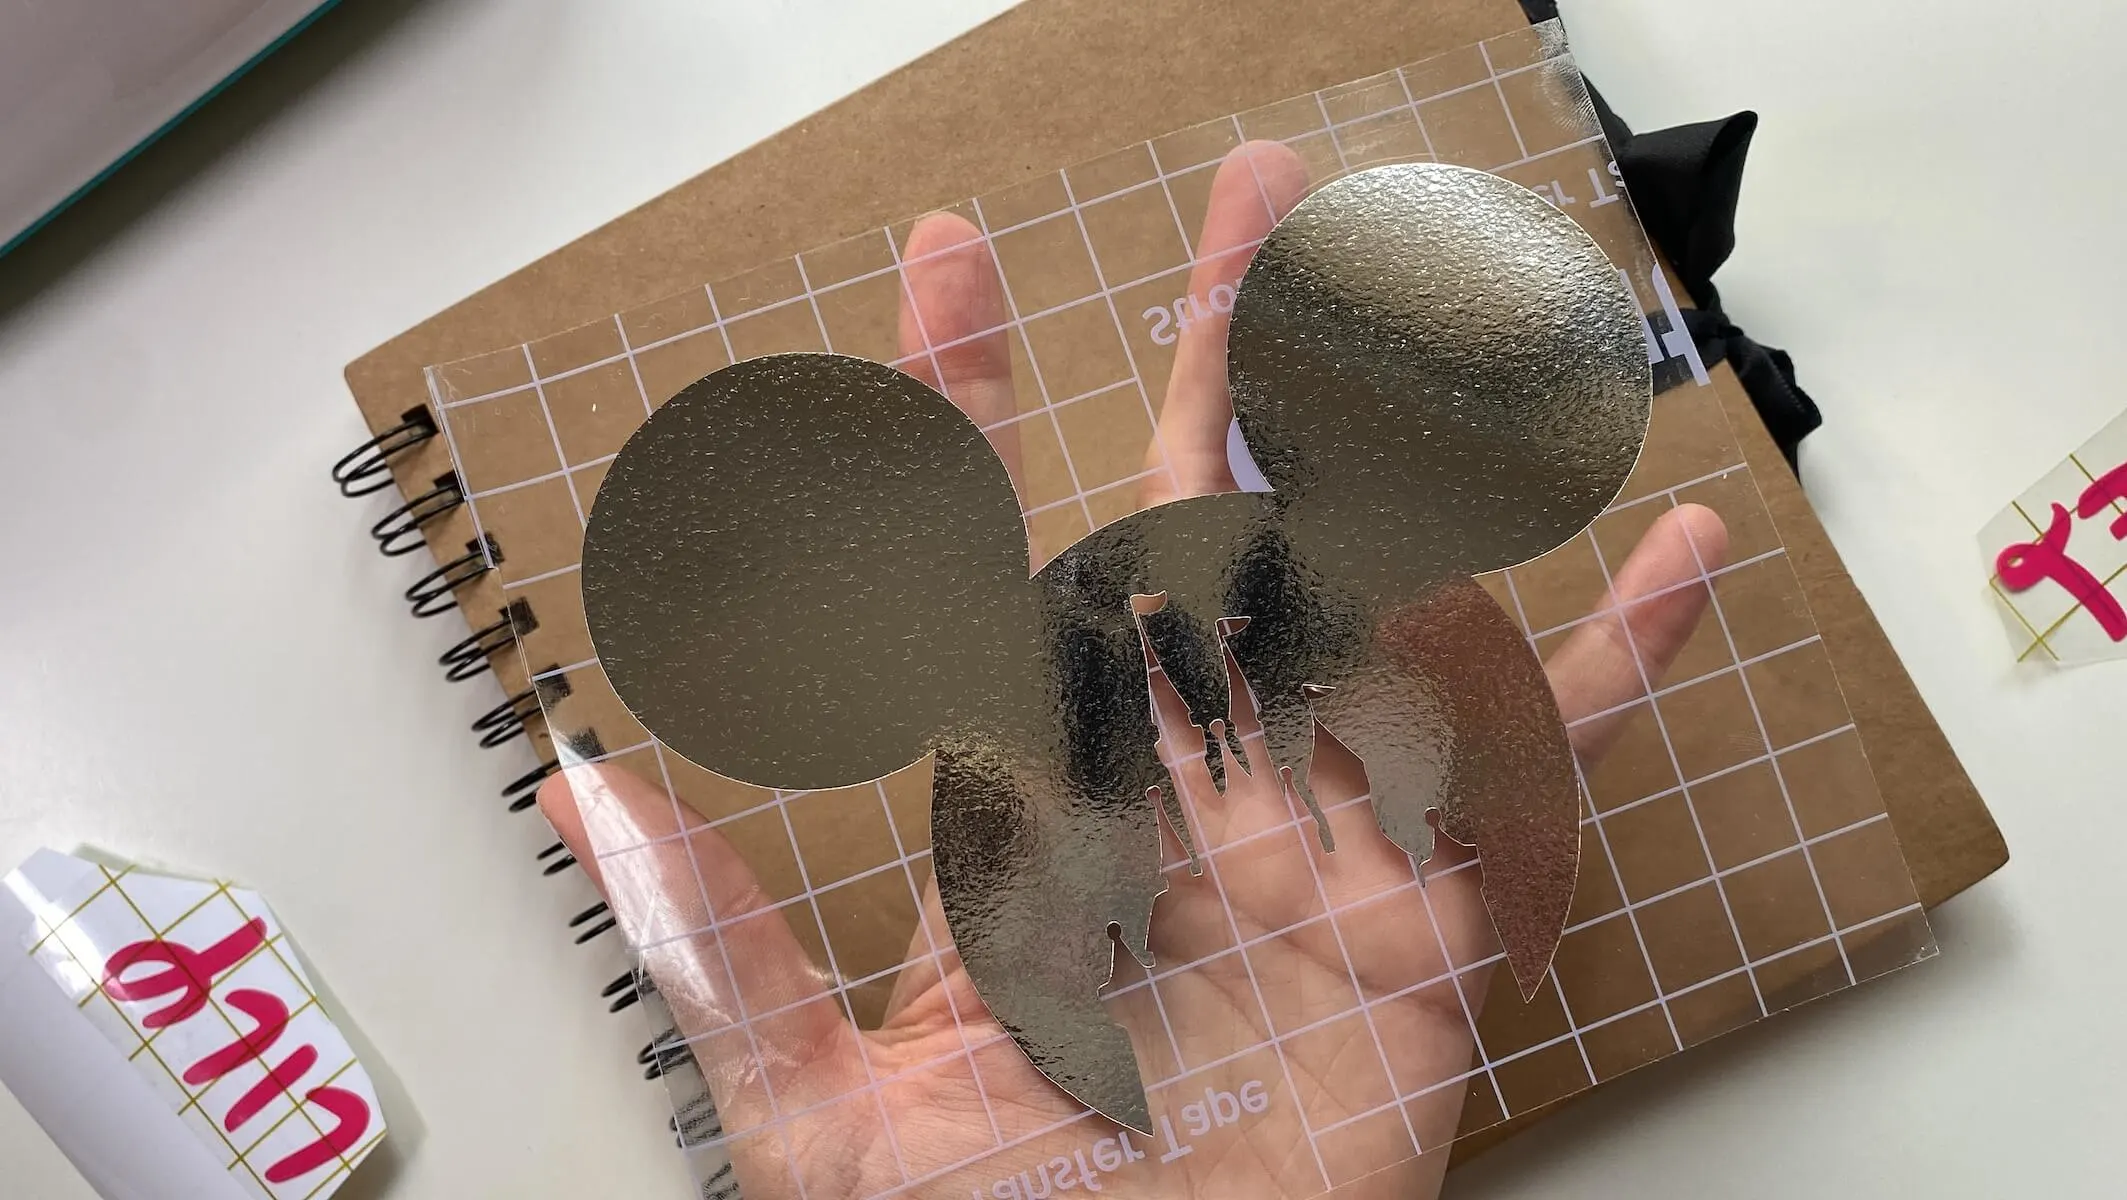
Once you have cut and weeded your designs, firmly apply transfer tape until it lifts the design off the backing sheet.
Place your design where you want it on your book and apply pressure using your scraper tool or a roller on your cover. Carefully lift away the transfer tape, taking care not to tear your cover.
Unfortunately, the strong grip transfer tape did pull a little of the cover off due to using the glitter vinyl. Not ideal but it wasn’t overly obvious and my kids will unlikely even notice.
Other Ways To Decorate An Autograph Book
If you don’t have a Cricut machine or similar, that’s okay. There are plenty of other ways you can personalise your own Disneyland autograph book too.
Here are some things you can use instead:
- Stickers
- Washi tape
- Coloured markers
- Draw a picture on the cover
- Paint pens
- Collage of cut out images
- Wrapping paper or patterned paper
- A Disney quote
- A favourite photograph from your Disney trip (you can add this when you get home)
You might also like to decorate the first page as a cover page for your trip. I love this idea if you plan to use your book for more than one Disney trip like we do. You can have a cover page for each trip with the Disney Park or cruise and the year or date you visited.
Choosing the Right Autograph Book Style
One of the first things to consider is the size of the book. Opting for a smaller, portable size is ideal as it allows you to easily carry it around the park and store it later.
If you prefer a blank canvas to work with, a blank scrapbook is a great choice. Its large pages provide ample space for character signatures and room for creativity.
You can also opt for a notebook with blank pages, which offers flexibility and the opportunity to add doodles, quotes, or special notes alongside the autographs.
If you’re looking for a more organized approach, an album with photo sleeves is a creative option – a pocket scrapbook album such as a Project Life album can be a great way to minimise having to lug around heavy autograph books too.
Instead of taking your whole album to the park, take a stack of Project Life insert cards to get signed instead then slot them into the album alongside photographs when you get home.
Not only can you collect character signatures, but you can also include photos of your family with the Disney characters. It’s like creating a personalised memory-keeping album and autograph book in one.
Tips For Getting Autographs At Disney Parks
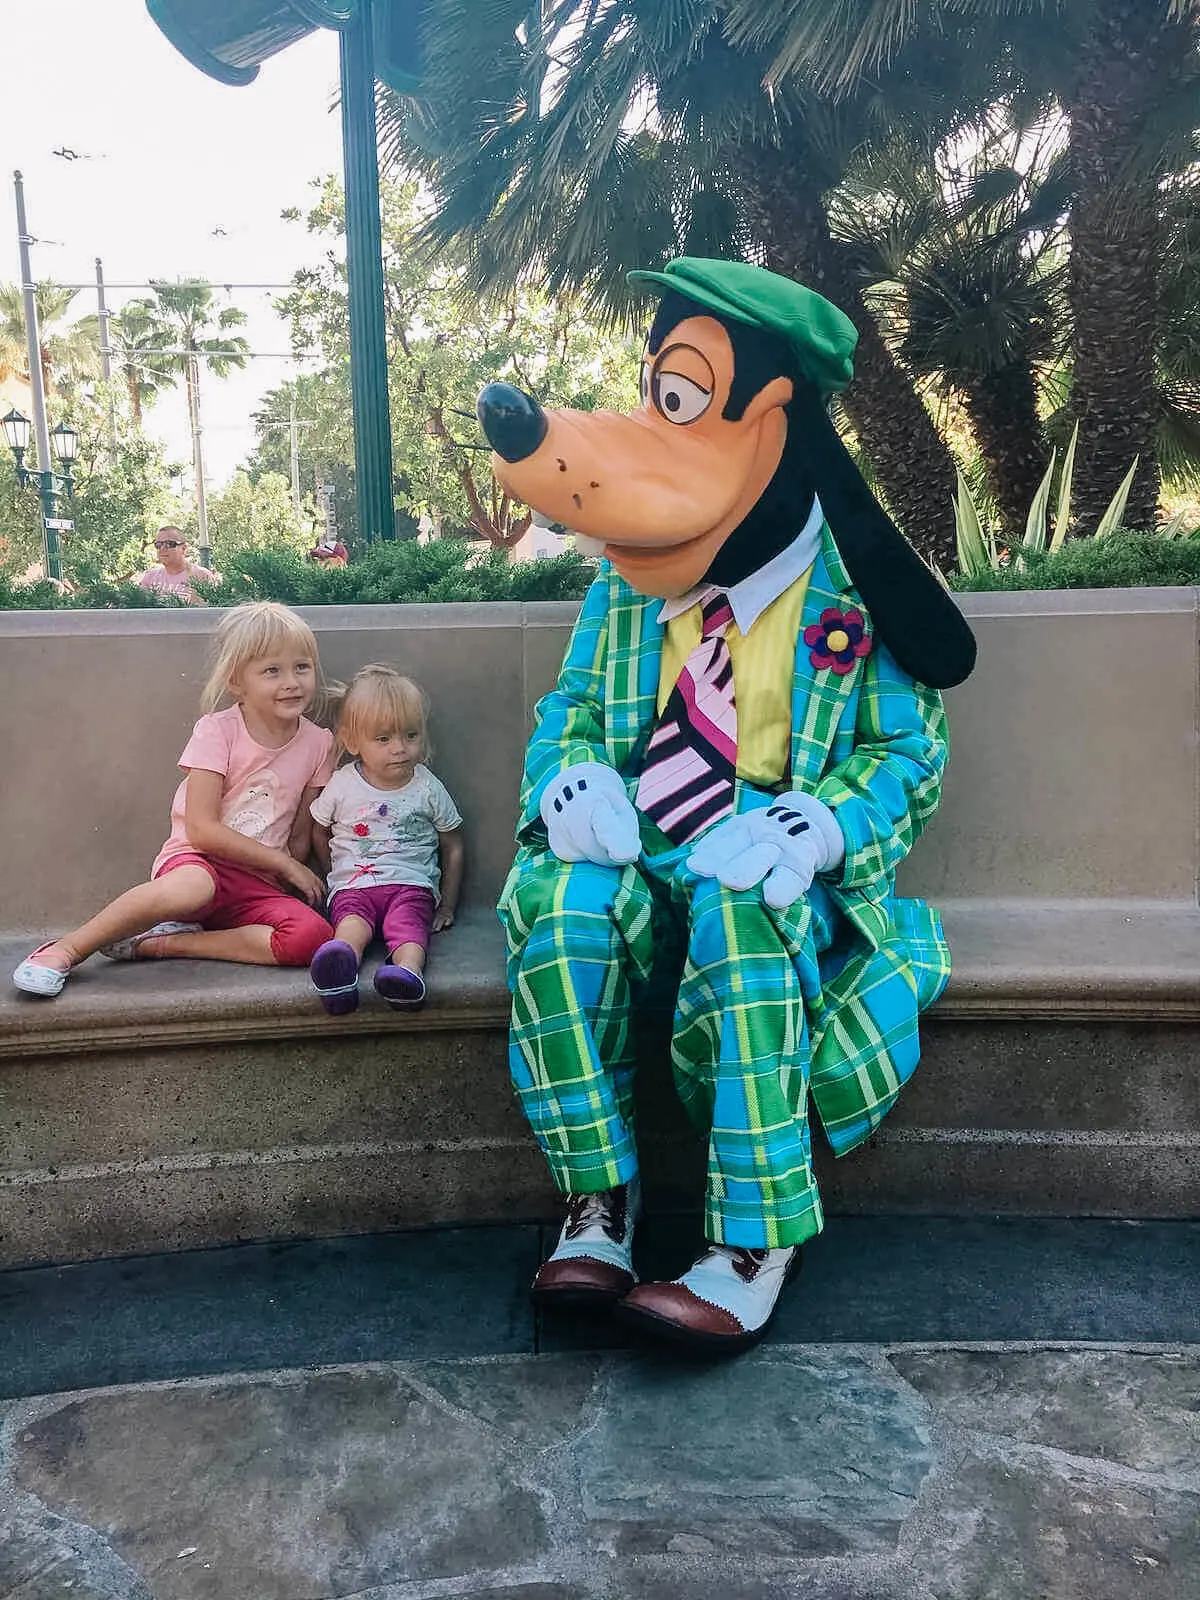
The thought of spending hours standing in line for autographs isn’t so fun. We try to avoid this as much as possible but sometimes you’ve got to do the hard thing if you really want that special memento.
Here are some tips to help fill the pages of your autograph book:
- Be prepared: Carry your autograph book and a pen in your bag so you’re ready to meet characters whenever the opportunity arises.
- Plan your character meet-and-greets: Check the park schedule for character appearances and plan your itinerary accordingly. This way, you won’t miss your favourite characters and can maximise your autograph collecting.
- Get in line early: Character meet-and-greets can be popular, so try to arrive early to secure your spot in line. This will give you more time to interact with the characters and get their autograph.
- Bring a Sharpie: Using a bold permanent marker like a Sharpie can make the autographs stand out on your book and the thicker style pens are easier for the characters to hold. Plus, it dries quickly, reducing the chances of smudging.
- Capture the moment: If you can also get a photo with the character, this is a great memory to stick next to the autograph too.
- Be patient: Keep in mind that characters need to take breaks and may not always be available for autographs. Be patient and understanding if they need to step away or if their signing time is limited.
- Protect your autographs: Store your autograph book in a dry, safe place once you get home, to help preserve the memories.
Final Thoughts: DIY Autograph Book For Disney
Crafting your own DIY Disney autograph book is more than just a fun little project. It’s an opportunity to create a personalised keepsake that will forever hold the memories of your Disney trip.
So, if you’re planning your next Disney adventure, why not make your own DIY memory book to take along with you? We can’t wait to use ours on our Disney cruise!
If you’re planning your trip to Disney soon, you can find all our Disney travel tips on our family travel website too!
Find more Cricut inspiration:
- Cricut Joy review: Is it worth it?
- Easy Cricut Joy projects for beginners
- Essential Cricut Joy accessories for beginners
- DIY Cricut personalised sleeping masks
- DIY Disney autograph book with Cricut
- Personalised acrylic bookmarks
- No-Sew Disney Cruise Fish Extender Door Hanger
- Personalised acrylic keychains
- Personalised Cricut koozies
- Cricut Tic Tac Toe Bags
