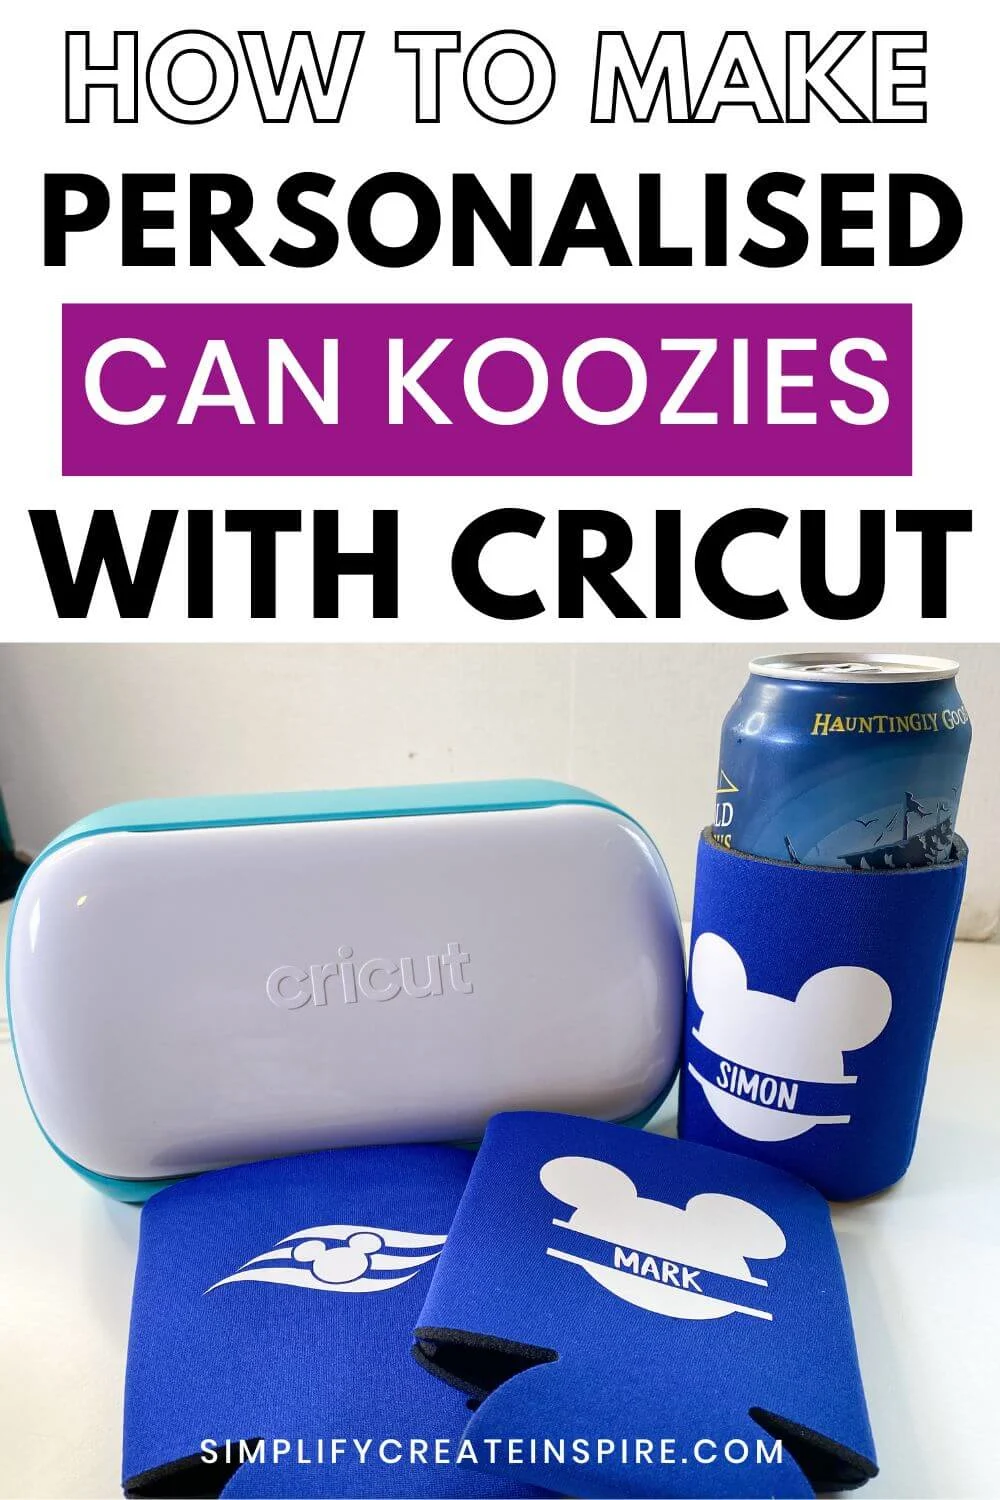
If you are looking for easy personalised Cricut gift ideas, you can’t get much easier than a DIY Cricut koozie! These personalised can coolers are a quick and easy project you can make using Heat Transfer Vinyl.
We made these ones for DIY fish extender gifts for our Disney Cruise, but you can personalise a can koozie to suit any theme or occasion. Not just as gifts either! They make the perfect inexpensive party favours too.
In this tutorial, I will show you how to make personalised koozies with your Cricut or similar vinyl-cutting machine. Let’s get to it!
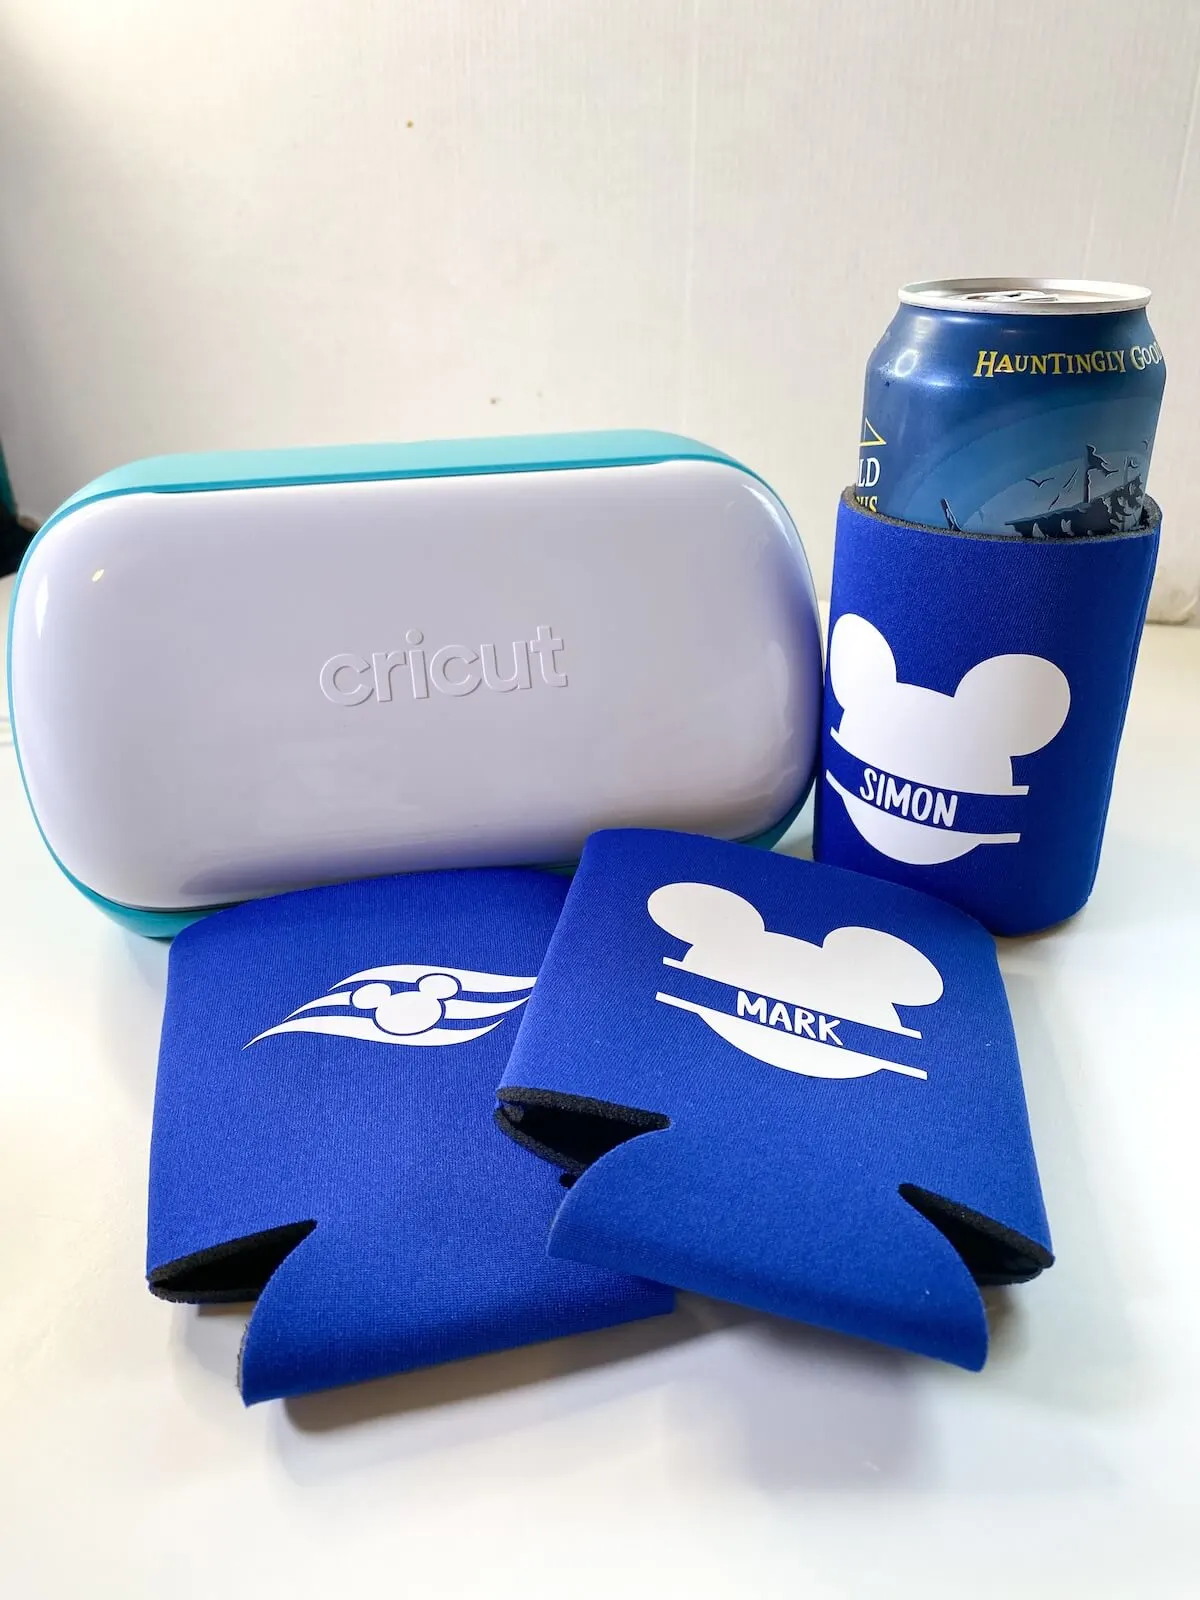
DIY Personalised Koozies With Cricut
If you are looking for easy Cricut Joy projects for beginners, you will especially love this simple tutorial. The Cricut Joy is the perfect size for small projects such as this, but any vinyl-cutting machine works great!
But first… koozies? What the heck is that?
Here in Australia, we call them can coolers or stubby coolers (a stubby is a short bottle of beer here in the land of Down Under), so I was quite stumped on what a koozie was initially. If you’re a fellow Aussie or hail from elsewhere in the world, now you know!
They make great gift ideas for bucks nights, hens party favours, birthday parties, and even wedding favours. In this case, we are making Disney Cruise fish extender gifts so they’re Disney-themed custom koozies.
Supplies Needed For Personalised Cricut Can Koozies
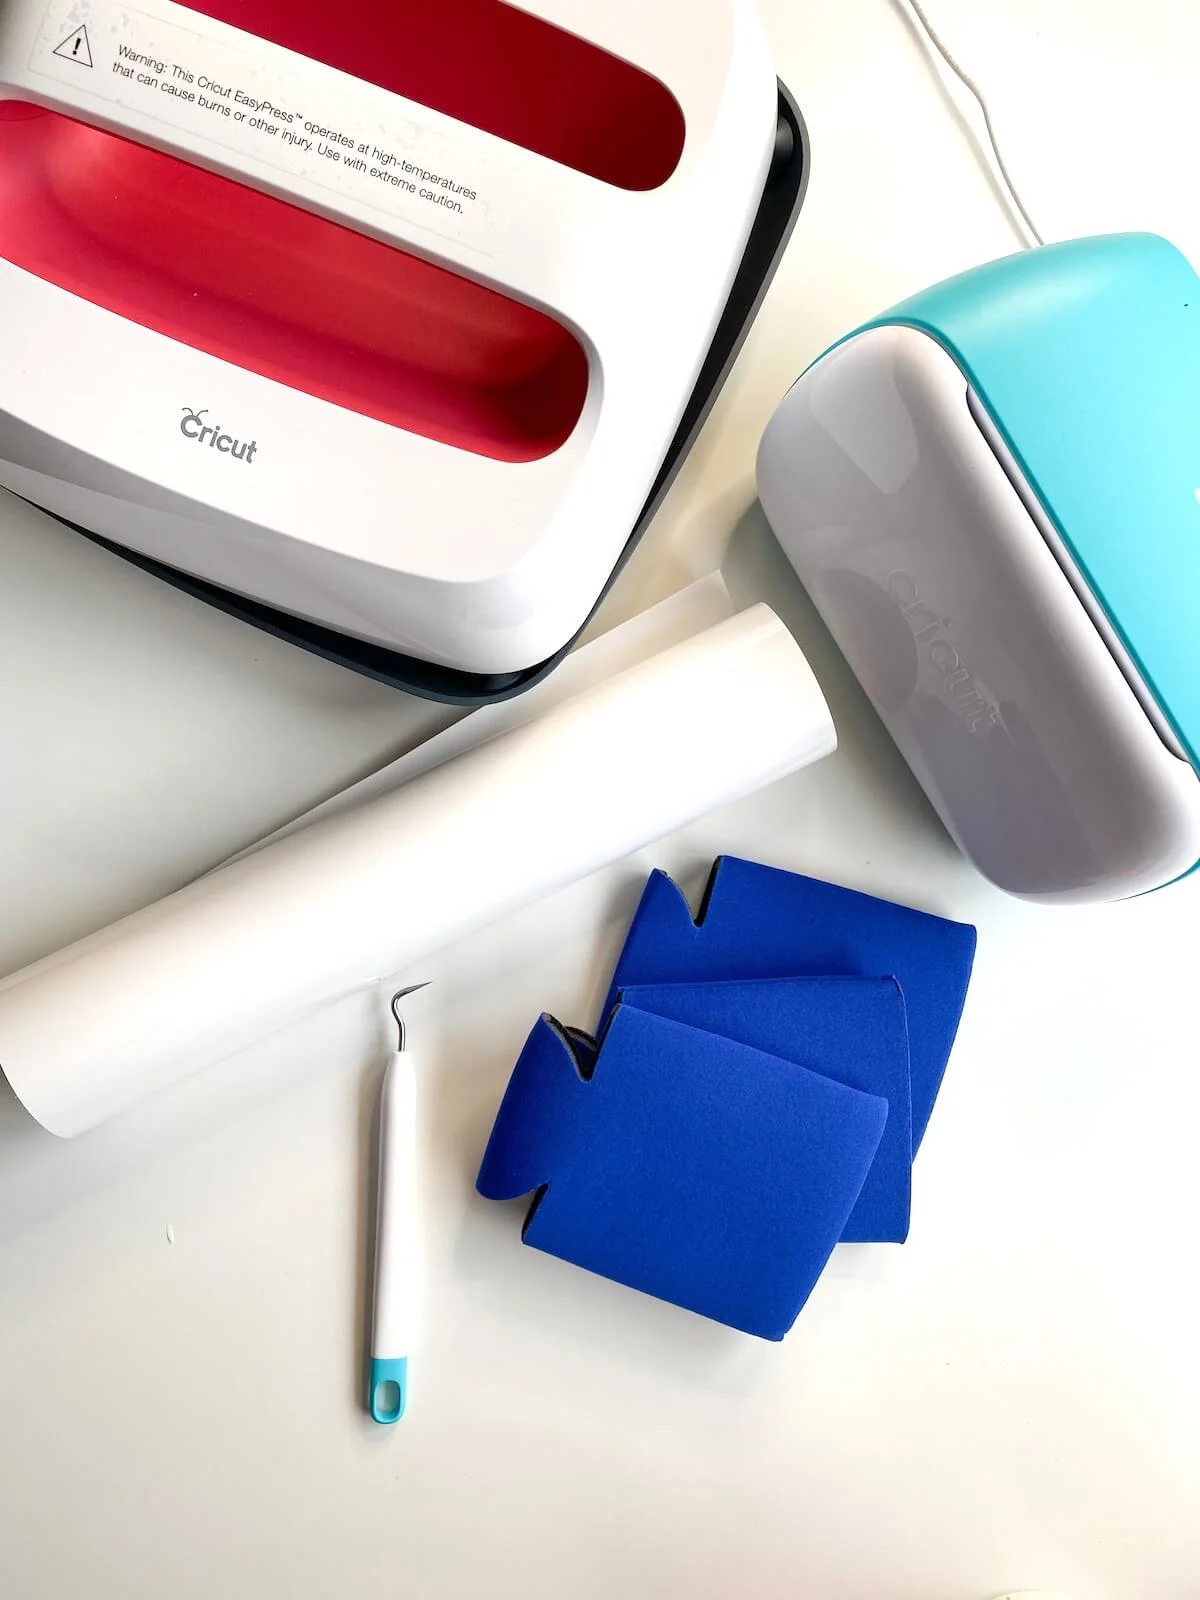
For these personalised can coolers, this is what you will need:
- Blank can koozies
- Iron On Vinyl
- Cricut or similar vinyl-cutting machine – I used my Cricut Joy
- Standard Grip Cricut mat (unless you are using Cricut Smart Vinyl)
- Weeding tool
- Cricut EasyPress or a household iron
- SVG file
The best can coolers to customise are the ones that fold down flat as they are much easier to apply heat transfer vinyl onto. I got mine in bulk from Temu.
Video Tutorial
How To Make A DIY Cricut Koozie With Iron On Vinyl
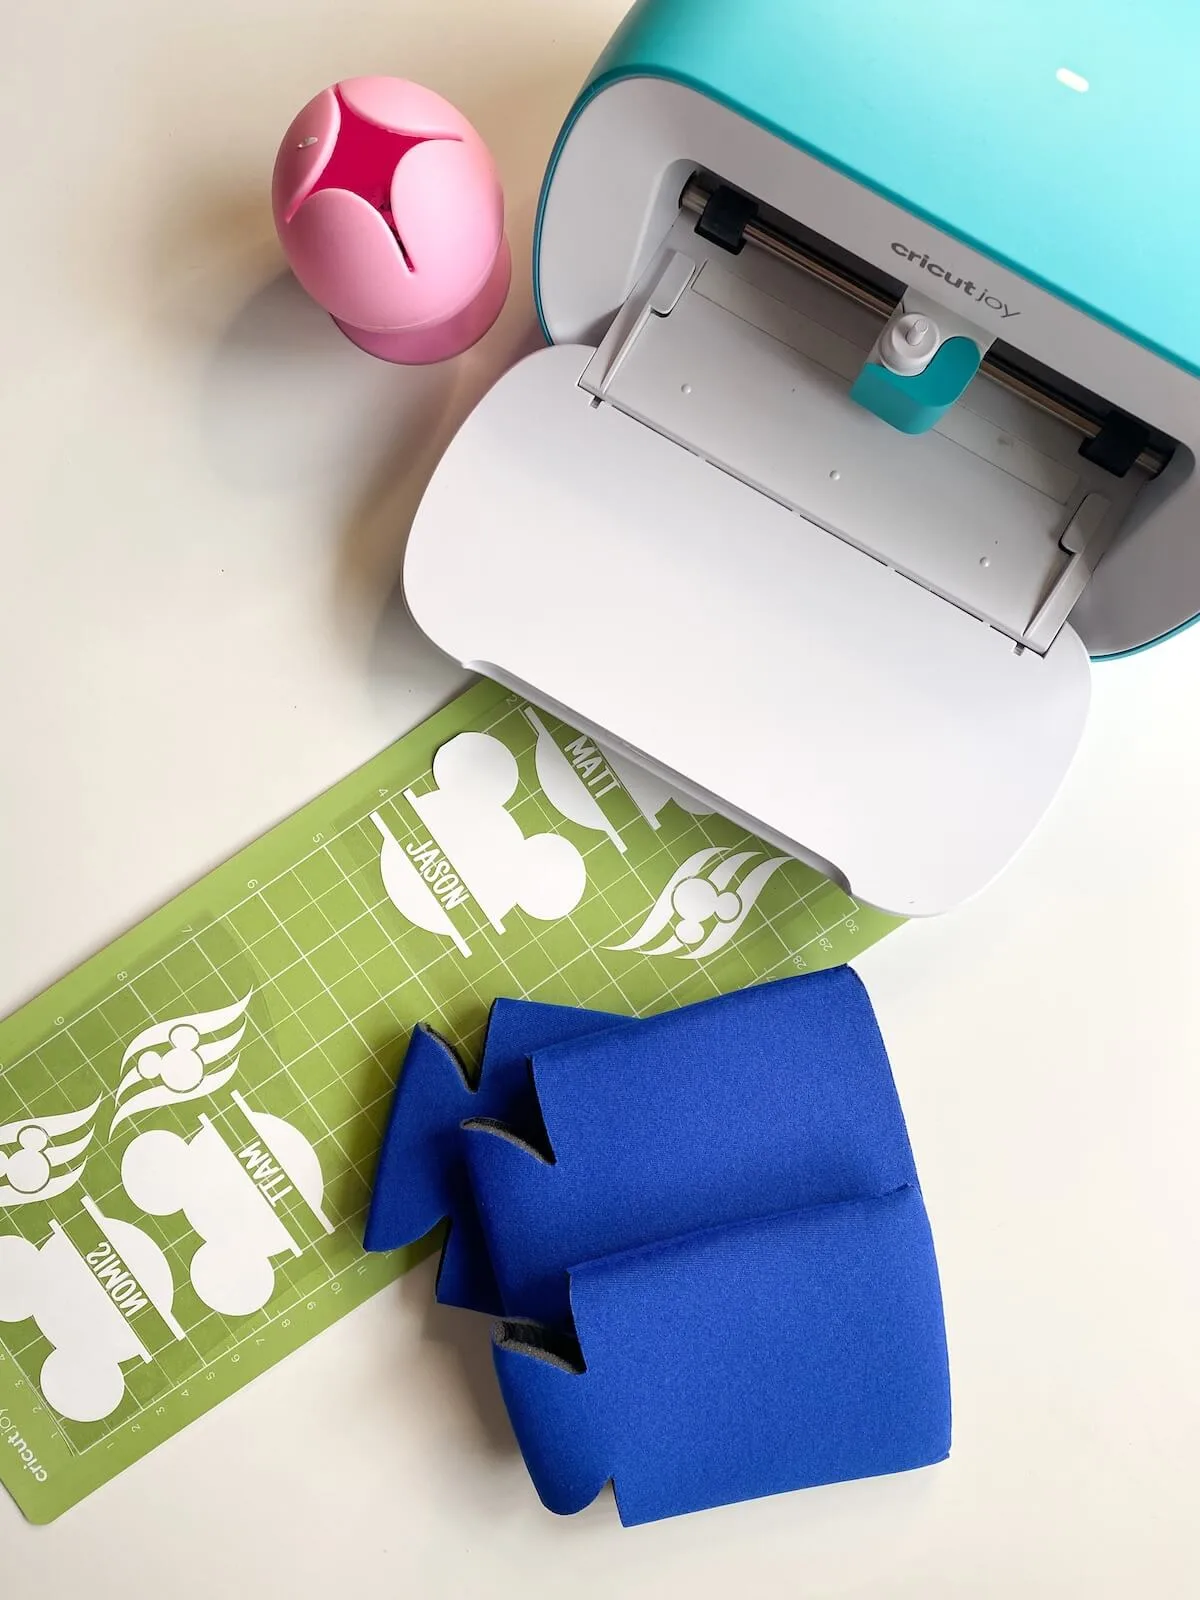
You can make one of these Cricut can koozies in under 10 minutes!
You’ve gotta be happy with that. We love quick projects, but even making in bulk, they don’t take too long.
Step 1 – Open Cricut Design Space and upload your SVG file. This one I used was from an Etsy purchase, however, you can find loads of cute designs on Etsy, Creative Fabrica or in the Cricut Design Space itself. You can also make your own designs too.
Step 2 – Measure your can koozie to work out the size of your image. You don’t want to make it too big or too small. Once you know the size you want, adjust the size in Cricut Design Space.
For this project, I added each person’s name for personalisation and I used just one colour. For this reason, I grouped the name and Mickey image to make sure they cut together. This made it much easier to transfer onto the koozie.
Step 3 – Send your design to cut on your Cricut machine and make sure to click “Mirror” to make sure your text does not end up backwards when you apply the vinyl!
Step 4 – Carefully weed the excess vinyl from your design using a weeding hook, taking care with any of the more intricate areas. Cut your designs into separate pieces, leaving them adhered to the transfer layer.
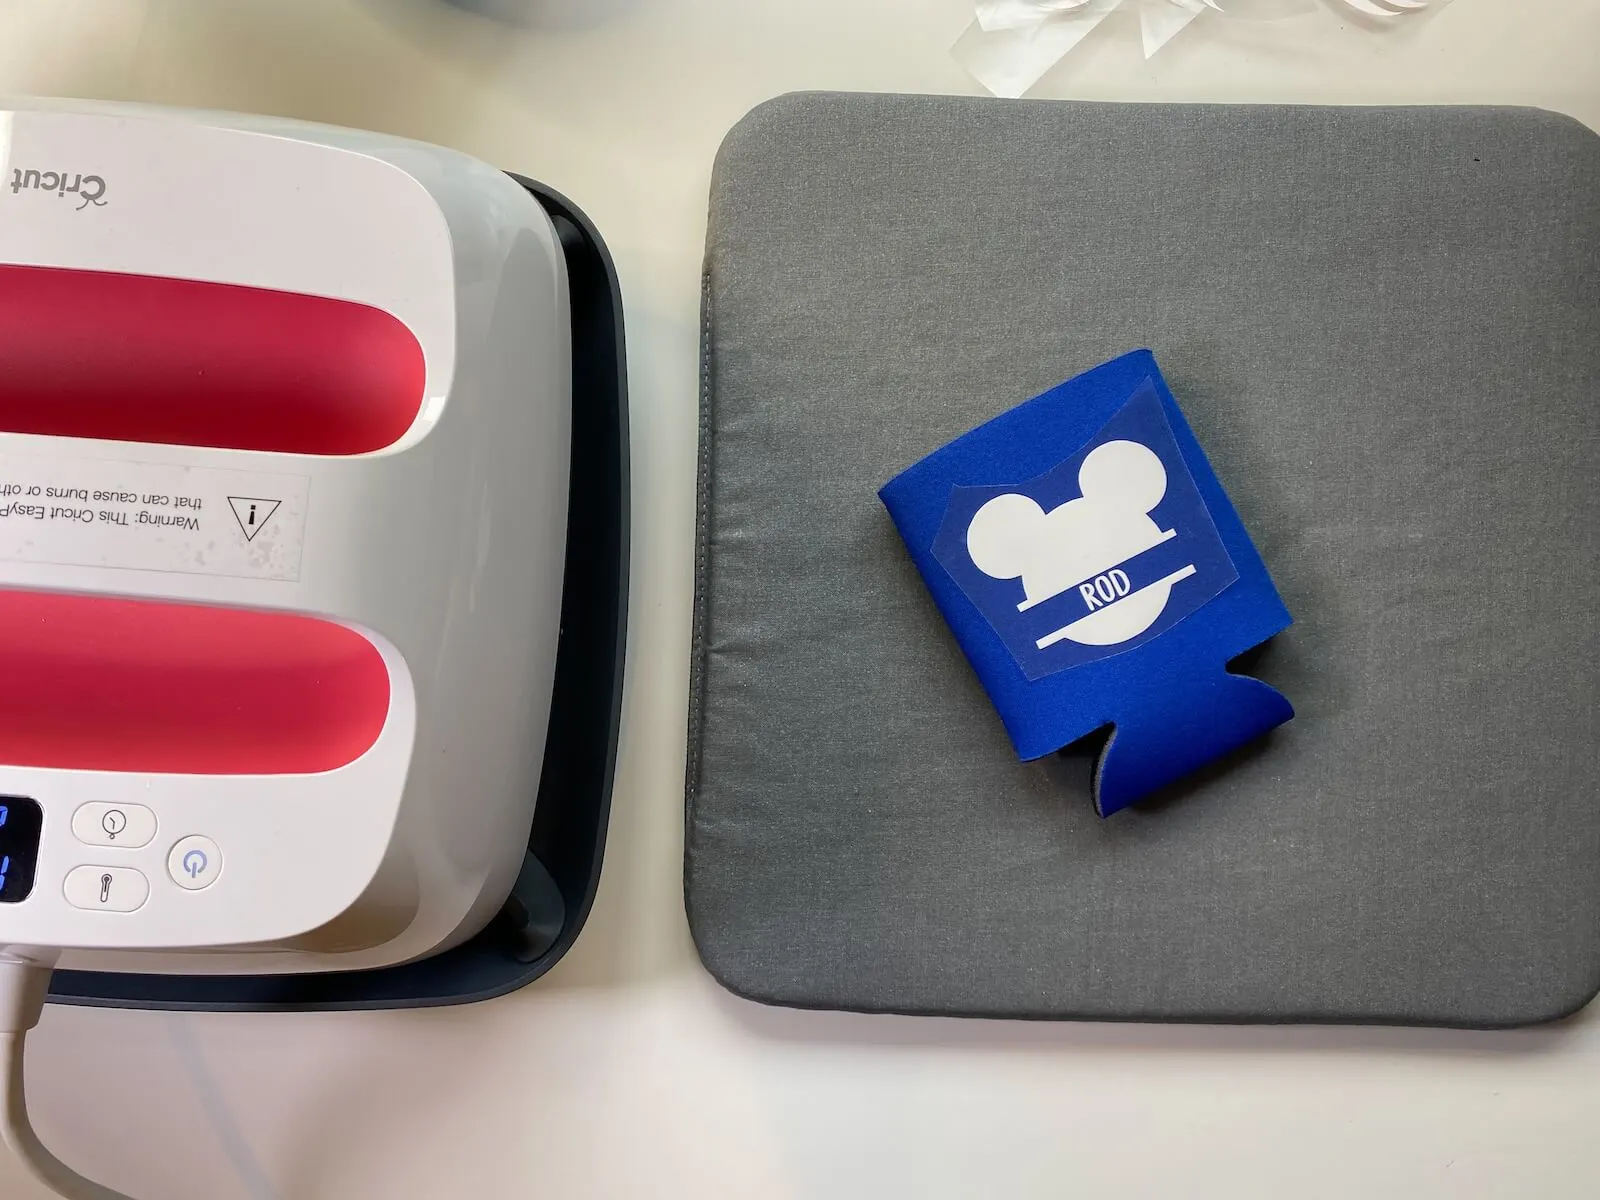
Step 5 – Heat your EasyPress or iron. I have an EasyPress 2 which is amazing because it’s big enough to cover most projects in a single heat application. You can also use an EasyPress Mini or a household iron. Check the Cricut Heat Guide to make sure you are choosing the correct settings. Here you can choose the neoprene setting and adjust the heat and time setting to suit.
Step 6 – Place a piece of apartment paper inside your koozie then position your iron on vinyl transfer face down on the koozie. Cover with another piece of parchment paper or heat press paper and use your HeatPress for 15 seconds, pressing firmly.
Step 7 – Repeat on the reverse side if you are decorating both sides of your koozie and repeat for each of the koozies you are making. Once cooled, peel the iron on vinyl transfer sheet off.
Cricut Tip: If your heat transfer vinyl lifts with the carrier sheet, reapply heat and press again until the transfer backing lifts away.
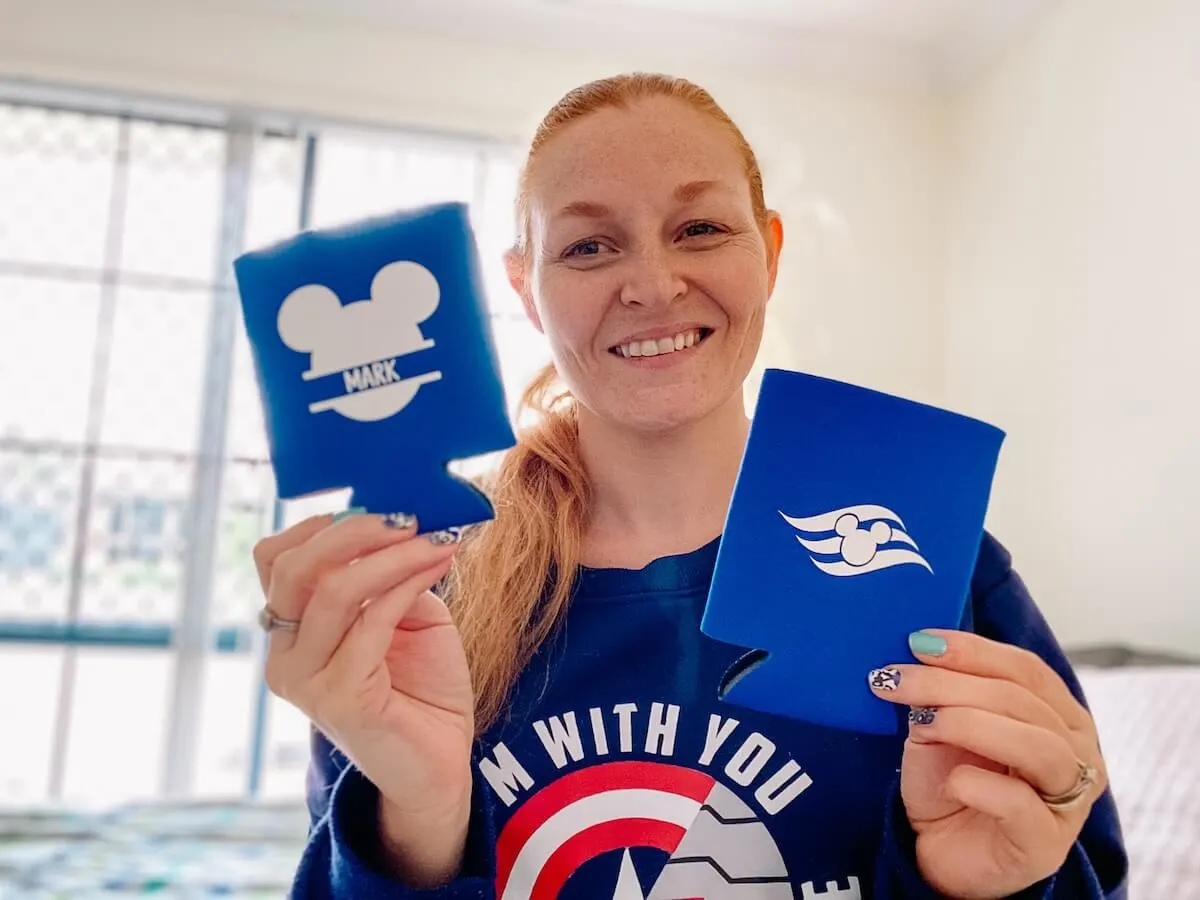
How great do they look! Such an easy DIY gift idea and you can personalise them for anything and everything.
Conclusion: Cricut Personalised Can Coolers
If you are looking for an easy Cricut gift idea or a simple personalised party favour, these DIY Cricut can koozies are the perfect project. This is a great beginner project but it’s also just one of those Cricut projects that suits so many different occasions.
Find more Cricut inspiration:
- Cricut Joy review: Is it worth it?
- Essential Cricut Joy accessories for beginners
- DIY Cricut personalised sleeping masks
- DIY Disney autograph book with Cricut
- Personalised acrylic bookmarks
- No-Sew Disney Cruise Fish Extender Door Hanger
- Personalised acrylic keychains
- Personalised Cricut koozies
- Cricut Tic Tac Toe Bags
