Are you looking for an easy tutorial for how to make friendship bracelets with wool? This one is great for kids of all ages!
Simple and inexpensive craft projects are always a favourite, and even better when you have all the materials on hand already! We recently tried our hand at making our own simple DIY friendship bracelets as a school holiday activity and it was heaps of fun!
Best of all, we made them in around 15 minutes each and even my 5-year-old was able to do it herself, with very little help!
This easy friendship bracelet tutorial is perfect for rainy days or entertaining kids indoors!
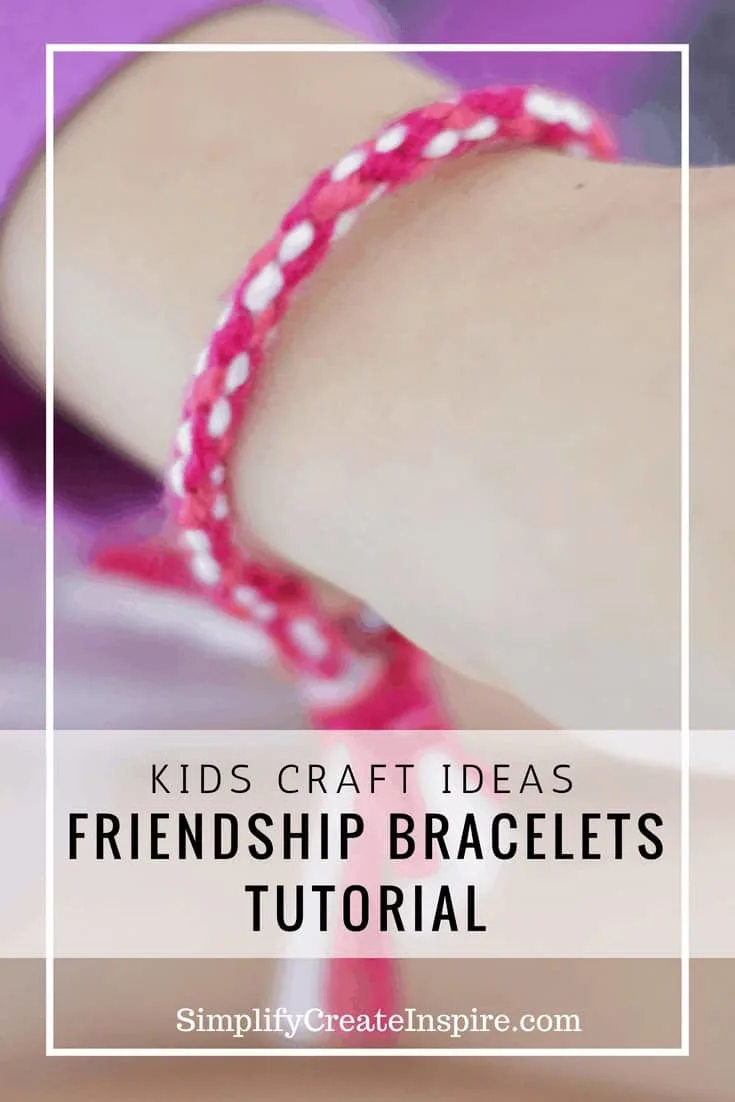
EASY DIY FRIENDSHIP BRACELETS TUTORIAL
There are so many tutorials for making friendship bracelets online and so many different types of friendship bracelets you can make. Some require a DIY friendships bracelet template, while others do not.
The version we went with is a really simple French knitting style that creates a woven band from wool or yarn.
You can use 1, 2, 3… or up to 7 different colours to make them so you can have cute rainbow friendship bracelets to share around!
And because this friendship bracelets step by step is so cheap and easy to do, it makes a fantastic birthday party or classroom craft activity too!
It definitely kept the kids entertained with their cousins visiting for a sleepover! They made rainbow friendship bracelets galore!
Making a friendship bracelet is a great indoor activity for kids on a cold or rainy day too, or a cheap handmade gift idea kids can give their friends.
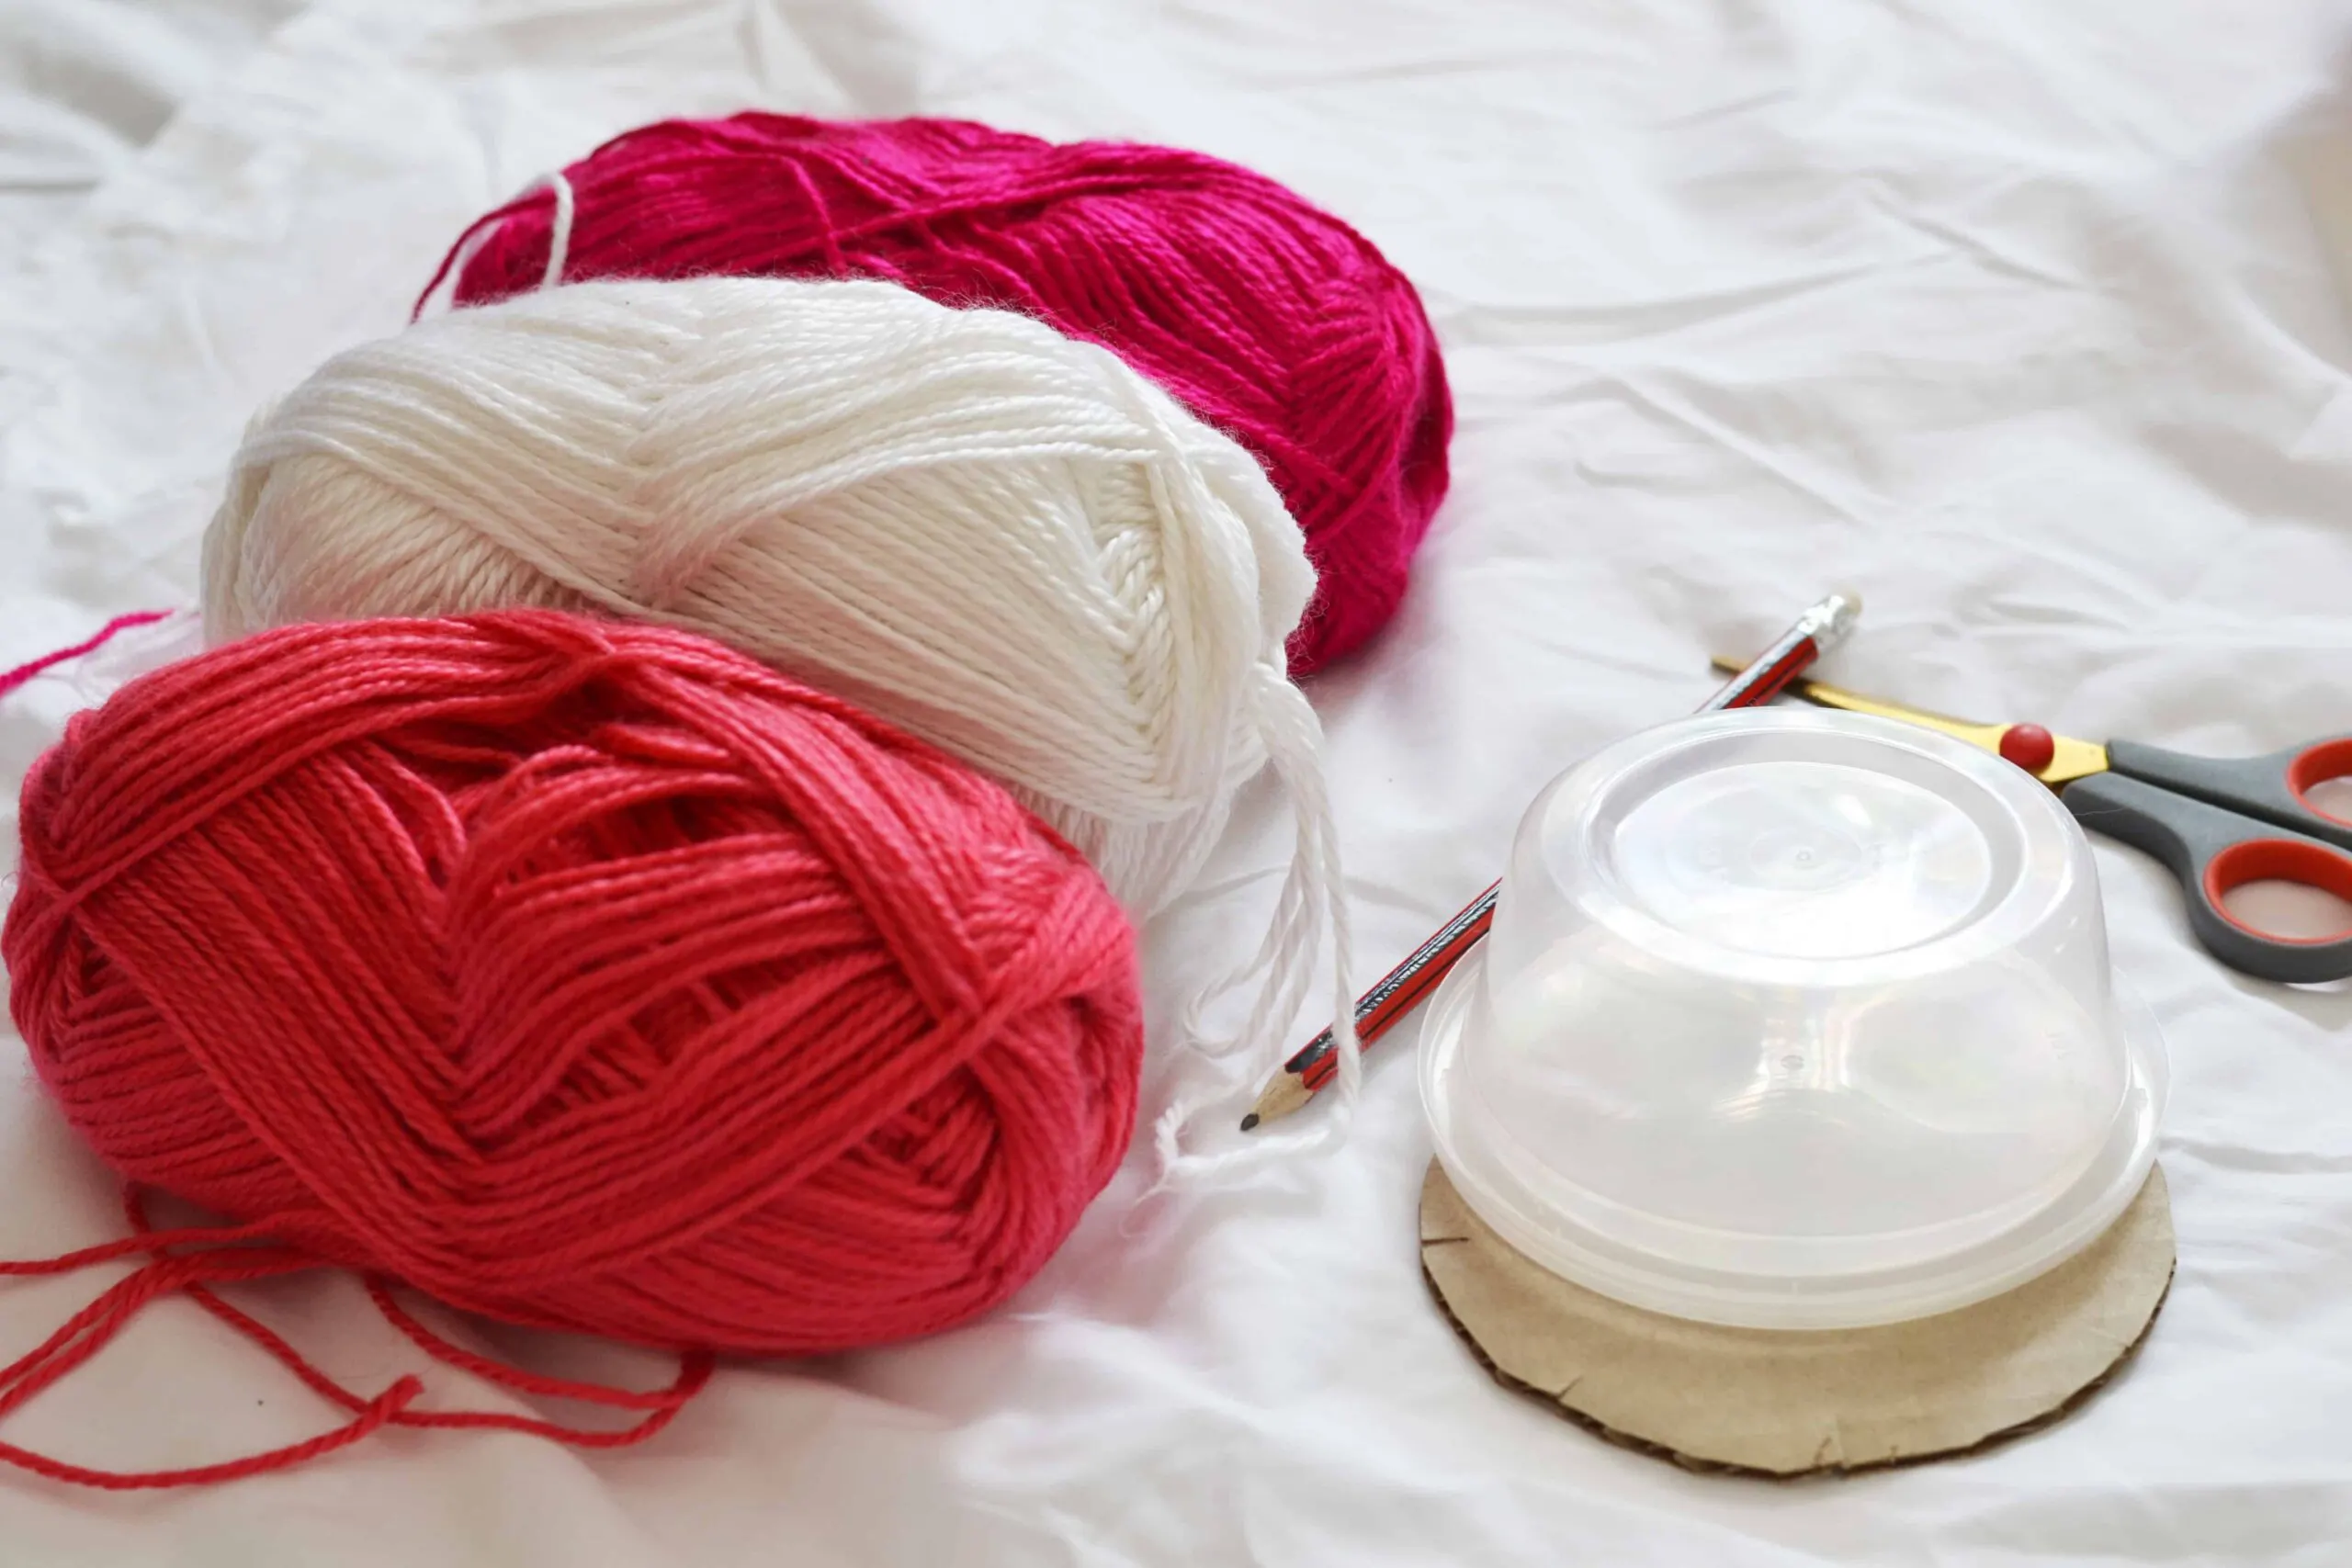
What you need:
- Yarn/wool
- Scissors
- Cardboard
- Something circular you can use as a template
- Pencil/pen
Watch The Video Tutorial:
If you want the quick yarn friendship bracelets tutorial in video form, we’ve put together a quick one for you.
But if you prefer the step-by-step, scroll down and you will find the written instructions in detail with images for how to make your own friendship bracelets.
How To Make A Friendship Bracelet With Wool
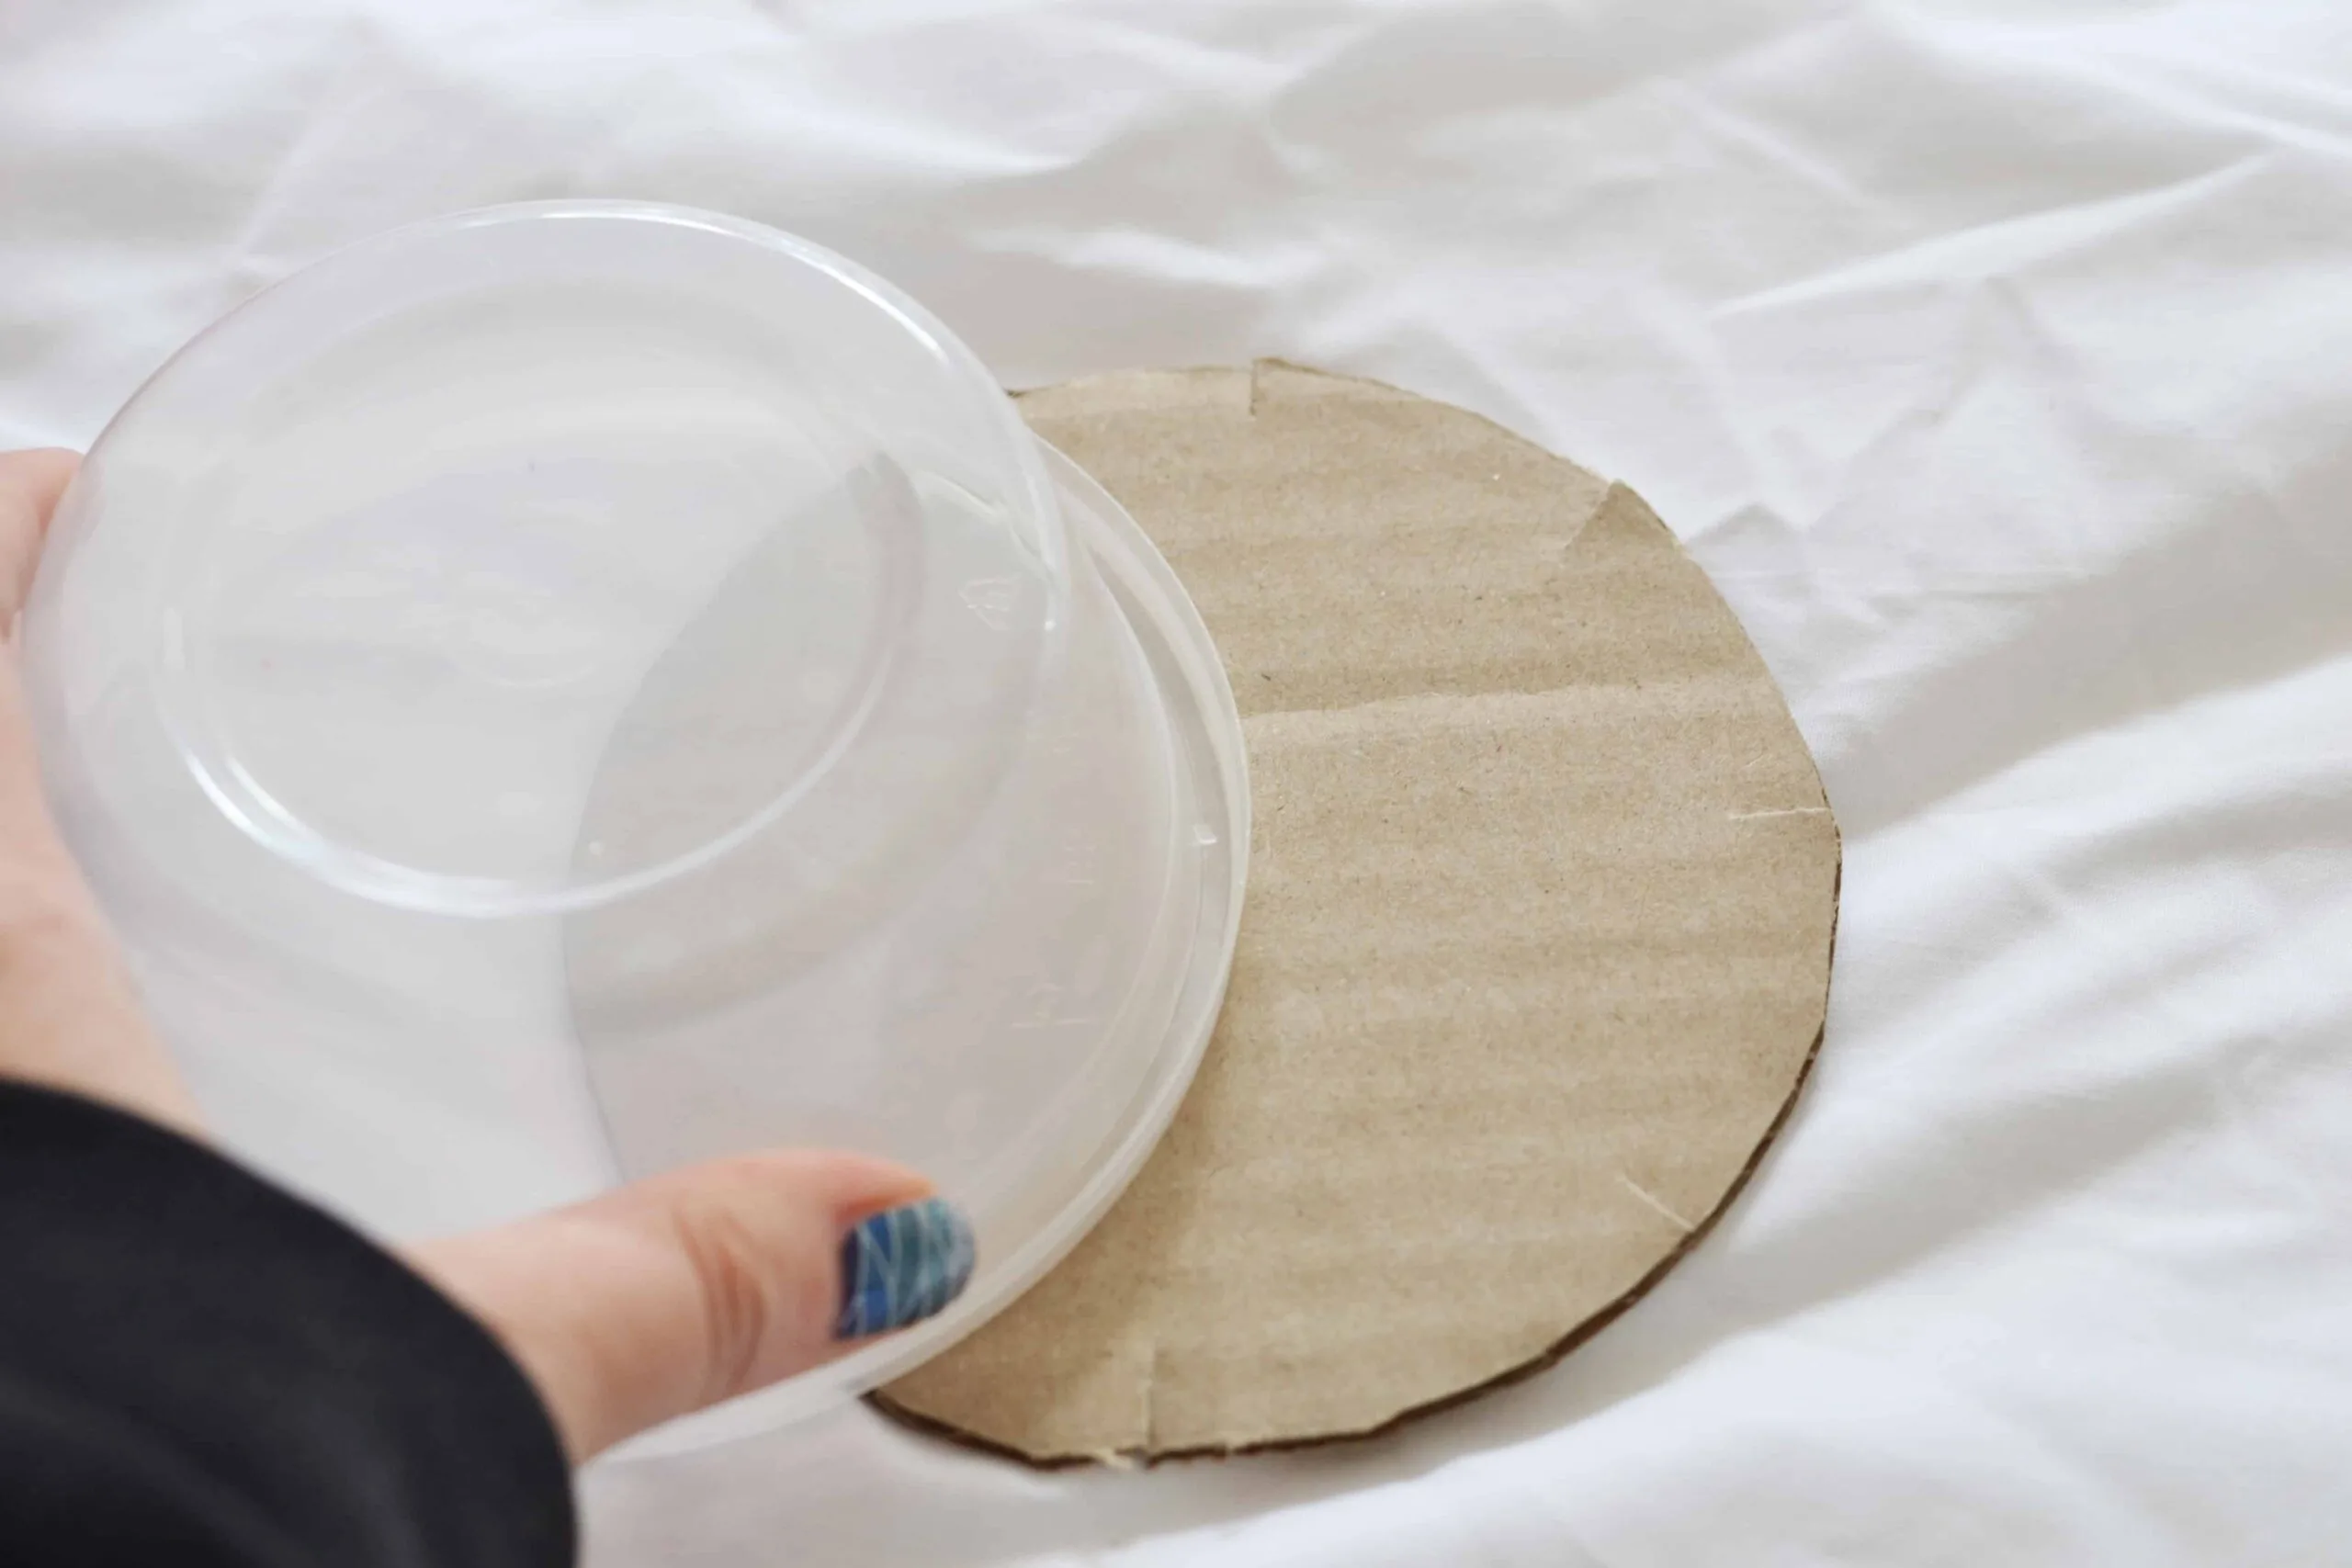
- Using something circular (we used a round container) make a template on a piece of cardboard for your circle. Trace around with your pen or pencil and then cut out your circle.
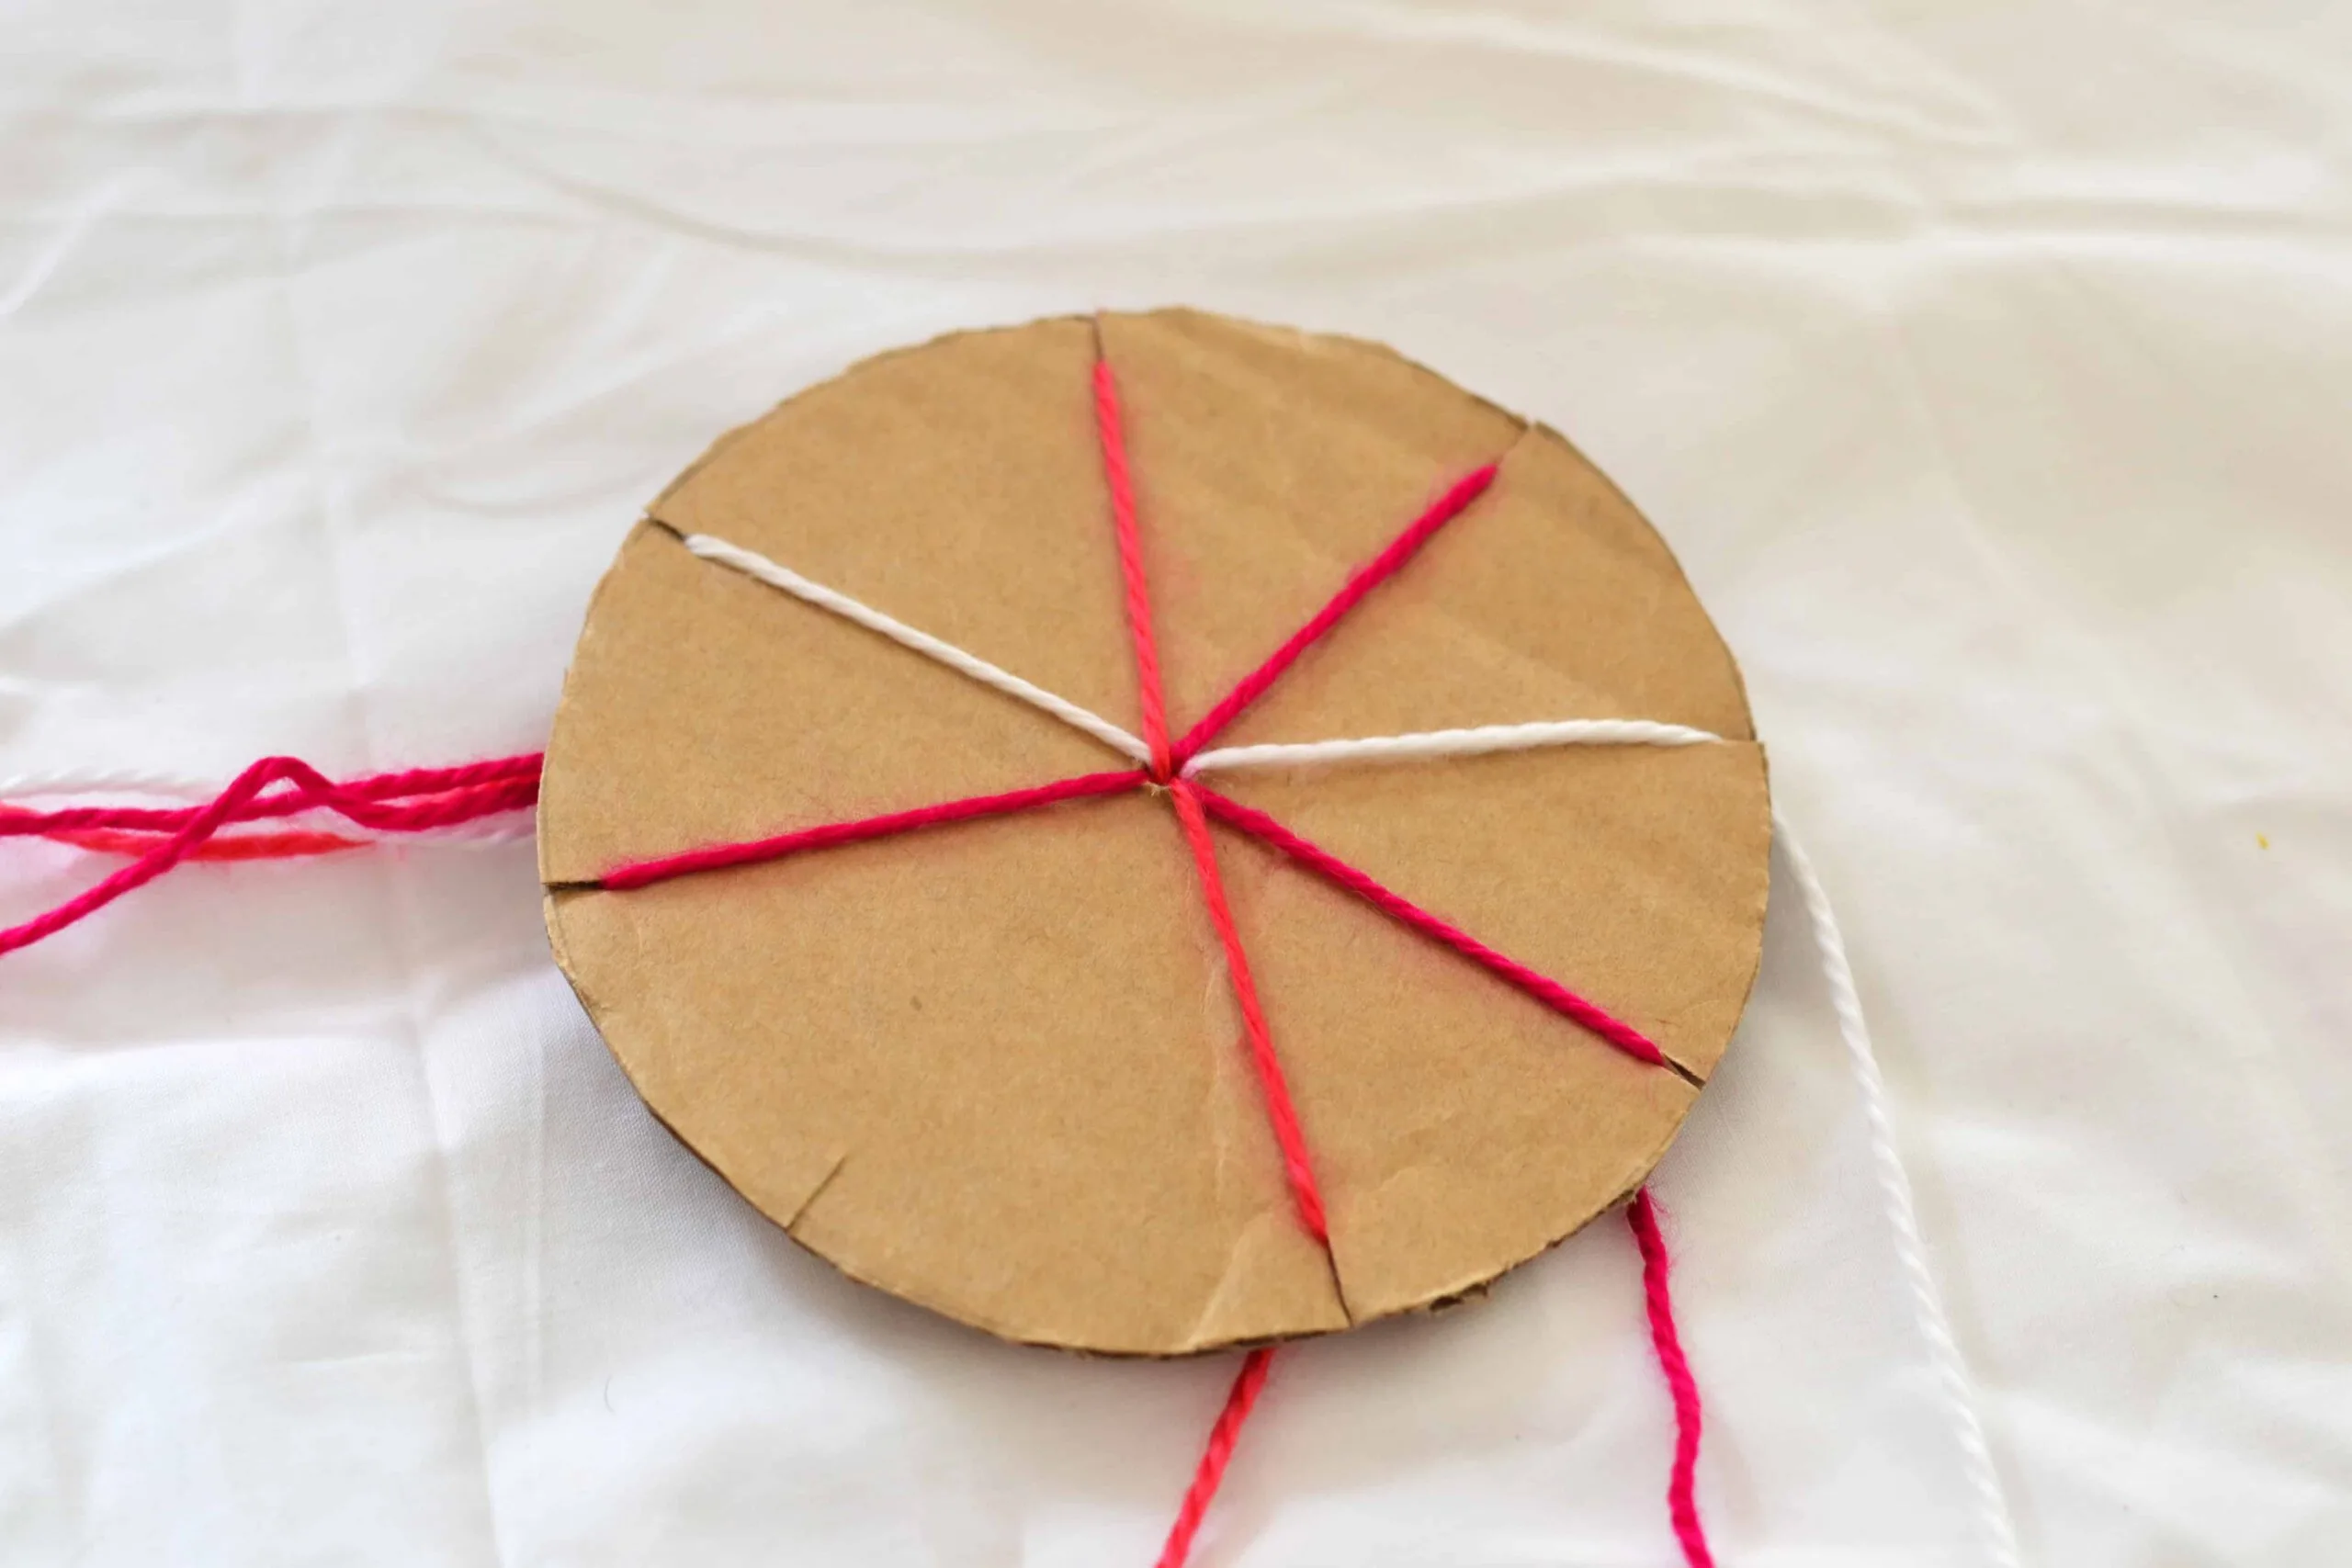
- Mark out 8 points on your cardboard circle. These do not need to be perfectly positioned but around every few cms. It is easiest to start with quarters, with a mark on each side then add another in between. Use scissors to cut around half a centimetre deep at each marker.
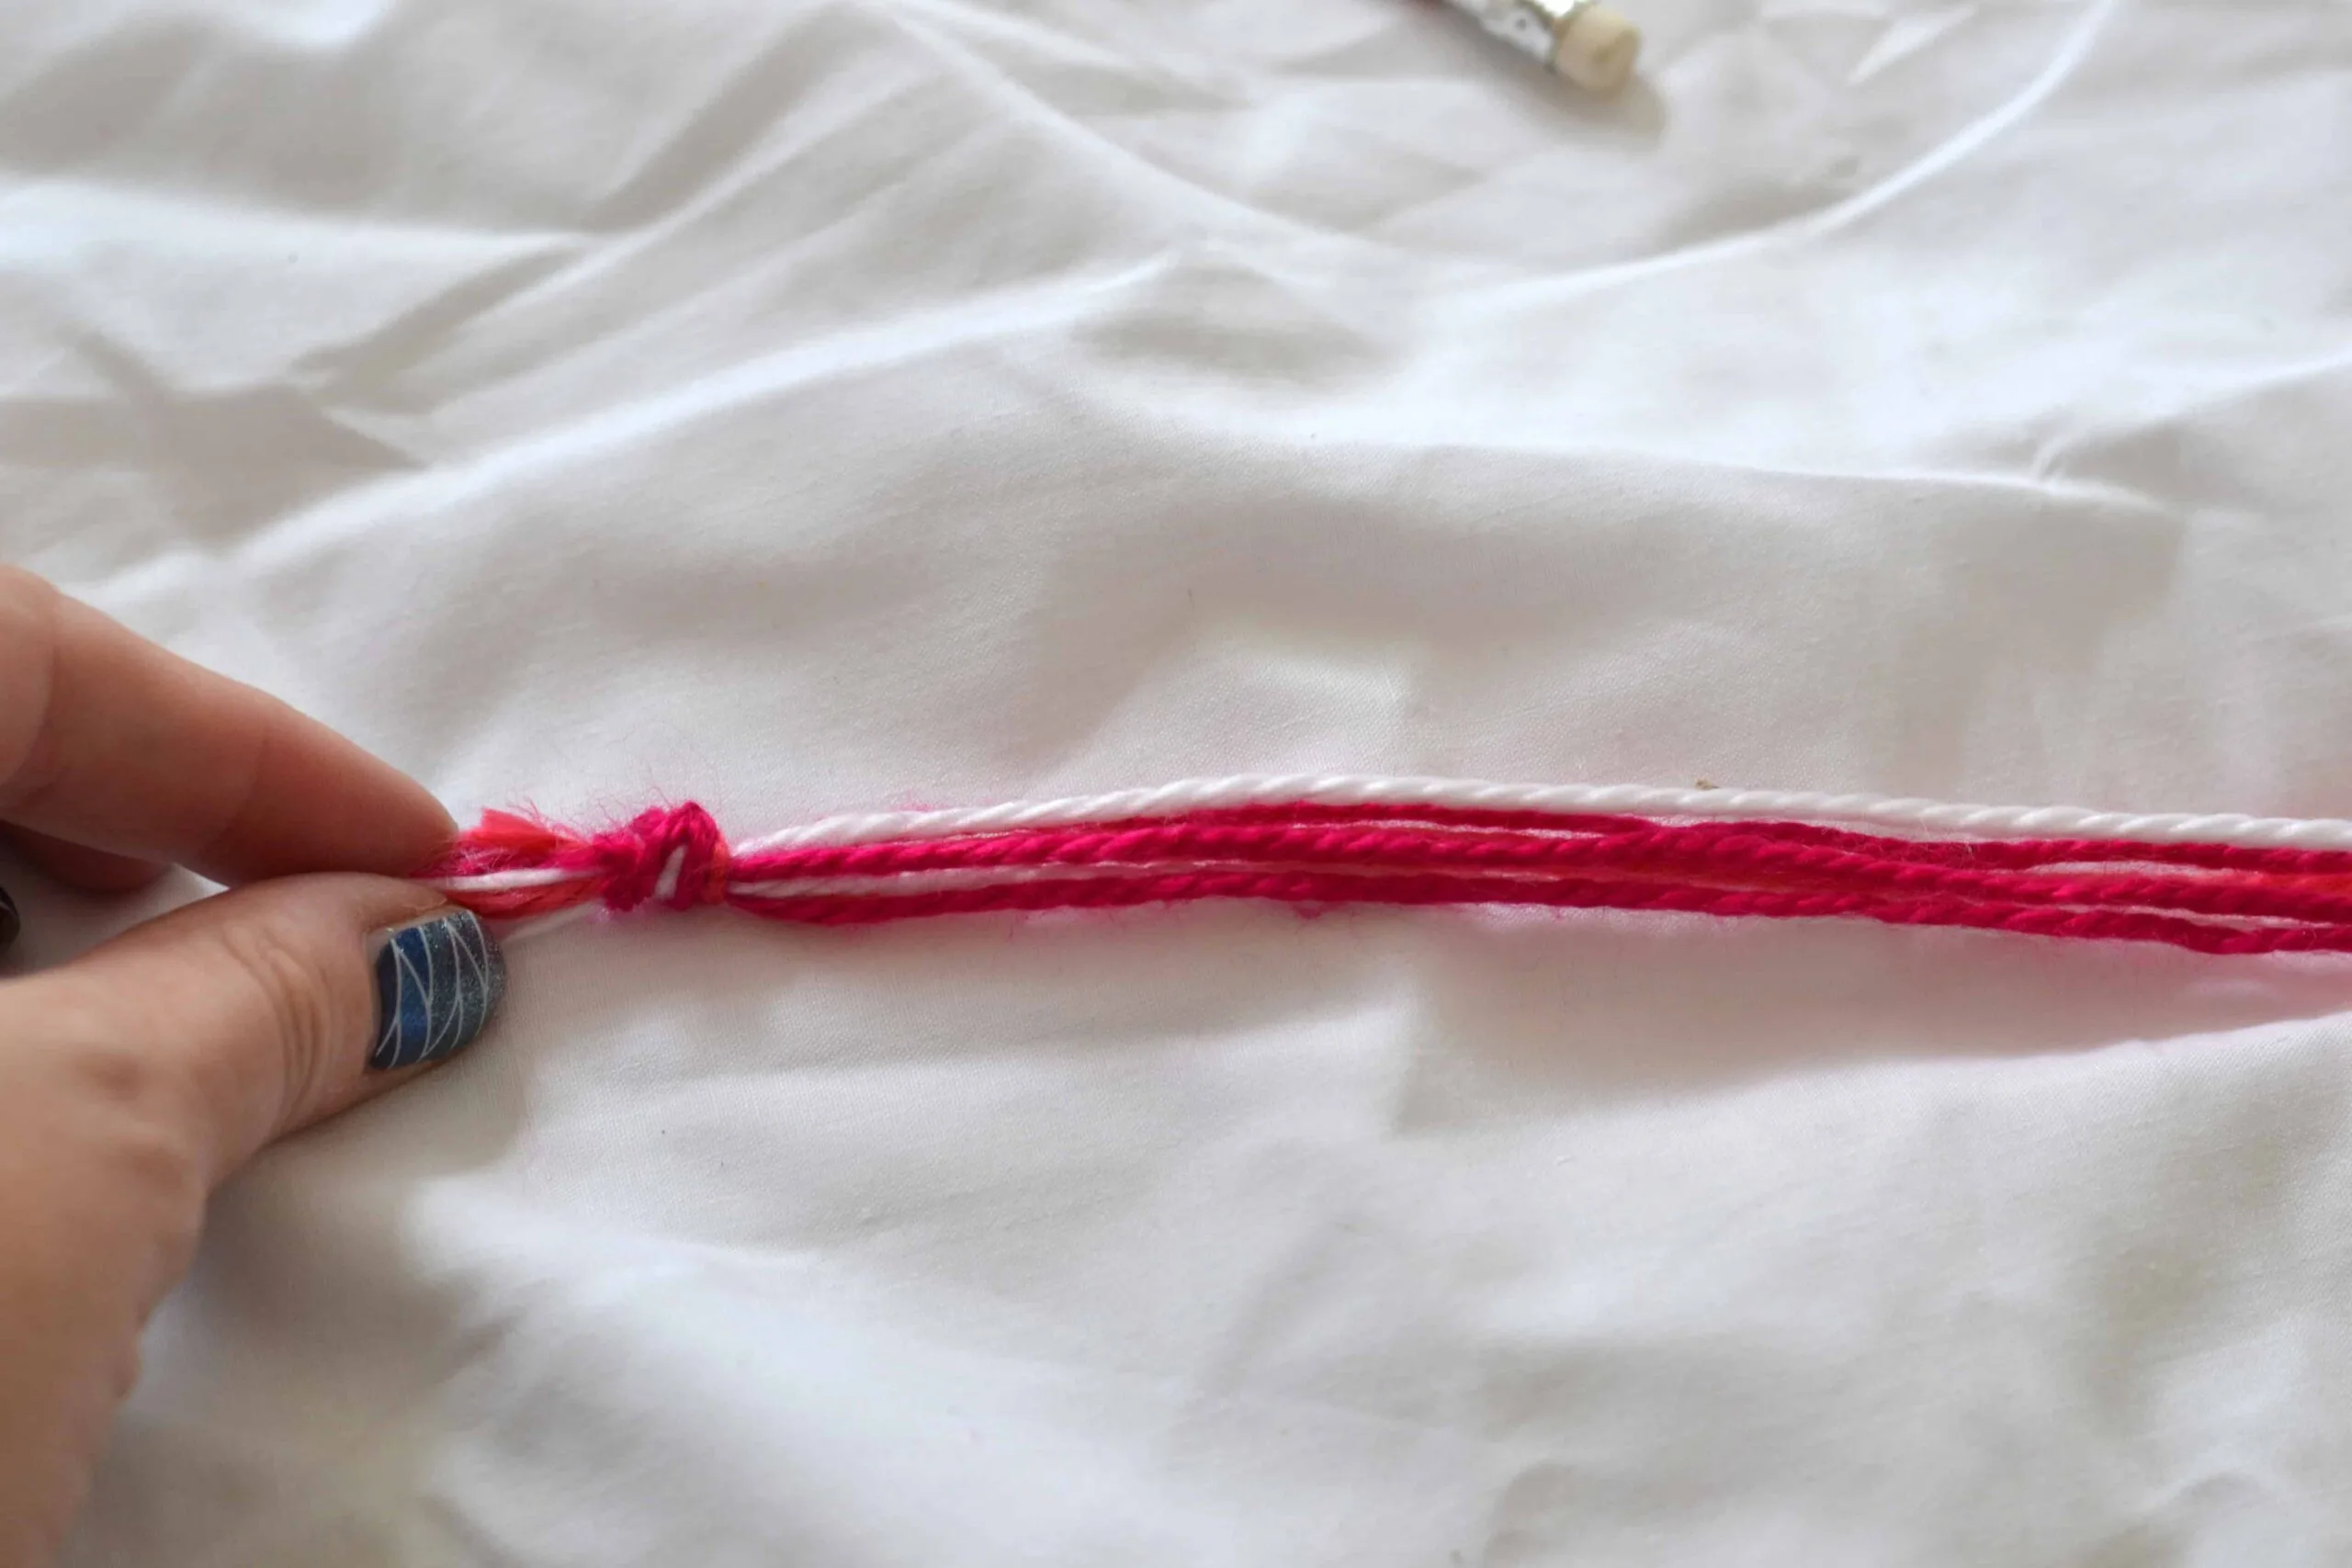
- Trim 7 strands of yarn around 30cms long and tie them in a knot.
- Cut 7 strands of yarn around 30cms long and tie them in a knot.
- Use your pencil point to make a small hole in the middle of your circle. You don’t want it too big or your yarn knot will pull through. Pull your yarn through so the knot is firmly holding it in place.
- Add a strand to each of your marker cuts so there is only one spare. Make sure they are pulled firm. If they are loose you may end up with bumps in your bracelet.
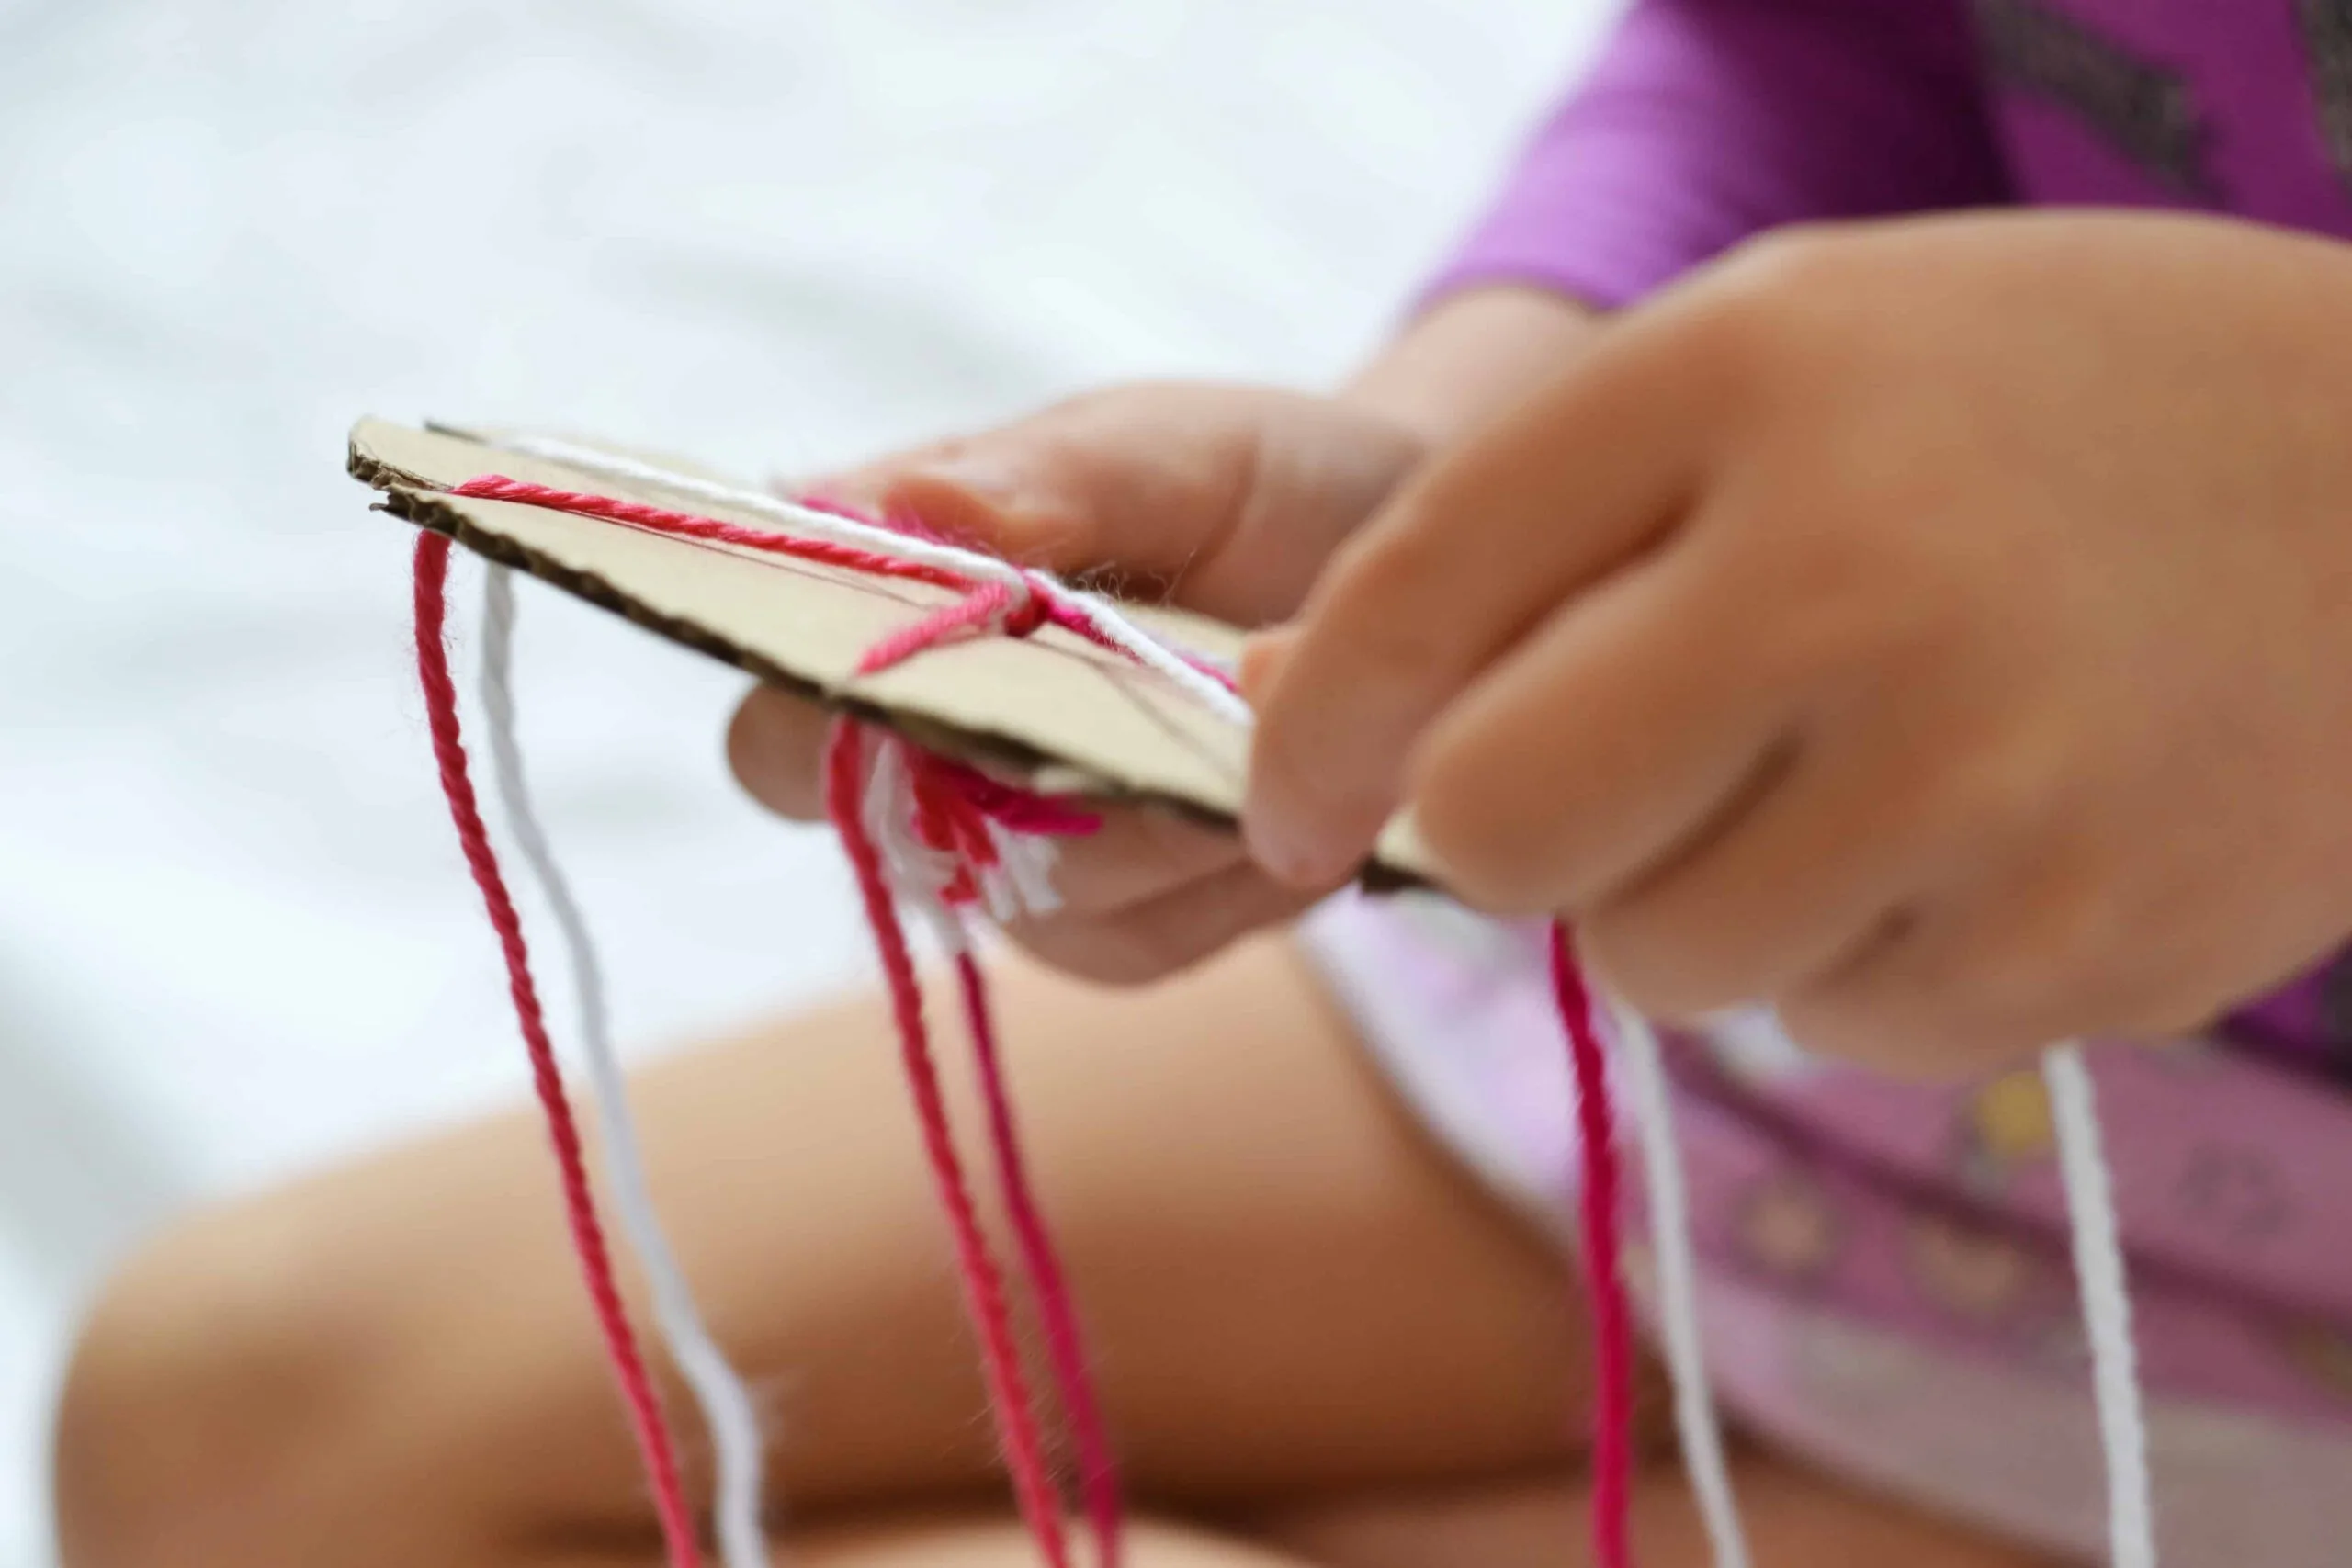
- Count back 3 strands from the empty slot and move this strand of yarn to where the gap is. Continue doing this so that you are looping over every 3rd strand of yarn from the spare marker. You will create a new gap from where you just moved your yarn from.
- Make sure you pull your knot end down often and when it gets long enough you can hold onto it as you are looping to ensure your bracelet is firm as it is forming and no bumps or loose loops occur.
- Once your bracelet has reached your desired length, pull through the cardboard hole and tie the loose ends in a double knot then fasten around the arm.
And that’s all there is to it! Super simple DIY friendship bracelets you can make at home. Your kids can go crazy with different coloured wool and threads.
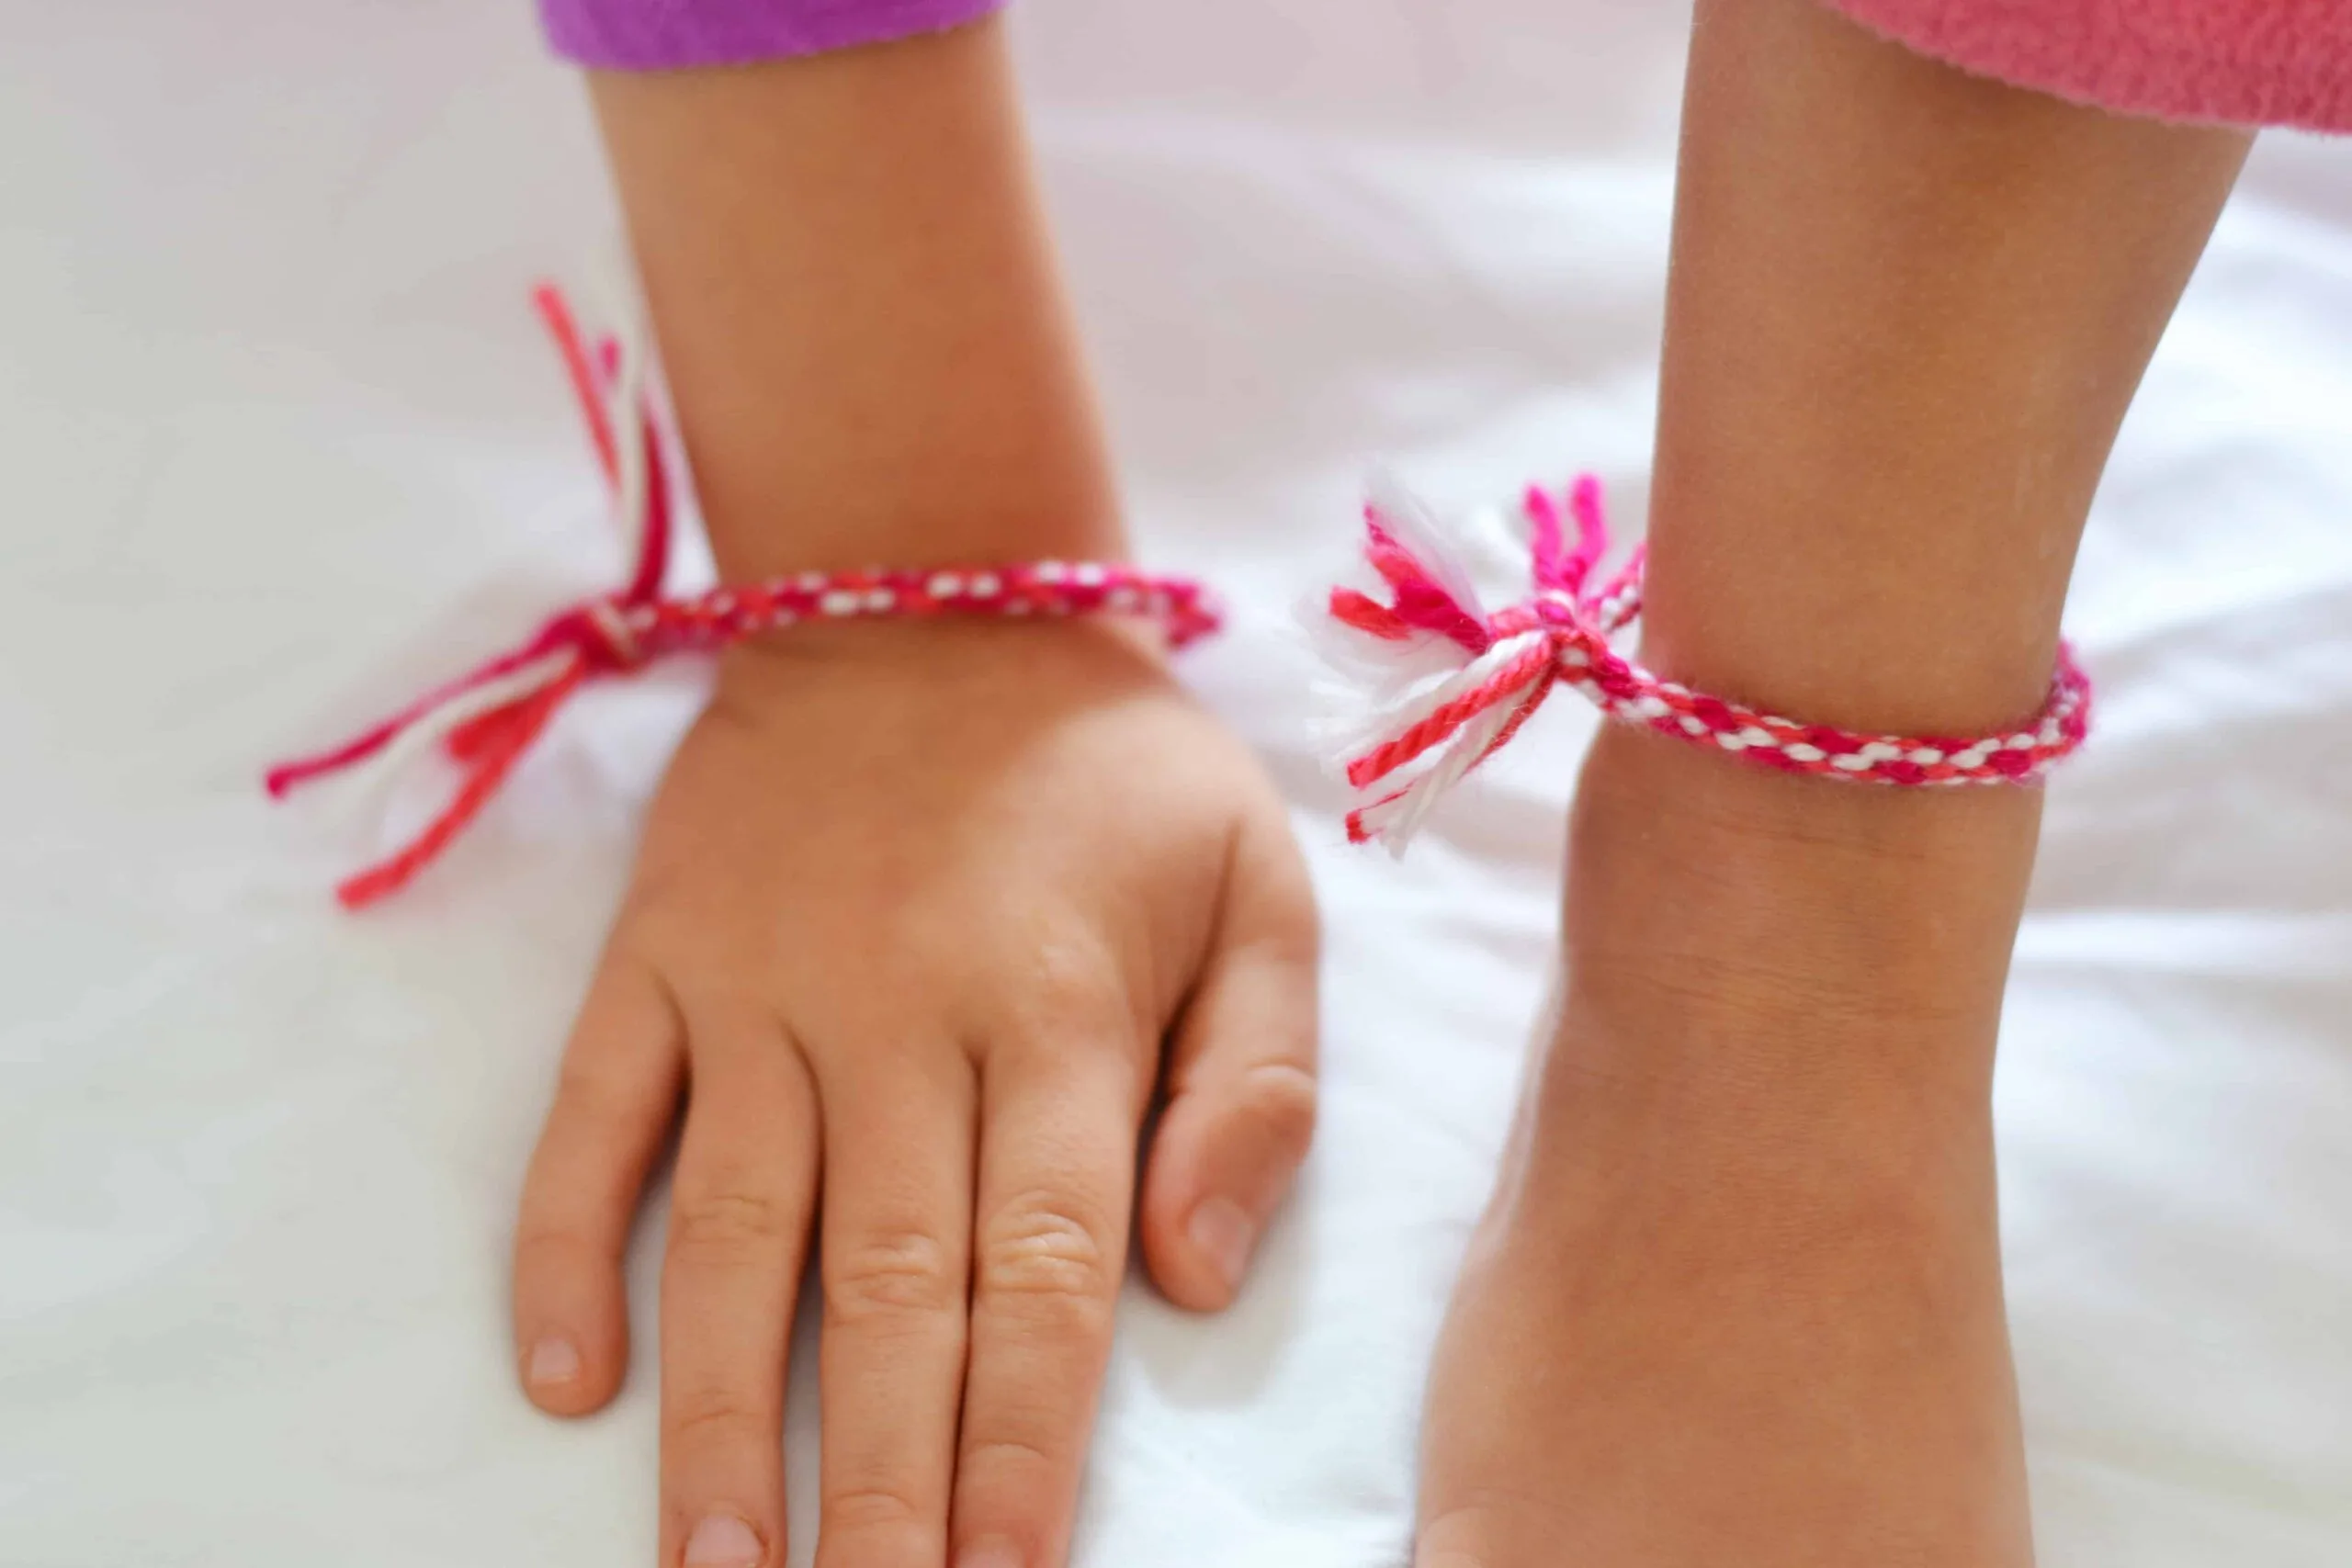
We made ours using just 3 colours and it turned out great. Lots of shades of pink because that’s what my eldest chooses! She’s such a girly girl!
We will be getting a few more colours and also trying some different types of string and thread next time too. You could do this with twine and string as well for a different texture although make sure you choose textures that are soft on the skin.
And just to be different, my youngest decided she wanted to wear one on her ankle instead so technically this is a DIY anklet tutorial too!! Why be the same when you can be different, right?! And oh my gosh I love those tiny feet of hers.
If you are looking for some other fun crafts to make with wool and yarn, check out our recent tutorial on making a pom pom rug too.
We used the same colours so the girls have a floor rug that matches their friendship bracelets! It was also really easy to do although much longer than 15 minutes.
That’s more of an afternoon project than a quick craft!
This is one of our favourite school holiday quiet time activities because the kids love to create different coloured friendship bracelets to take back to school for their friends.
If you have a go at making either the yarn friendship bracelets or the pom-pom rug, make sure you share a pic on Instagram and tag me at @simplifycreateinspire because I would love to see how they turn out!! Hope you enjoy our simple string bracelet round cardboard tutorial!
What colours will you experiment with for your friendship bracelet? Tell me below! And share this post to Pinterest via the image above! Be sure to follow me on Facebook or YouTube for more simple kids craft ideas like this!
For more easy craft ideas:
- Creative activities for toddlers
- How to make playdough
- How to make slime
- Creative play recipes to make at home
- How to make Christmas crackers
- Mindfulness colouring sheets for kids
- How to make a Christmas wreath
- Easy pom pom Christmas decorations
- DIY door sign
- Handmade teacher gift canvas
- Kmart money box hack
- Kmart vanity hack

JORDAN
Thursday 13th of April 2023
CAN YOU PLEASE DO A TUTORIAL ON HOW TO DO FRENCH BRAIDS FRIENDSHIP BRACLETS?THANK YOU!