How To Make A DIY Name Sign For A Bedroom Door
This post may contain affiliate links. Read the full disclosure
Create your own DIY name sign for the bedroom door or as wall art for your kid’s rooms. This is an easy project that you can make as gifts or one that kids can get involved in too! If you are looking for a simple project you can make in an hour, this is a fun option.
DIY Name Sign – Easy Gift Idea
When my daughter Lily was born, she received a lovely gift from a family friend – a handmade bedroom door sign with her name.
This friend isn’t overly crafty herself, so it was a handmade gift she had requested to be custom-made specifically for the gift. At the time I remember thinking how great it looked, but also how easy it would be to create something similar.
It consisted of four mini square canvases, scrapbooking paper, ribbon and other simple embellishments. The kind of stuff I have an abundance of in my craft room.
It was the perfect non-toy gift and one that she still proudly keeps on her door even at age 10.
RELATED READING: Check out these ideas for keeping your craft room organised
When my second daughter arrived, I wanted to have a similar sign for her bedroom door. But with a much longer first name, the mini canvases were not an ideal option.
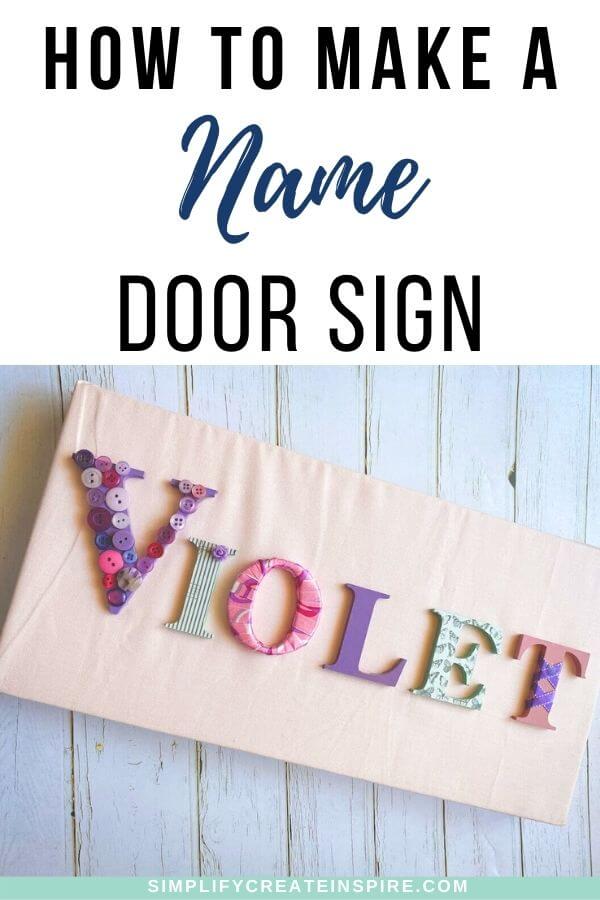
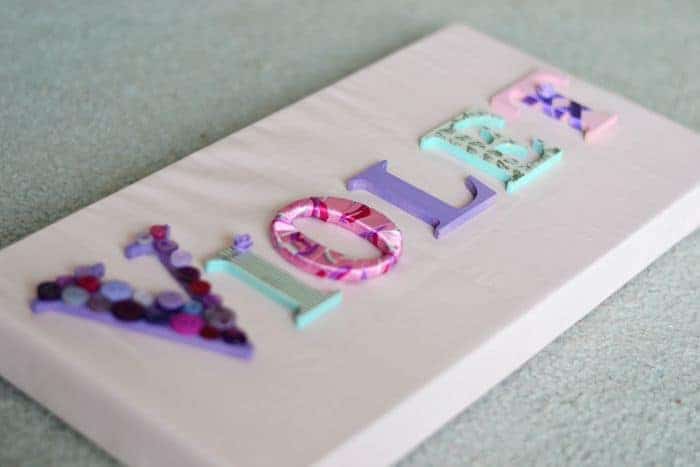
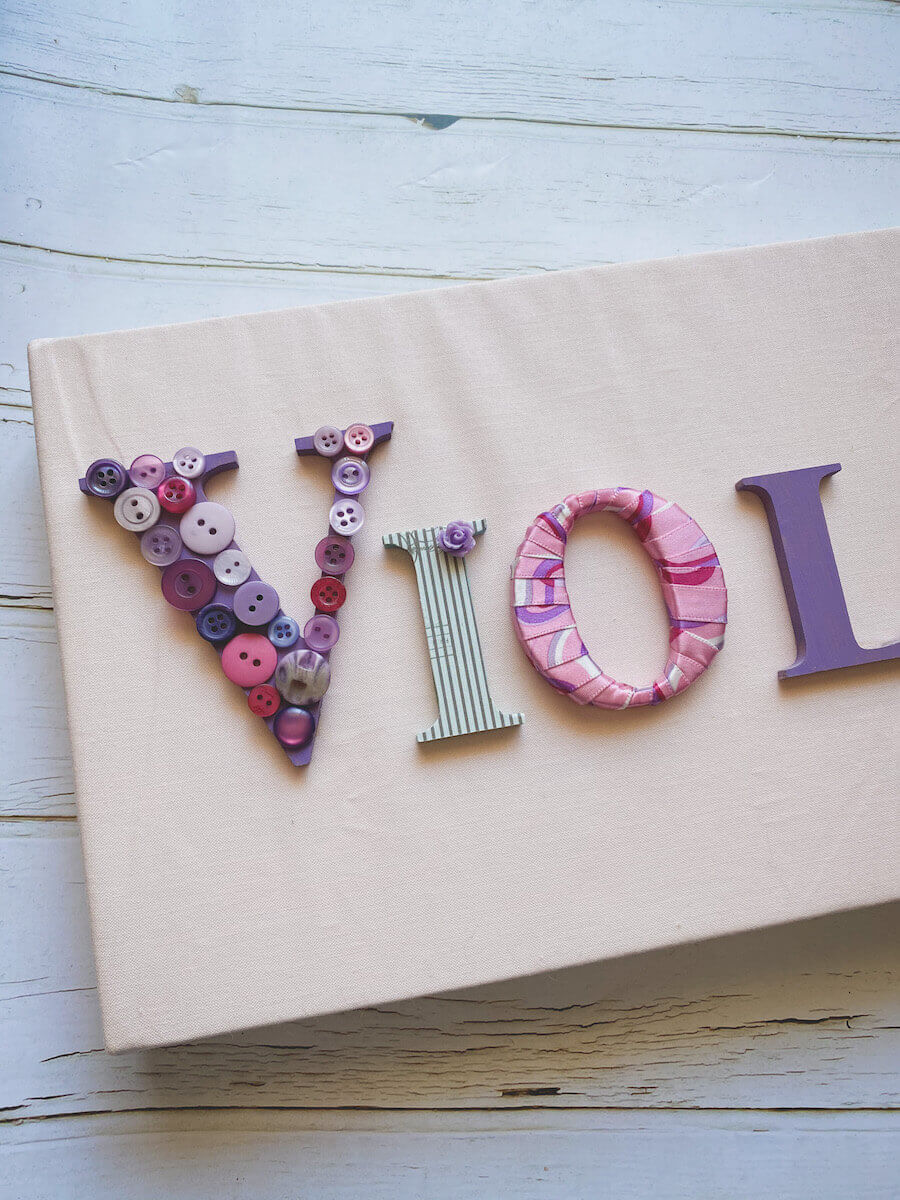
Instead, I created this single canvas name sign using wooden letters and embellishments.
Today I am sharing the very simple process so you can make your very own DIY name plate or wall sign, in any colours and materials you please.
What You Will Need
- Fabric
- Wooden letters
- Small stretched canvas
- Ribbon
- Scrapbook or patterned paper
- Craft glue
- Scissors
- Scalpel/craft knife
- Paint
- Buttons, flowers, paint and other embellishments
How To Make A Canvas Door Sign
You can create a bedroom door sign in as little as an hour or two using a mix of wooden letters and craft supplies you may already have at home.
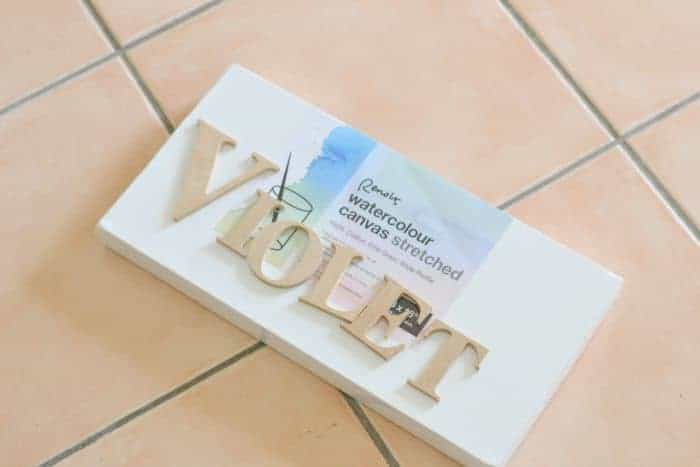
STEP ONE – Cut a piece of material large enough to cover your canvas, or canvases if you are making a separate canvas per letter. Glue fabric in place.
STEP TWO – Decorate each of the letters differently using scrapbook paper, paint, ribbon and other embellishments.
STEP THREE – Glue letters in place. Leave overnight to dry before hanging.
I purchased the majority of my materials from Spotlight Australia, which is a major craft retailer here in Australia.
The wooden letters were the medium-sized letters, and about $1.30 each. They did have other sizes available, depending on how big you want your door sign to be. The canvas was a little more than $10, however, you can purchase a variety of sizes really cheap at discount variety stores.
The other items came from my existing craft supplies, including fabric, ribbons, scrapbooking paper, buttons, paint and embellishments.

Tips
- Use the letters as stencils when cutting out your scrapbook paper to fit.
- My preferred glue is Modge Podge Dimensional Magic. It’s a really strong adhesive and has a tiny tip easy for adding glue to small detailed areas.
- You can use scrapbook paper as your canvas background instead of fabric if you prefer.
- If you are covering the front of your letters with scrapbook paper, you only need to paint the exposed edges of the letters.
3 Steps – very simple! You can make one of these DIY name signs for baby shower or birthday gifts, or for your own kids’ rooms. This is a super quick project you can complete in one sitting, with that lovely handmade touch.
It is a great school holiday craft project to do with the kids, just like this pom pom rug, easy friendship bracelets or super cute oven-baked clay sculptures.
This name door sign is a perfect gift for a new baby or when a child is moving to their own big kid room for the first time.
Or get them involved in creating a door sign together, allowing your child to pick their favourite colours and decorations.
If you are looking for more handmade gift ideas:
What is the best handmade gift you ever received?
