DIY Pom Pom Christmas Decorations Kids Can Make In 2 Minutes
This post may contain affiliate links. Read the full disclosure
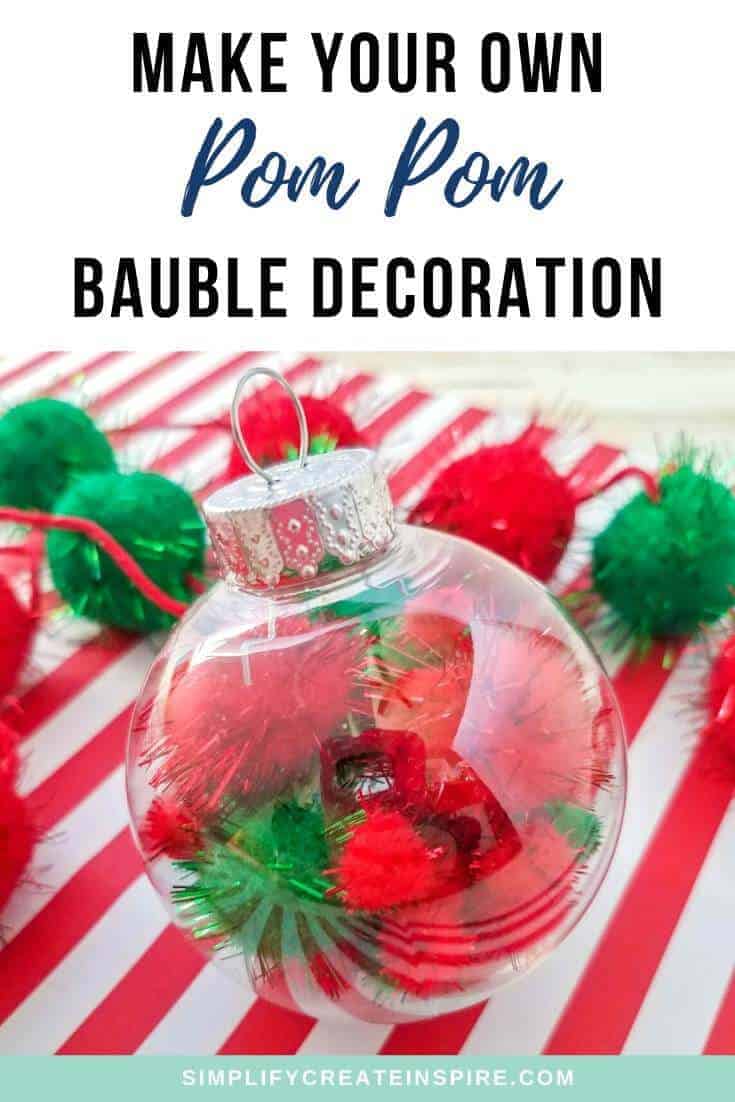
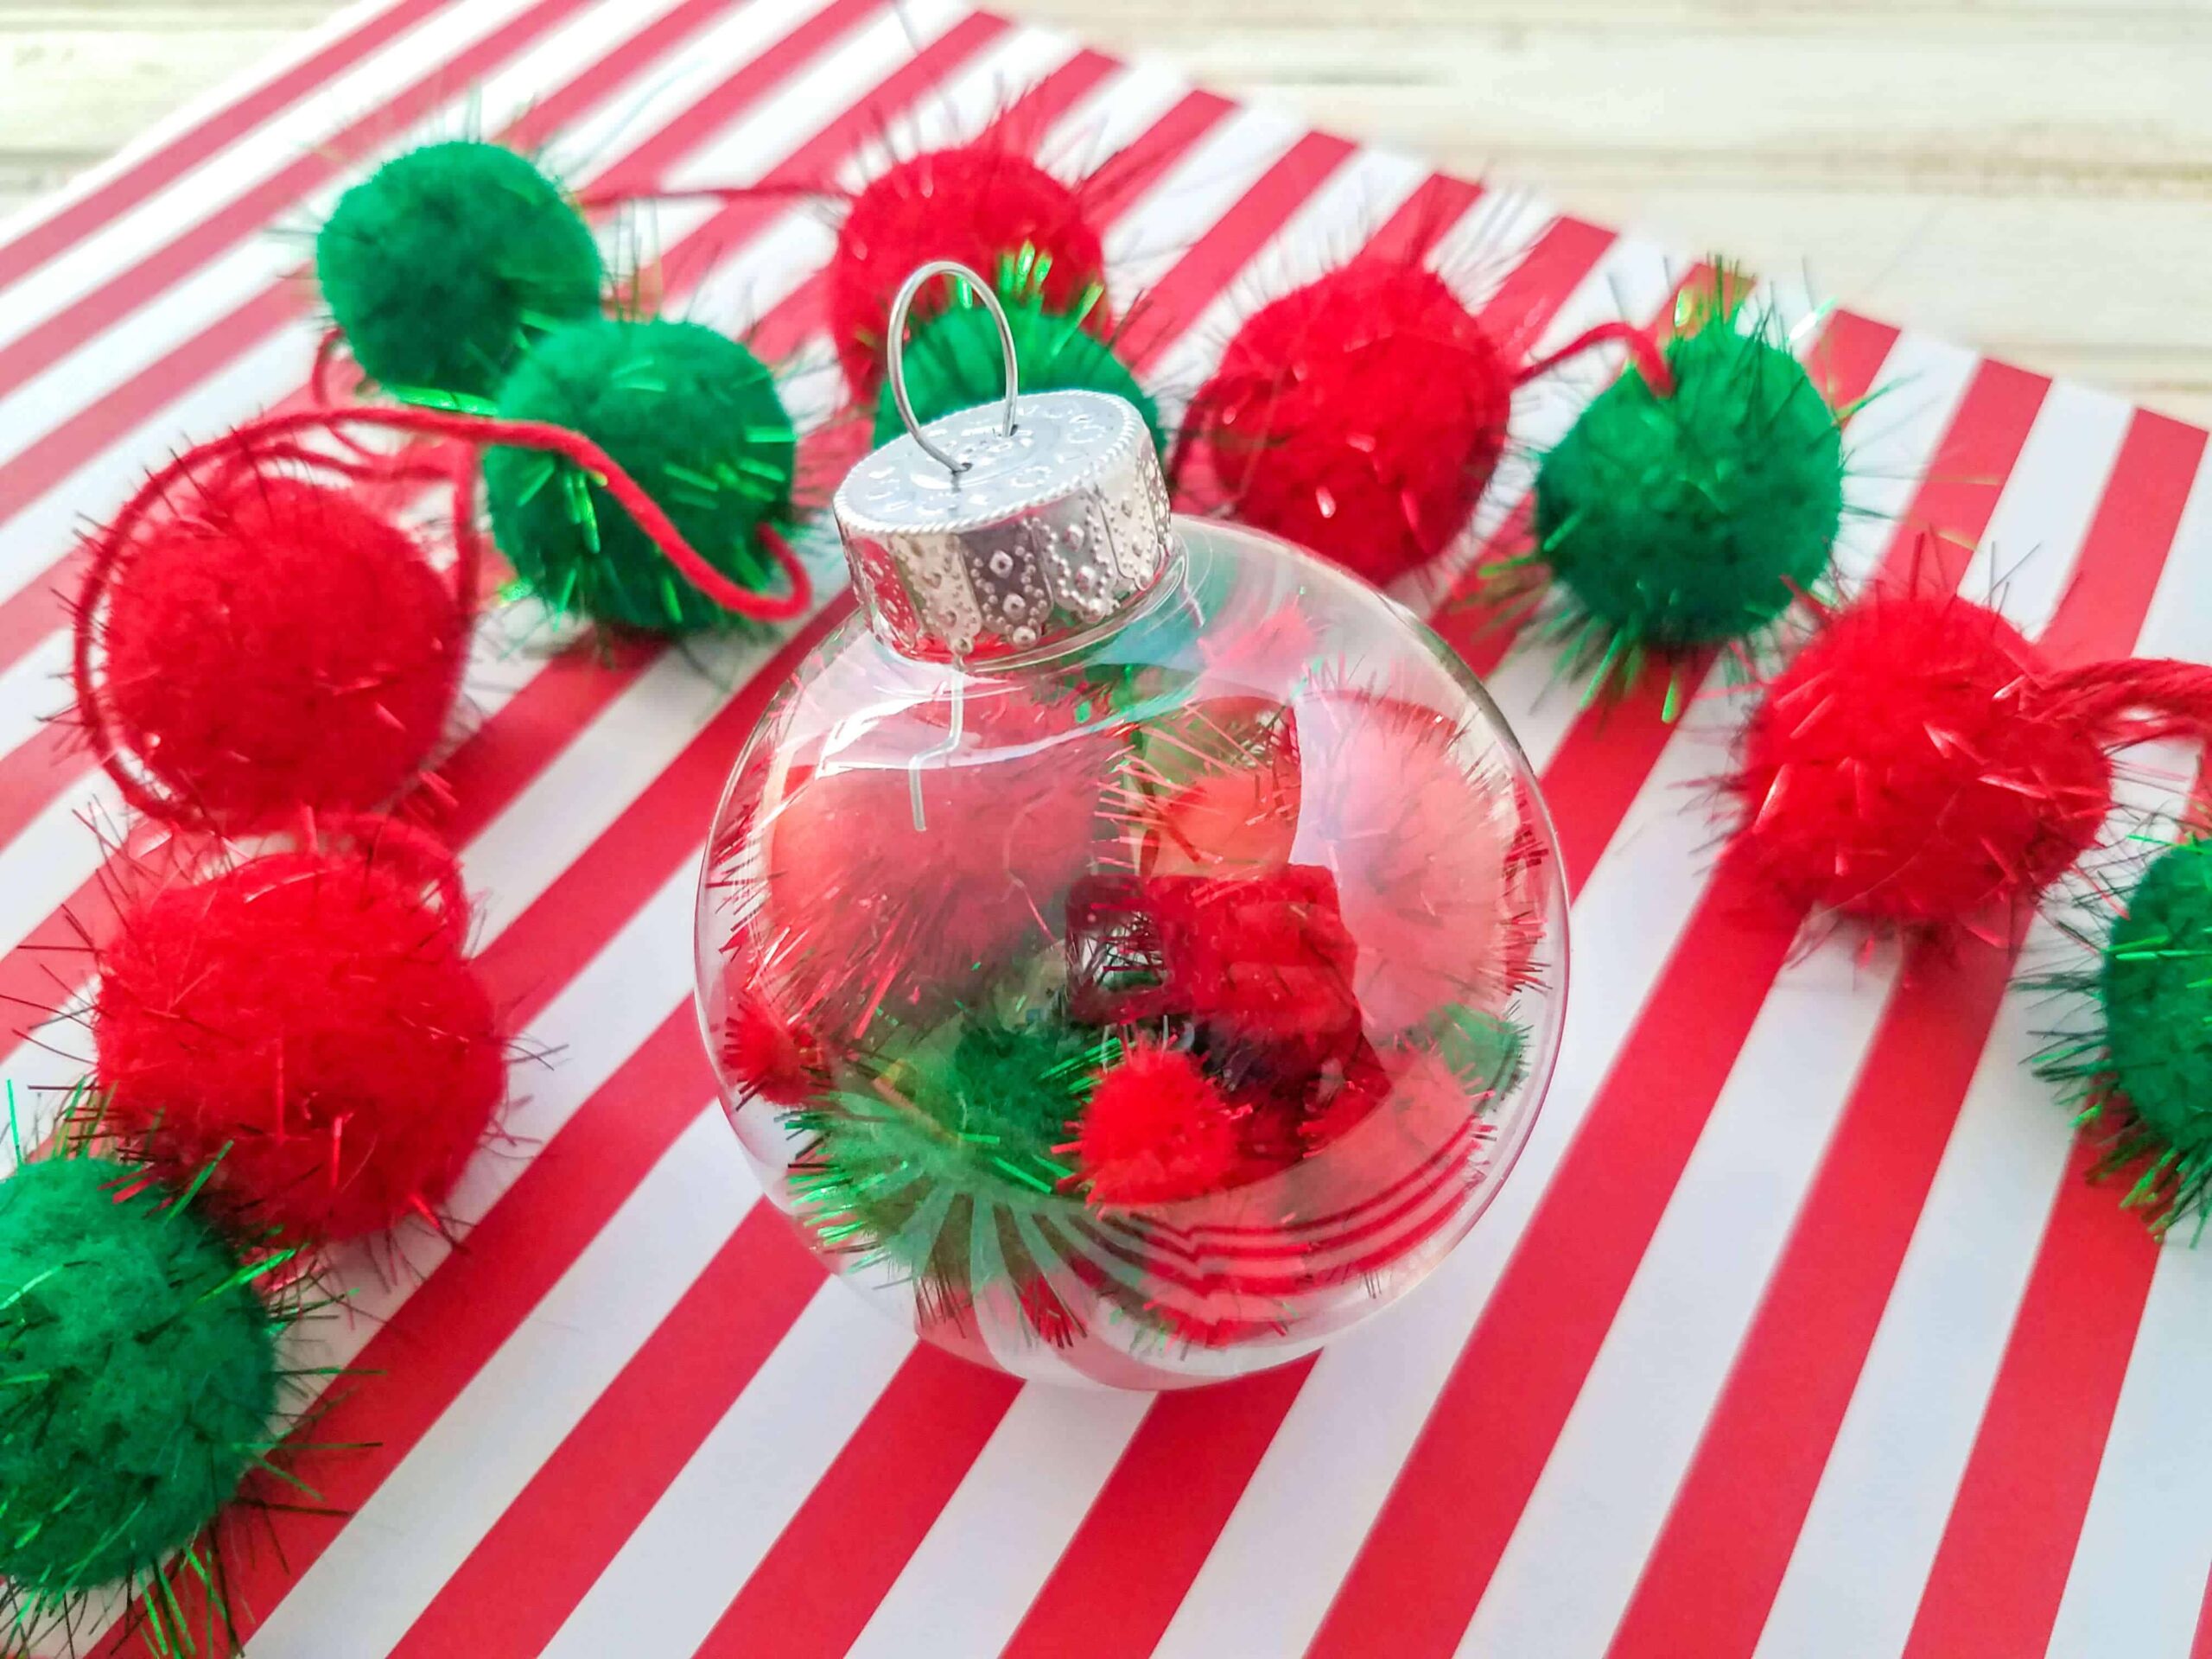
Fill a clear plastic bauble with pom poms, and you have finished Pom Pom Christmas decorations in about two minutes. That’s the whole craft, making it the perfect kids’ Christmas craft activity.
It’s one of the few Christmas decorations kids can make on their own. There’s no glue, no mess and nothing sharp, and the whole lot costs a few dollars from a discount store.
Why These Work So Well For Kids
Most Christmas crafts for kids involve glue, scissors or paint, which means supervision and a clean-up job afterwards.
These need none of that. A three-year-old can push pom poms into a hole. An older kid can get fussy about colour combinations and spend half an hour on it. Either way you end up with something that actually looks good on the tree rather than something you feel obliged to hang.
They also make a cheap class gift for the end of the year. A bag of baubles and a bag of pom poms will get you through a whole class for very little, and the kids can make them themselves.
What You Need
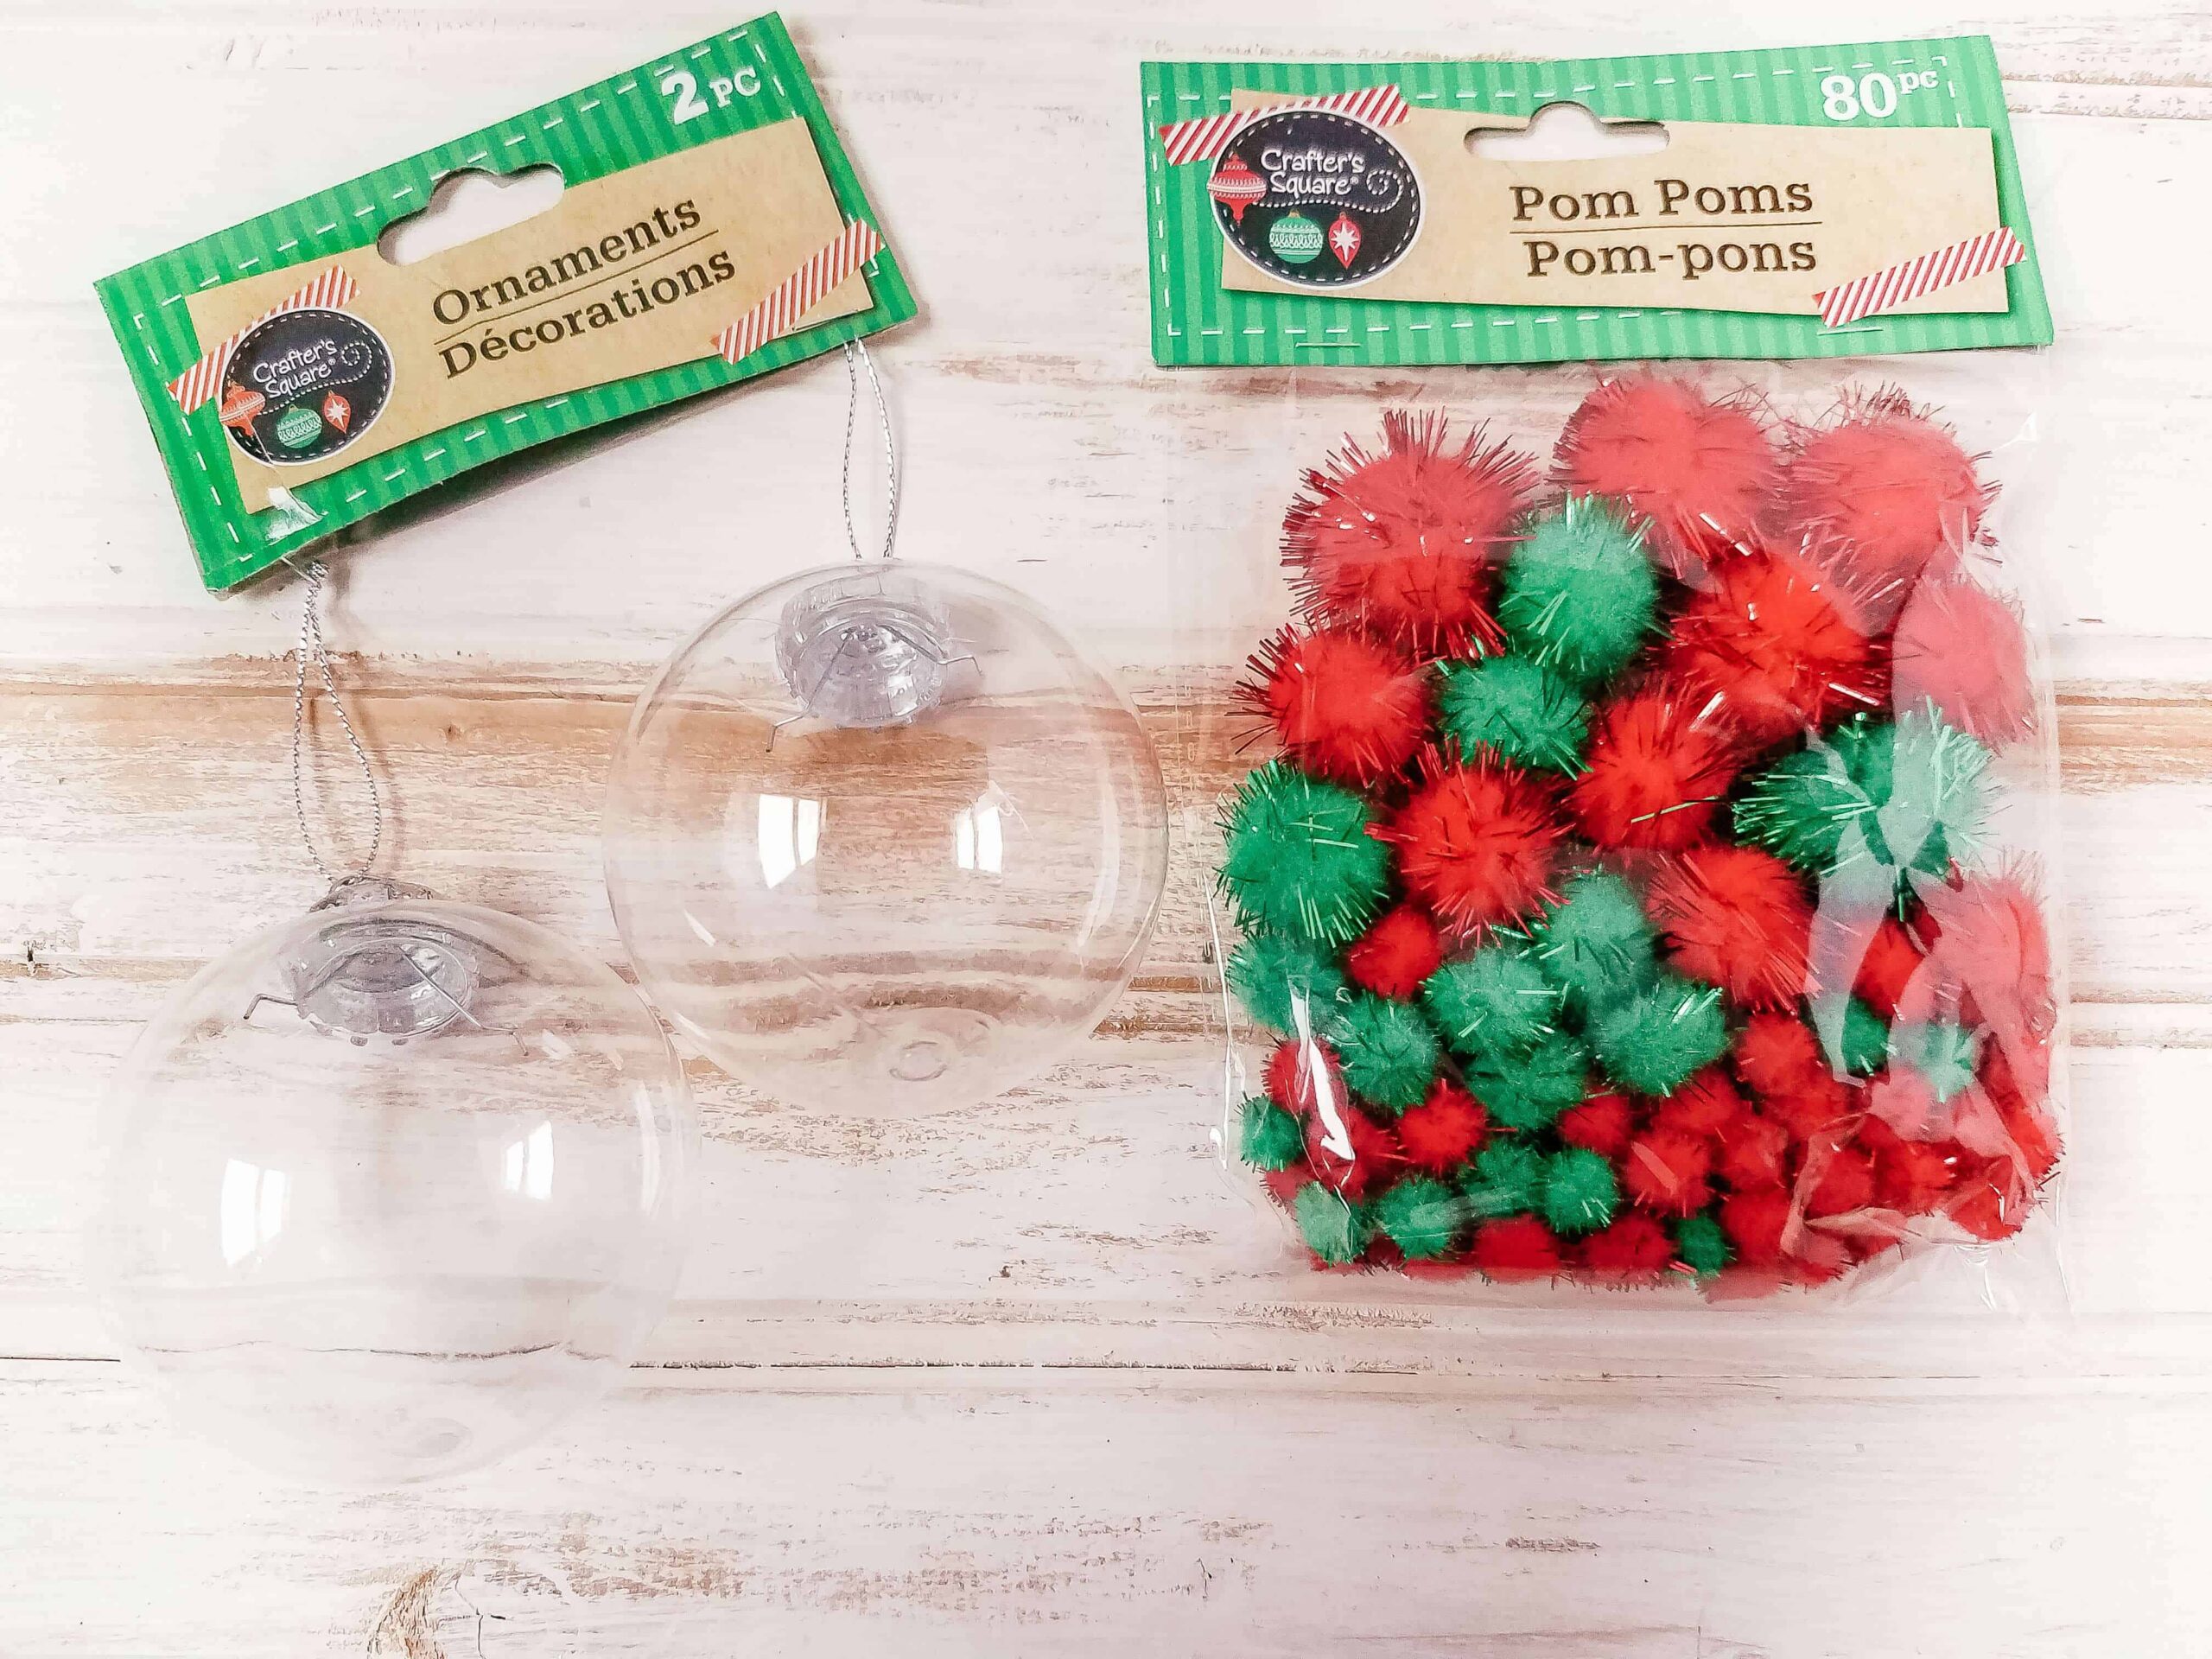
- Clear plastic bauble ornaments that come apart at the top. Plastic rather than glass, since these are for kids.
- Pom poms in a few sizes. Mixed bags are best because the small ones fill the gaps.
That’s it. Both are available at Kmart, Big W, a discount store or online.
On sizing: the pom poms need to fit through the hole at the top of the bauble, so check before you buy. Most standard craft pom poms fit through a standard bauble opening, but the jumbo ones won’t.
How To Make Pom Pom Bauble Ornaments
Create your own Christmas pom pom decorations for the tree or give them as gifts.
Total Time: 2 minutes
Step 1
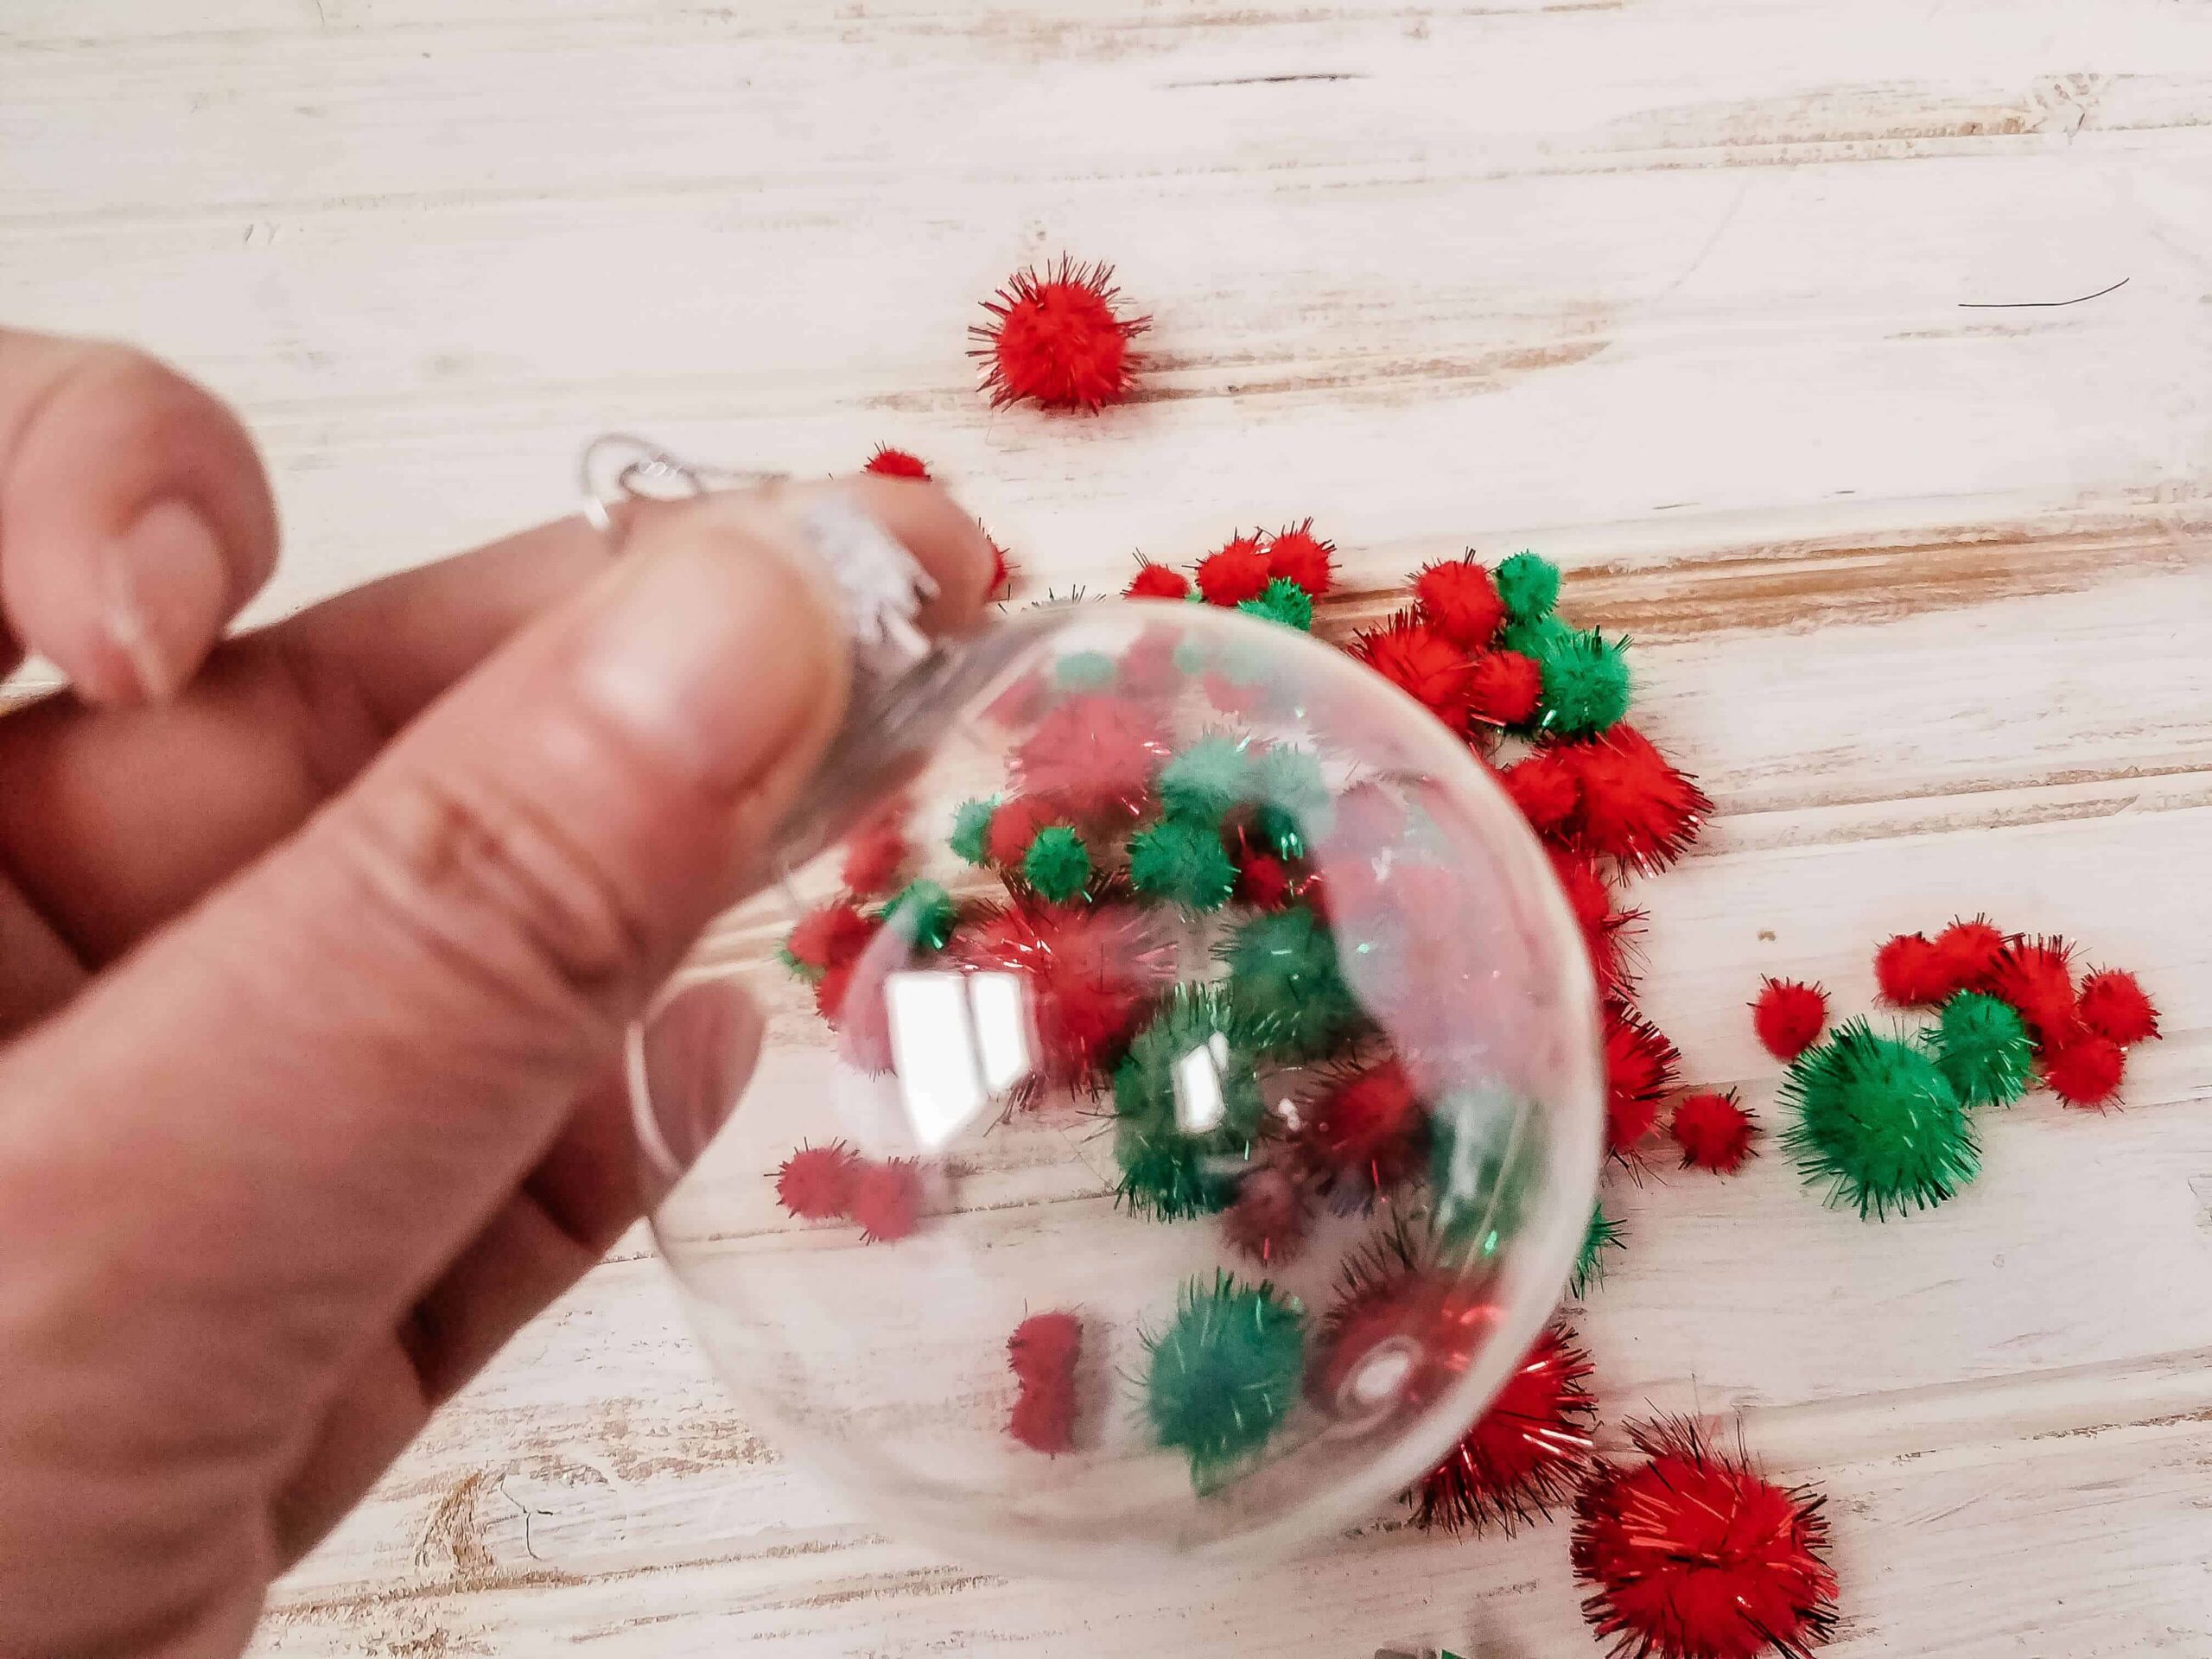
Pull the silver hanging cap off the top of the bauble. It should lift straight out. Keep it somewhere it won’t roll off the table, because they’re small and they disappear.
Step 2
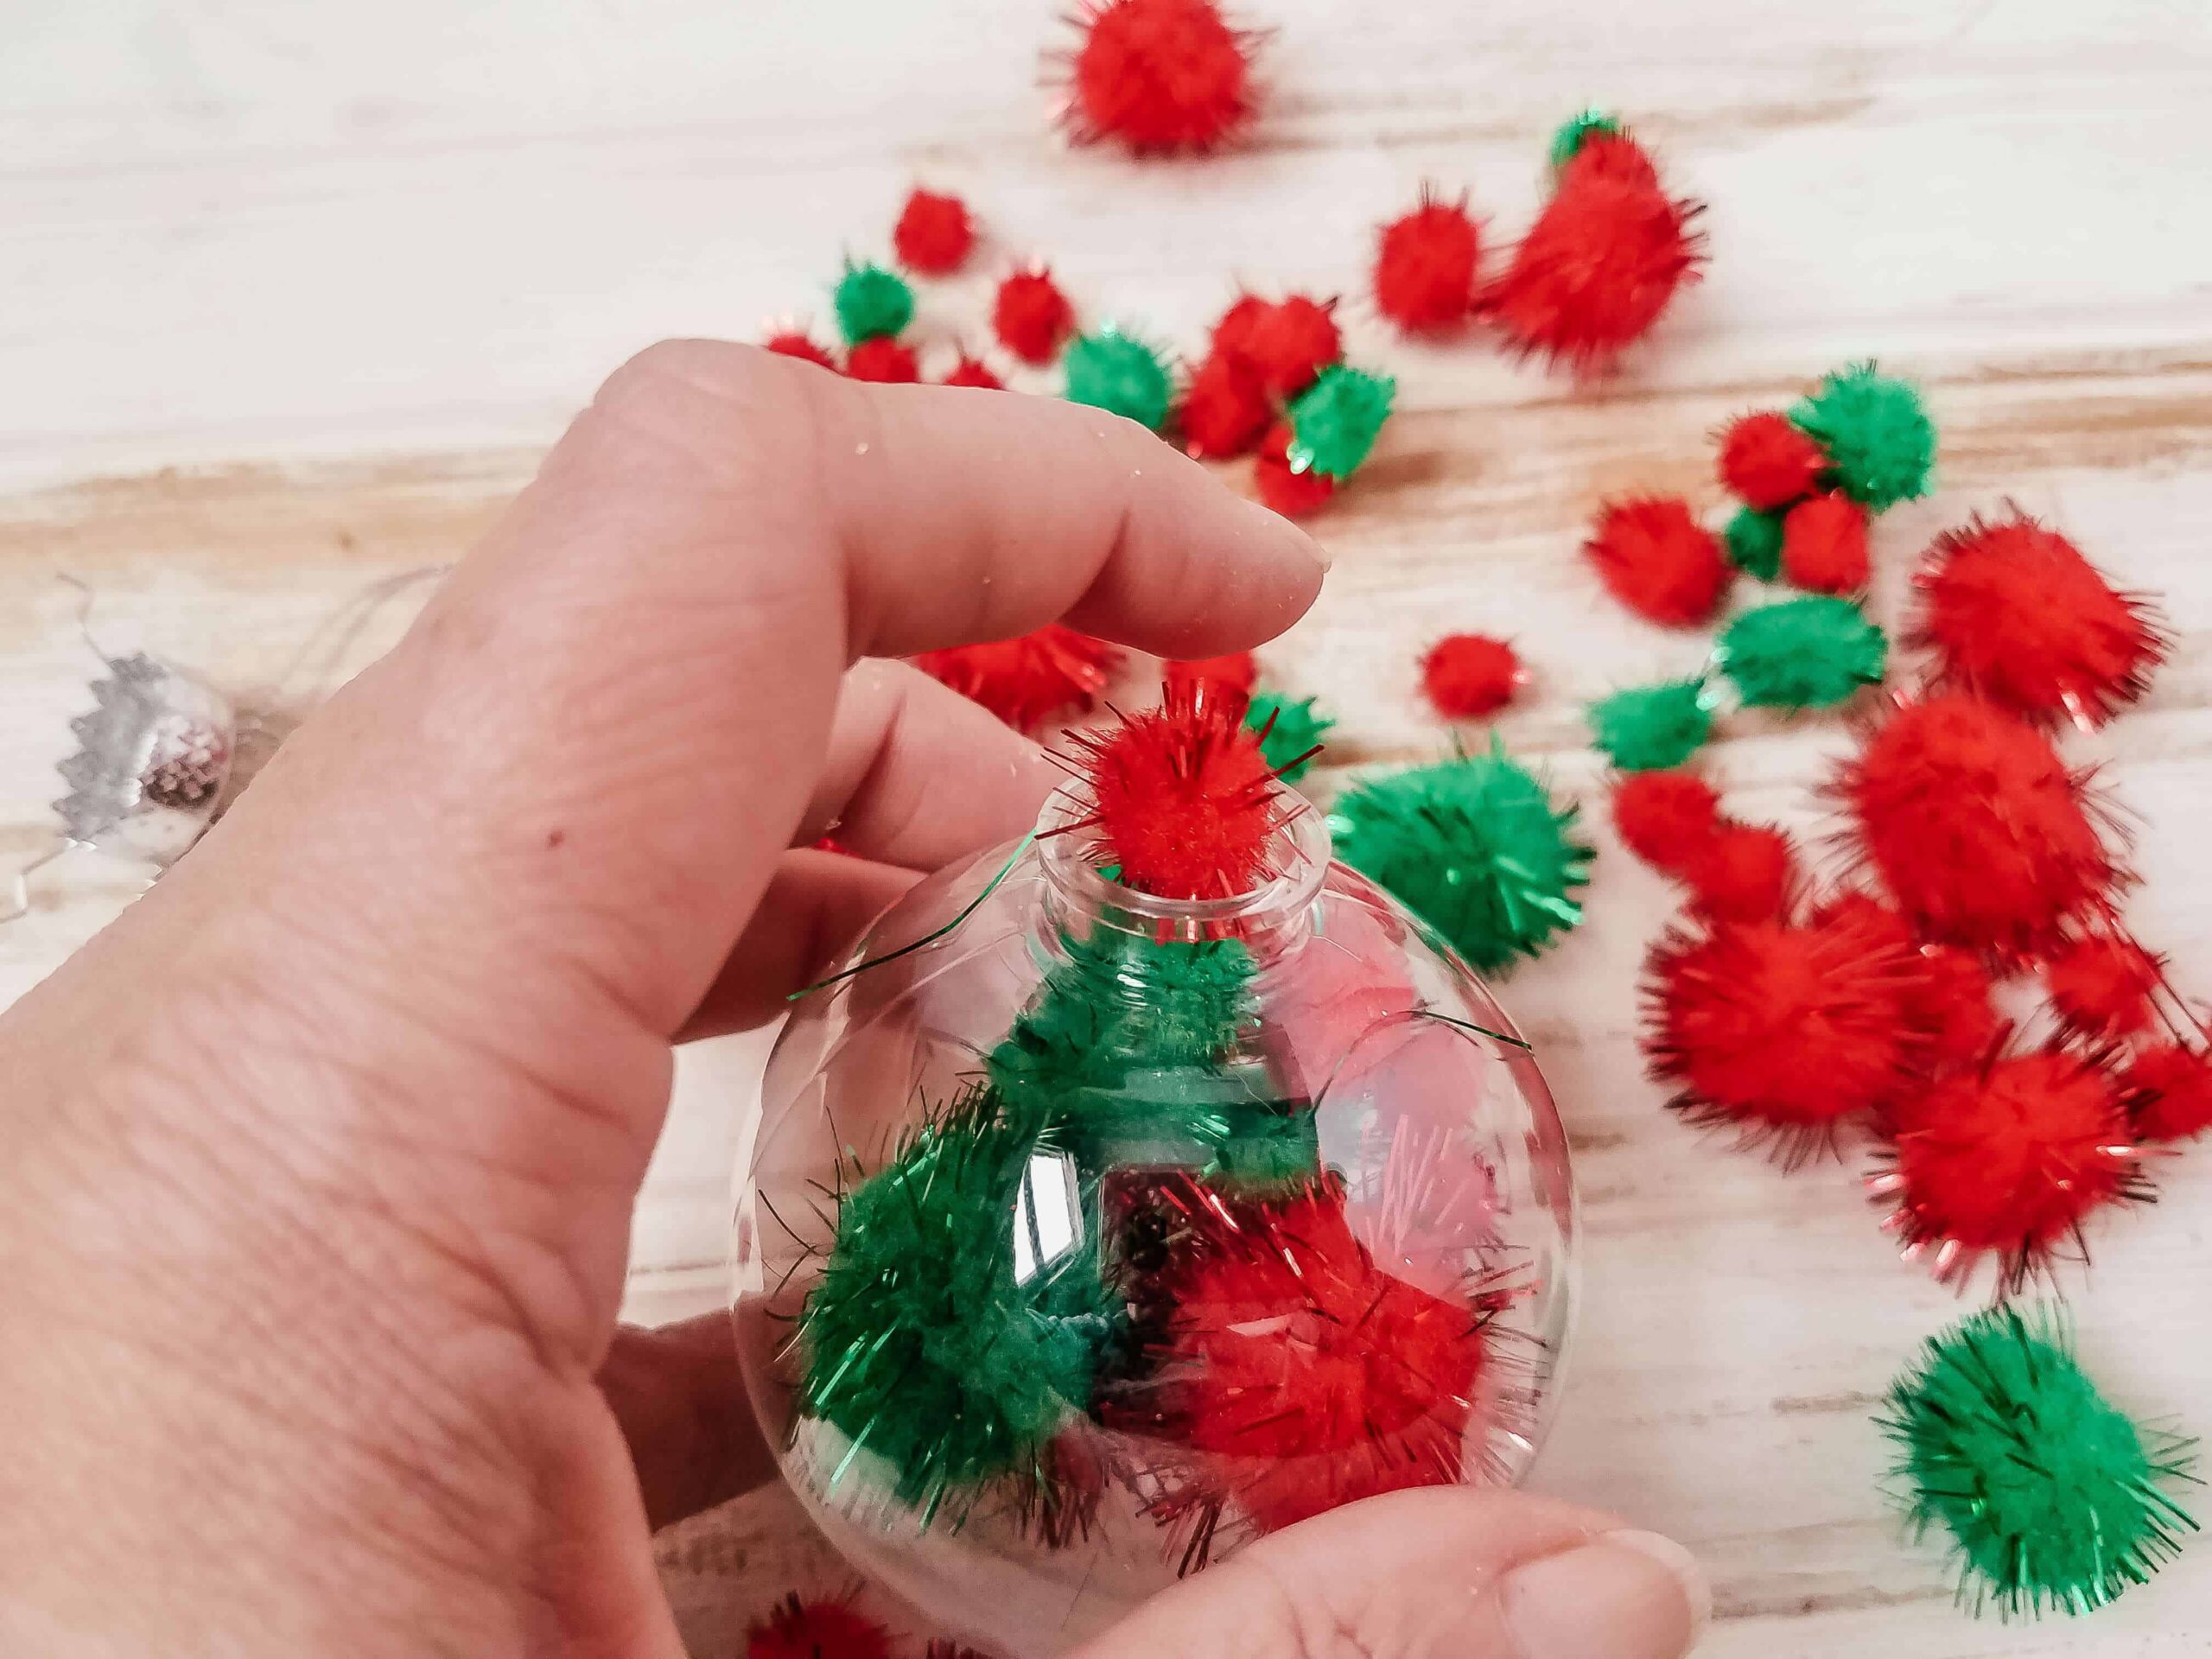
Push pom poms through the hole one at a time, mixing colours and sizes as you go.
Do the big ones first, then use the small ones to fill the gaps.
If you fill it with small ones first there’s no room left for the big ones and it looks patchy.
Don’t overfill it. The pom poms should sit loosely rather than being crammed in, so they keep their round shape and you can still see the individual colours.
Step 3
Press the cap back into the opening until it clicks. Give it a gentle shake to check it holds.
Step 4
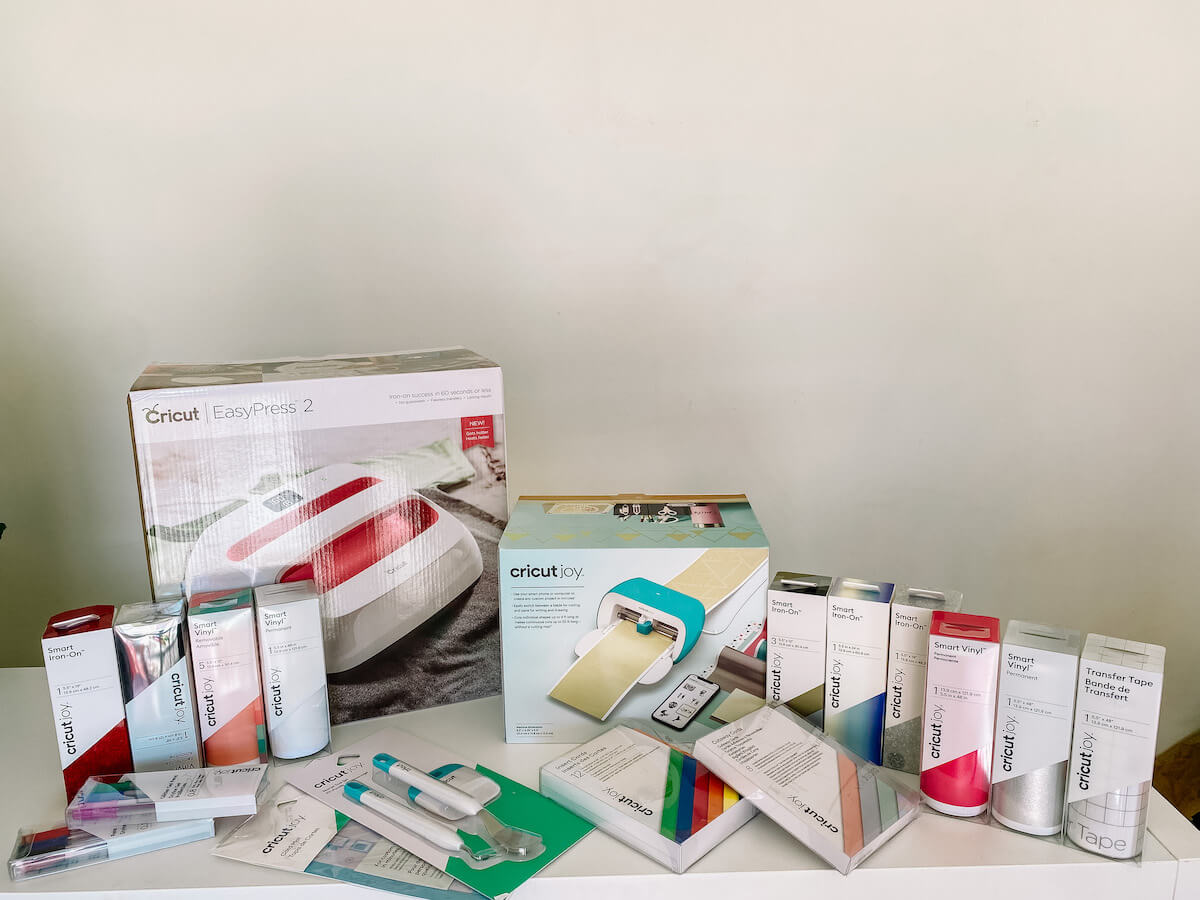
Add any extra decorations you wish to add, such as ribbon, bows or personalisation, such as adding names with a vinyl cutting machine, like a Cricut Joy.
Colour Combinations That Work
The default is red and green, but a few others look better on a tree:
- Red, white and green with the white breaking up the traditional two
- Gold, cream and white for a neutral tree
- All one colour in different shades, so five reds or five greens
- Rainbow if the kids are choosing and you’ve given up on a colour scheme
- Pastels for a nursery or a kid’s own little tree
Letting each child pick their own colours and making one a year is a nice way to build up a set they’ll recognise as theirs.
Ways To Make Them Special
Add a name
If you’re giving these as gifts, adding the recipient’s name turns a cheap craft into something people keep.
A glitter pen works if your handwriting is tidy. Adhesive letter stickers are more forgiving. For a proper finish, adhesive vinyl cut on a Cricut or Silhouette Cameo gives you a clean result and lets you do a whole class quickly. More Cricut Christmas projects here.
Add a bow
A ribbon bow glued at the top covers the join and makes it look far more finished than the two minutes it took.
Add the year
A small vinyl or handwritten year on the back turns it into a keepsake. Do one a year and by the time they leave home they’ve got a set.
Make your own pom poms
If you want to stretch this into an actual afternoon rather than two minutes, make the pom poms from scratch. Cardboard and wool works, or a pom pom making kit makes it easier for smaller hands.
Fill them with something else
The same technique works with tinsel offcuts, small foam shapes, shredded paper or fairy lights on a battery string.
Making Them As Class Gifts
If you’re doing thirty of these for a class, a few things save time:
- Buy the baubles in bulk, since a pack of 20 or more works out far cheaper per bauble
- Set up a production line, with one kid pulling tops off, one filling, one closing
- Do the names before you fill them, because it’s easier to write on an empty bauble
- Pack them in the cardboard tray the baubles came in so they don’t get squashed in school bags
More ideas over in my class gift ideas for students and my Christmas gifts kids can make.
Storing Them
These crush if you put anything on top of them, so keep them in the tray or box the baubles came in. They’ll last for years as long as nothing sits on them.
Want more Christmas printables and crafts? Grab my free printable library, or check out my Christmas paper craft bundle for more decorations to make.
More Christmas crafts:
- Candy cane photo Christmas cards
- How to make giant Christmas ornaments from plastic balls
- DIY Christmas garlands
- No-glue bauble wreath
- DIY Christmas crackers
- Homemade Christmas decorations
- Christmas gifts kids can make
- DIY class gift ideas for kids
- Free printable Christmas colouring pages
- Cricut crafts for Christmas
More craft ideas for kids: