Is your bathroom in need of a deep cleaning? If your bathroom is starting to look a little worse for wear, read on! I will show you how to deep clean your bathroom in a step-by-step guide that will have it looking like new in no time!
This is the ultimate bathroom deep cleaning checklist to take the overwhelm out of cleaning your space.
This cleaning product and these scrubbing pads are my essentials!

Table of Contents
How To Deep Clean A Bathroom: A Step By Step Guide
Even if you do have a regular cleaning schedule to keep on top of your everyday cleaning at home, over time our spaces need a little extra attention and TLC!
That’s where deep cleaning comes in! Many people save deep cleaning for their annual spring clean, however, I like to do this at least every 6 months. This helps keep the bathrooms fresher and it makes it much less daunting than leaving it for your annual spring clean!
This bathroom deep cleaning checklist will take you through each area of your bathroom with a step-by-step process on how you can get everything sparkling clean again.
But first, let’s prepare for your bathroom cleaning session!
Essential Supplies For Bathroom Deep Cleaning
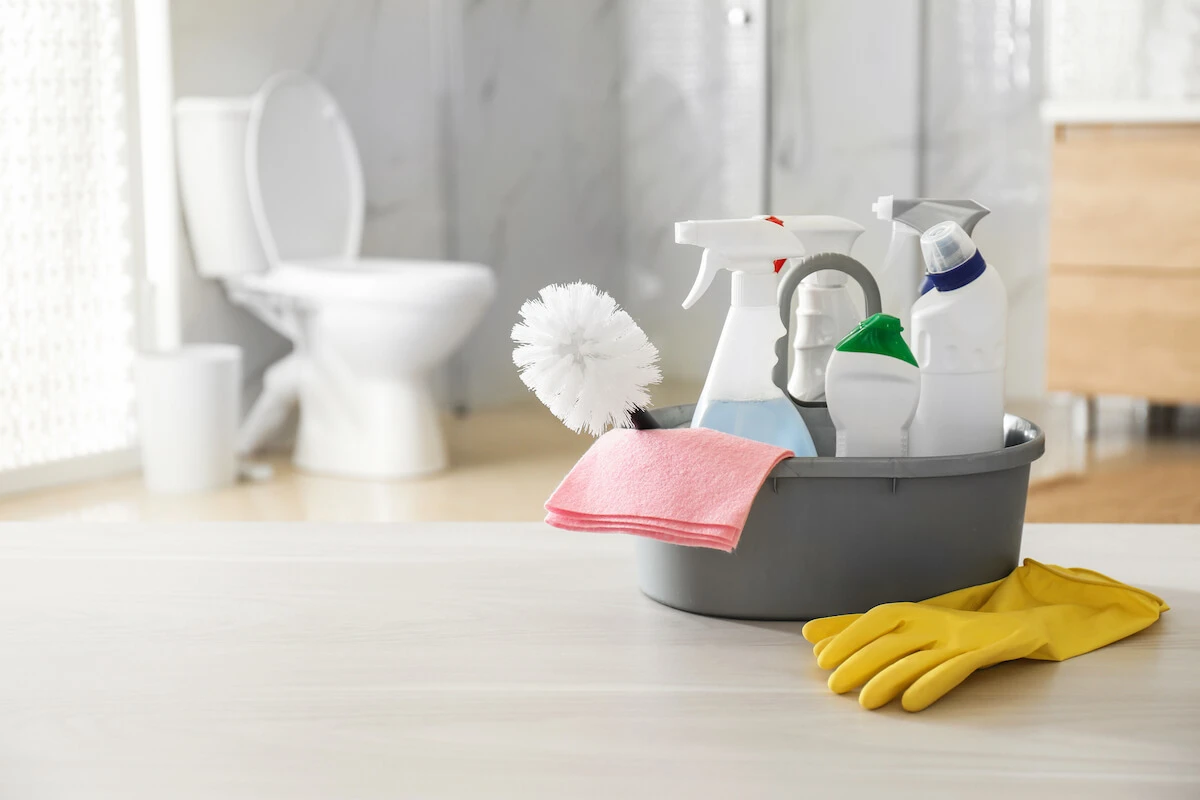
Before deep cleaning your house, it always helps to have your essential cleaning supplies ready to go.
This saves you time in the moment and helps keep the motivation high when you don’t have to stop partway to go find something (or worse… go buy something you don’t already have!).
There’s a good chance you have your own favourite cleaning supplies that you use for your bathroom or multi-purpose supplies you use for several areas of your house. If so, go ahead and collect those ready to get started.
I like to have my cleaning supplies in a basket that I can grab and take room to room. I store it under the kitchen sink for quick access and keep my main cleaning products plus clean clothes and sponges ready for my next cleaning session.
In case you don’t have any preferences, here are my favourite bathroom cleaning products and tools:
- The Pink Stuff Miracle Cream Cleaner – This is great for bathrooms although they do also have a bathroom cleaner in a spay format that is great too!
- Magic Erasers – These work like ‘magic’ to remove scuff marks off walls and furniture.
- Scrub Mummy Sponges – These are amazing for cleaning showers & can be sanitised in the dishwasher!
- Rubbermaid Battery Operated Grout Scrubber – Save some elbow grease with this fantastic tool!
- Bar Keepers Friend Cleanser – Useful for so many things but cleaning soap scum off shower glass is my favourite purpose! Add it to some water to make a cleaning paste.
- Cleaning cloths – Microfibre and antibacterial cleaning cloths are a great option for cleaning most surfaces in the home. They can be washed and reused.
- Buckets – At least 2 large buckets are always useful to have on hand for soaking and washing.
- Vinegar – Stock up on supermarket white vinegar. There is absolutely no need to pay extra for ‘cleaning’ vinegar.
- Baking soda – You may have some in your pantry already. If not, get yourself a large box because this ingredient is very useful!
- Spray bottle – A basic spray bottle to use for making your own all-purpose cleaning spray.
- Scrubbing brush – Sometimes you need to put in a little extra elbow grease and these scrubbing tools will help.
- Paper towel – For really grubby cleanups or around toilets, using paper towels instead of your cleaning cloths may be a good option.
- Dishwashing liquid – Fantastic when mixed with vinegar!
- Disinfectant– If you don’t want to make your own version with vinegar, use your favourite pre-made antibacterial spray.
- Grout brush or old toothbrush – Grout brushes are a great tool to have but an old toothbrush will work too.
- Rubber gloves – Keep your hands from drying out and safe from cleaning products.
- Shower Squeegee – Use this after every person showers to prevent hard water stains and scum on glass shower doors.
Before You Get Started
Start by removing anything from your bathroom that does not belong. This includes dirty laundry, random items your kids might have left in there and anything else that doesn’t need to be there.
Also remove all the dirty bath towels, bath mats, hand towels and washcloths. These can go into a load of laundry that can run while you work through your deep clean.
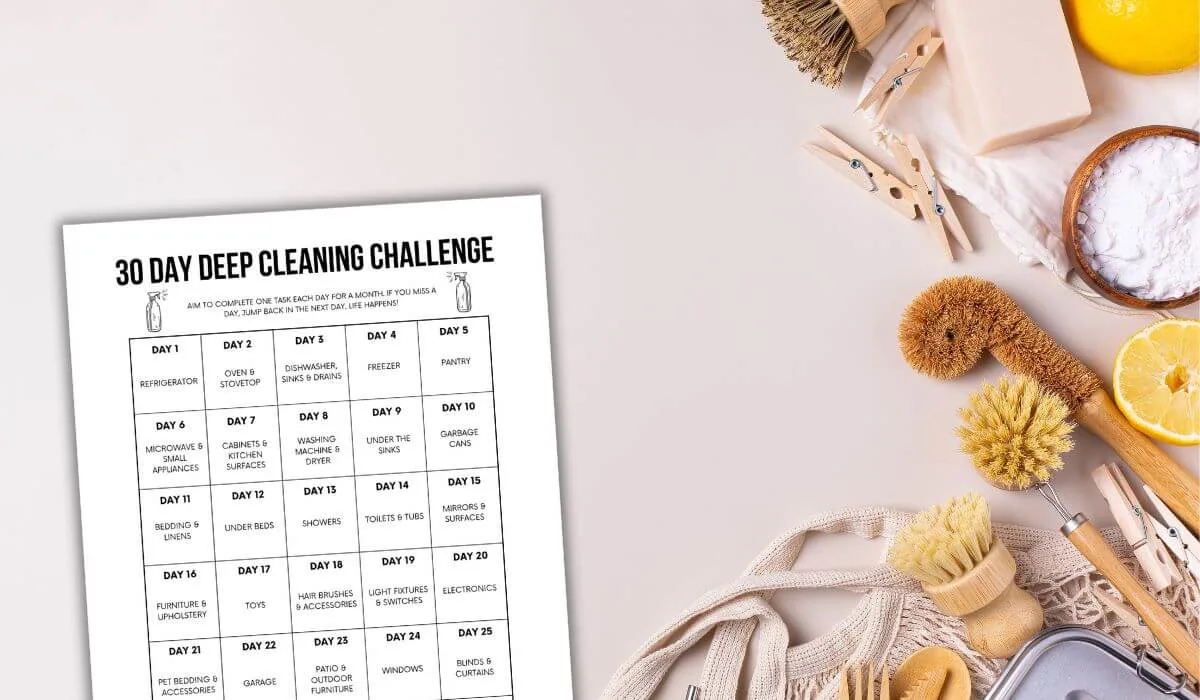
You might also like to check out my 30-day deep clean challenge (there’s a free printable).
Bathroom Deep Cleaning Checklist
You do not need to work through this step-by-step checklist for cleaning your bathroom in order. However, some tasks do make sense to be done earlier vs others that are best for later. The one that is important though is to always clean your bathroom floors last!
Get your cleaning supplies ready and let’s get started:
How To Deep Clean A Toilet

The toilet is a good place to start as it will give it time to soak while you get on with your cleaning session. Here is how to deep clean your toilet:
- Pour toilet bowl cleaner into the toilet bowl and under the toilet rim.
- Give it a quick scrub using your toilet brush and flush the toilet.
- Apply more toilet cleaner to your toilet and under the rim and allow this to sit for at least 15 minutes.
- Use a disinfectant spray to wipe the outside of the toilet including the bowl, lid, seat and toilet system. I prefer to use paper towel or even toilet paper to do this, rather than a reusable cloth. Just make sure you don’t flush anything other than toilet paper down your toilet!
- Wipe down all other surfaces in your toilet, including the windowsill, shelves, toilet roll holder and any other items in this area.
- After 15 minutes, scrub your toilet bowl again, giving extra attention to any stains in the bowl or around the rim. Flush the toilet.
- Run some rolled-up toilet paper under the rim of your bowl. Often the brush does not get in deep enough in this area and this can help clear away extra gunk.
- Sit your toilet brush under the toilet seat so it is hanging over the toilet bowl and flush again. This will rinse your toilet brush with clean water and allow it to dry before putting it back into the holder.
- Spray your toilet brush with hydrogen peroxide or a similar product to disinfect. Leave it to dry.
- Fill a bucket with hot soapy water and give your toilet brush holder a thorough clean. Leave in the sun to dry.
You will be surprised how disgusting your toilet brush and holder can get and these are areas of the home that most people forget to clean!
If you have stubborn stains at the bottom of your toilet bowl, such as hard water stains that you weren’t able to remove with your toilet brush, I have a favourite hack to help with this and it’s something you can find in the baking aisle of the supermarket!
Pour a half cup of citric acid into the bowl and allow it to sit for several hours. You might even like to do this overnight to let it work for longer.
This will break down most of the stains better than any other product I have tried and it won’t damage your toilet bowl! Just scrub like normal afterwards.
How To Deep Clean A Shower
Follow these steps to deep clean your shower:
- Remove everything from your shower first, including the shower caddy or hooks.
- Spray your shower with your preferred cleaner and allow it to sit for 10-15 minutes.
- Use a microfiber cloth or cleaning sponge to scrub your shower, including the glass, tiles, tap, faucet handles, the floor of your shower and showerhead. My favourite is the Scrub Mommy sponge as it has a soft side and a coarse side to suit different surfaces.
- Wipe down all shower surfaces, paying particular attention to corners and between the ceramic tile areas, shower fittings and built-up grime.
- If you have a lot of soap scum buildup, you might need to use a speciality glass cleaner afterwards to help with this. I find Barkeeper’s Friend fantastic for this purpose!
- For mouldy or soiled grout, use a grout cleaning tool or an old toothbrush to scrub your grout. If this is not coming away easily, bleach can help, although if it has been left too long, your grout may need replacing as it is unlikely to come clean.
- Rinse your shower with warm water and use a squeegee to remove water from your shower glass.
- Put everything back into your shower (decluttering anything empty or that isn’t used).
If you have plastic shower curtains, give these a wipe-down with an anti-bacterial spray. If they are mouldy, you might need to soak them as shower curtains can be a breeding ground for mould.
Depending on the type of shower curtain you use, you may be able to consider washing shower curtains in your bathtub but make sure to read the manufacturer’s instructions first!
Keep It Clean Tip: I keep a kitchen dish-cleaning sponge with a detergent dispenser in our showers. I fill this half with Dawn dishwashing liquid (or Fairy as it is branded her in Australia) and half vinegar. I use this to scrub my shower screens, tapware and tiles weekly. The soap helps remove scum and the white vinegar makes the glass shine. It definitely helps reduce the scrubbing needed when the time comes to deep clean the bathroom!
How To Descale A Shower Head
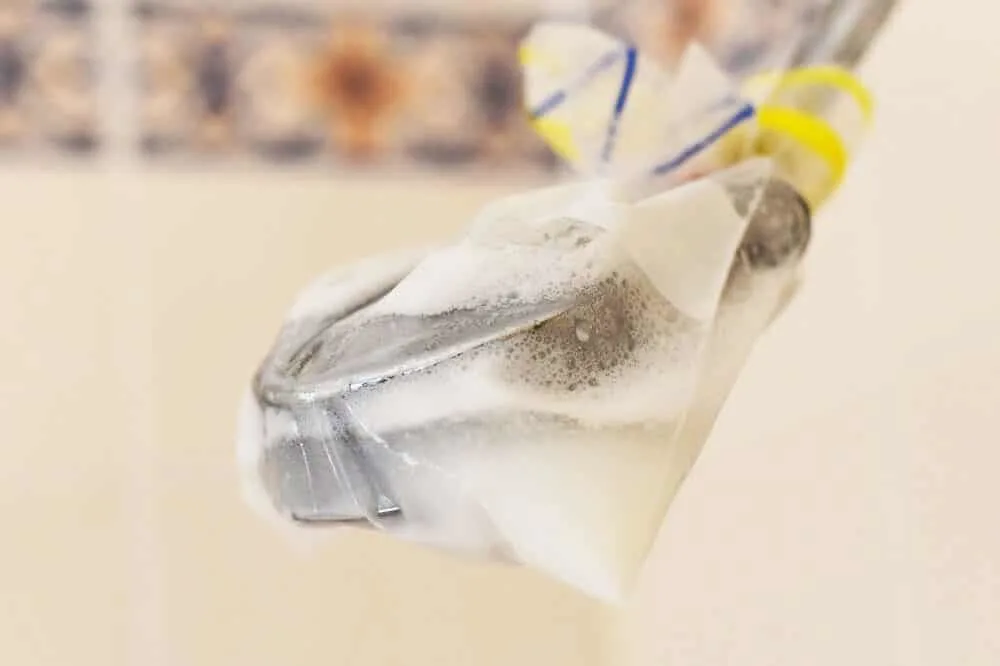
It is essential to descale your showerhead at least once or twice a year as it can become clogged with limescale. This impacts the pressure of your shower head and can cause more significant issues. Thankfully it’s an easy process to deep clean your showerhead using natural ingredients you likely already have in your pantry!
- Mix 1/3 cup of baking soda with 1 cup of white vinegar in a ziplock bag or plastic bag.
- Tie this around your shower head so that it is soaking in the solution. Use a rubber band or similar to keep it in place.
- Leave this to soak for several hours, or overnight if it has not been done for a while.
- Remove the bag of solution (this can be poured down the shower drain).
- Scrub your showerhead with a scrub brush then run the hot water for 30 seconds or so to rinse away the solution and any calcium buildup.
How To Deep Clean A Bathtub

The product you use to clean a bathtub will depend on what your bathtub is made from. If it is ceramic, you can use your favourite shower cleaning product or all-purpose cleaner, however, if you have an acrylic bathtub or similar, make sure to check the product details for suitability first.
The last thing you want is to damage your tub!
Follow these steps to deep clean your bathtub:
- Spray your bathtub with a suitable cleaning product and leave it to sit for 15 minutes.
- Use a sponge to scrub the bathtub, taps and faucet, removing any soap scum as you do. Use a grout brush to clean any mouldy grout.
- Wipe down the tops and sides of your bathtub.
How To Deep Clean A Bathroom Sink
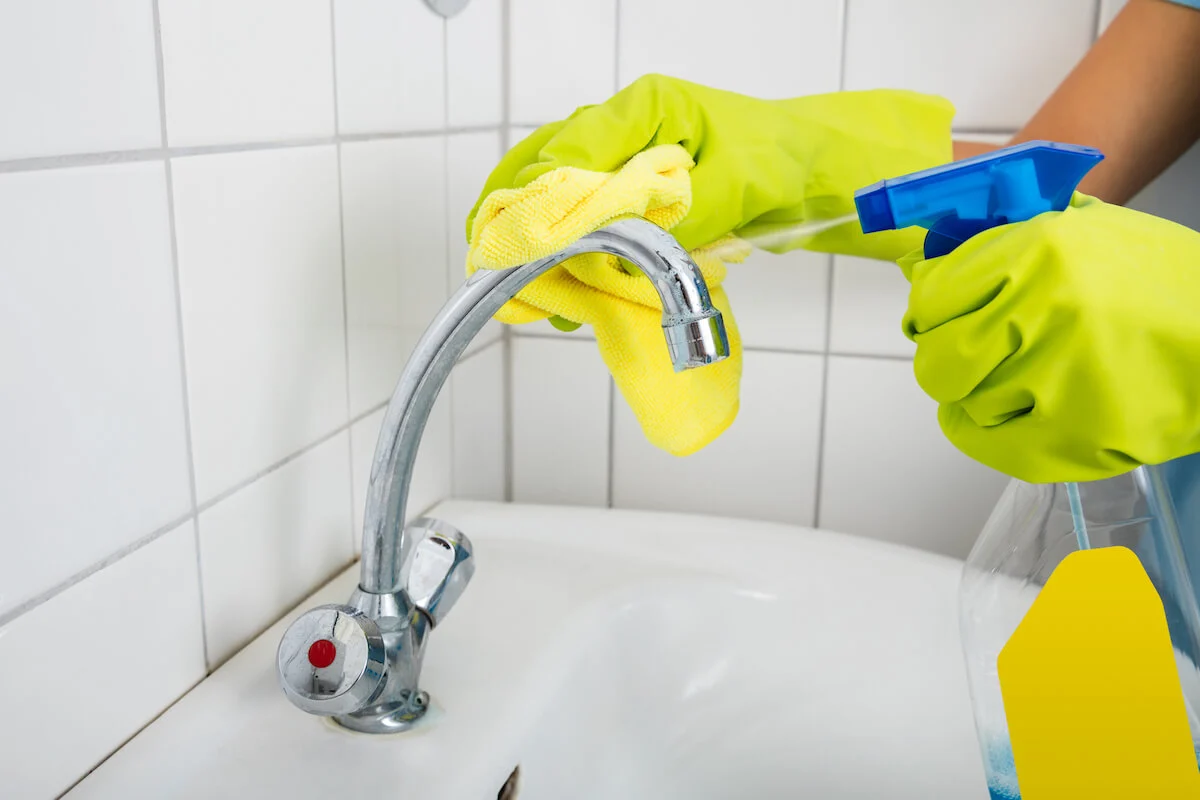
I tend to follow these deep cleaning steps almost every time I clean our bathroom sinks as it does not take much longer than if you are doing a regular weekly bathroom clean. Here are the steps to deep clean your bathroom sinks:
- Pour half a cup of baking soda down your drain and follow with a cup of white vinegar. Cover with a cloth and leave for 10 minutes.
- Remove the cloth from the plug area and pour hot water down your drain.
- Remove everything from your bathroom sink and spray with your preferred bathroom cleaner. Leave to soak for 10 minutes.
- Use a sponge or cloth to clean your sink, taps, faucet, and bench area.
- For stubborn scum around taps, soak paper towelling or toilet paper in vinegar and wrap it around your taps. Leave this for half an hour and it will wipe away much easier.
- Clean any items that sit on your bathroom sink, such as the toothbrush holder, soap dispenser or soap dish.
- Put back anything that sits on your bathroom counter, making sure to declutter unnecessary items.
This is also a good time to replace anything that needs replacing such as toothbrushes or toothbrush heads, refill soap dispensers and add anything to your shopping list that needs a restock.
How To Clean A Mirror
The process for cleaning a mirror is one that you can use on the mirrors in all areas of your home.
- Spray your mirror with your preferred all-purpose cleaner or glass cleaner.
- Wipe with a glass cleaning cloth or dry microfiber cloths.
The glass cleaning cloths are fantastic for a streak-free finish when wiping mirrors and glass. This is definitely something you want in your cleaning caddy!
Cleaning Bathroom Surfaces
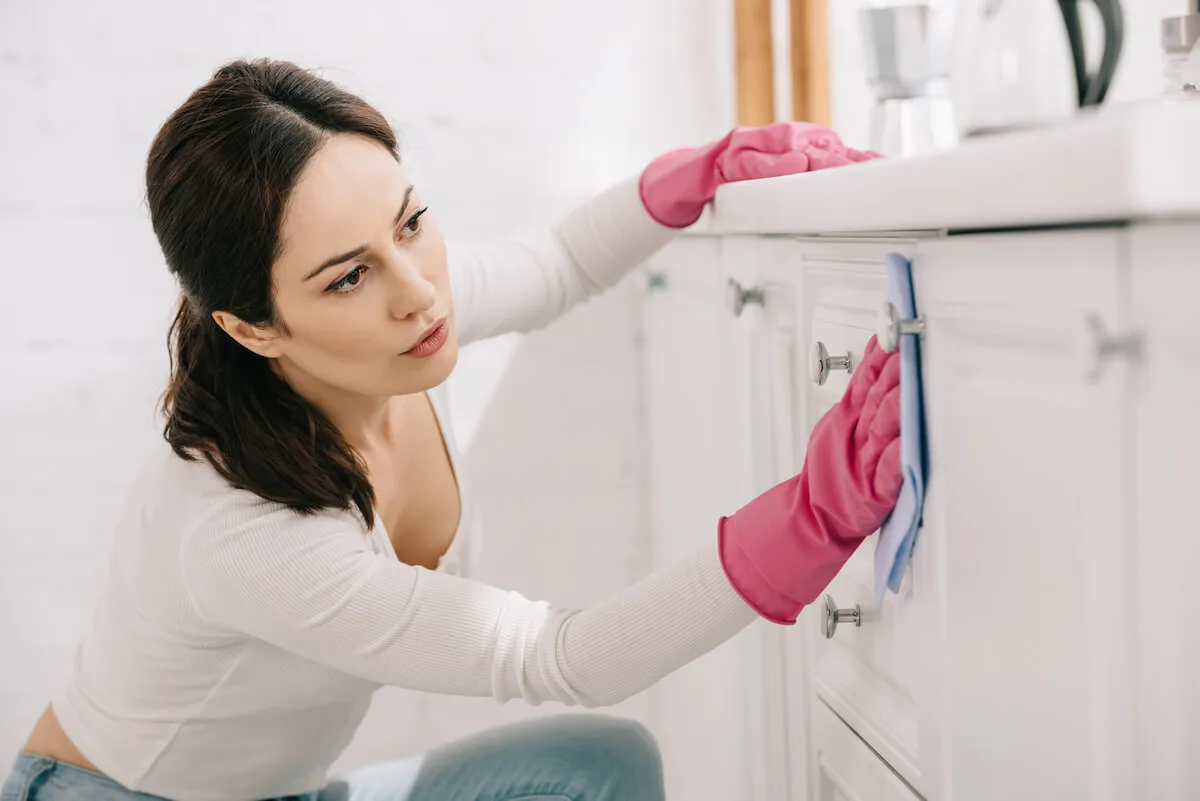
Wipe down all remaining bathroom surfaces such as shelves, cabinet doors, the bathroom door, door handles, light switches, light fixtures, bathroom fan vents, walls and any other surfaces in your bathroom.
Dust your windowsills and blinds. You might like to do this before you clean your shower or bathtub if you have windows above them, otherwise, you may end up making them dirty again.
Bathroom Storage Declutter
To deep clean your bathroom storage, a declutter is helpful since having excess stuff in your bathroom not only makes it harder to clean but can also cause stress when everything is a mess!
You can find my full guide on how to declutter your bathroom if you do have a lot of storage to sort through, otherwise here is a quick summary:
- Remove everything from your bathroom storage including under the sink, the medicine cabinet, cupboards, shelves and storage tubs.
- Wipe down all the shelves and surfaces.
- Throw away anything empty, expired medications, old products or anything that is broken or not being used.
- Organise and put back the times you are keeping into your storage areas and shelves.
How To Clean Bathroom Floors
Always wait until you finish cleaning the bathroom before cleaning your bathroom floors. This means any dust or dirt that has been cleaned off other flat surfaces is dealt with at the end.
- Remove anything from the bathroom floor that can be moved.
- Wipe your baseboards.
- Vacuum your entire floor.
- Mop your floors.
- Put everything back in your bathroom.
That’s it! You’re done!
My Favourite Bathroom Cleaning Hacks
I’m all for making cleaning easier. It’s one of my favourite things to do – since I hate cleaning as much as everyone else! So if there are any bathroom cleaning hacks to save time, I’m all for trying them out! Here are some of my favourites to help keep the bathroom clean longer and to save you time and effort:
- Keep a squeegee in your shower – Squeegee the water from your shower screens every time you finish showering. Get the whole family into this habit and it will help keep your shower screens clean longer and reduce the amount of soap scum buildup and hard water stains!
- Vinegar & dishwashing liquid – Put half vinegar and half dish soap in a dish wand with a soap dispenser and use this to clean your shower once a week while you are showering. This replaces the need to clean the shower separately and helps makes glass shower doors shiny!
- Extension scrubber – If you have issues with mobility and bending down to clean your bathroom, invest in an extendable electric scrubber. The long handle will allow you to scrub your bathtub and shower floor without having to bend down or get onto your knees.
- Citric acid – Citric acid is a powder used for baking that is amazing for getting rid of brown stains from the bottom of your toilet. Leave it to soak for a few hours or overnight and scrub like normal. Magic!
- Grout scrubber – If you have icky grout, an electric grout brush is a worthwhile tool for your caddy to save you sore arms. You can get battery-operated or rechargeable versions that save loads of time and effort when cleaning grout and small areas.
- Stubborn tap scum – Soak paper towel or toilet paper in vinegar and place this over any icky scum stains that aren’t easily removed around your taps. Leave it for half an hour and watch it wipe away easily!
- Window vacuum – I recently invested in a Karcher Window Vacuum after my mother-in-law told me it was amazing! It is great for windows but also for shower glass and shower walls. You spray and wipe, then use the rechargeable squeegee vacuum to clean the surface. It leaves it streak free and dry. I fill mine with vinegar, dish soap and water rather than the expensive Karcher product and it works just as well.
Deep cleaning your bathroom doesn’t have to be an overwhelming project! With the right tools and a simple-to-follow bathroom deep clean checklist, you can deep clean your bathroom quickly and easily! These simple steps will help keep your bathroom looking spick and span even if it’s long overdue for a thorough clean!
I hope this deep cleaning bathroom checklist has helped you get your own bathroom back to feeling really clean!
WANT ACCESS TO MY FREE PRINTABLES LIBRARY?
For more home cleaning tips:
- How to deep clean your entire house
- How to deep clean your bathroom
- Cleaning hacks to save you time
- How to speed clean your house
- Create a cleaning schedule
- How to clean a really messy house
- Things you are forgetting to clean
- Time-saving cleaning tips
- Cleaning games for kids
- Tips to make cleaning more fun
- How to clean pillows
- How to descale a showerhead
- Easy natural stain removal methods
