Are you tired of spending a fortune on stain removers at the store? Well, guess what – you can make your own DIY stain remover right at home using simple ingredients! Learn how to make your own homemade stain remover as well as tips for how to get rid of many of the common household stains.
Family life is hectic, and sometimes it feels like we’re constantly cleaning up after our kids and pets. Whether it’s crumbs on the floor or spaghetti stains on their clothes, it can seem like there’s always something that needs to be cleaned.
While store-bought cleaners are certainly convenient, they can also be expensive. That’s why I’ve put together this guide on how to make your own homemade stain remover.
Not only will this save you money, but it’s also a great way to avoid using harsh chemicals around your home.

How To Make DIY Stain Remover
This DIY Stain removal recipe uses just 2 ingredients! Best of all, they are affordable ingredients that you might already have in your home. Bonus!
It is best as a laundry stain remover method, but it can be used in plenty of other areas of the home too.
You will need these 2 ingredients:
- Hydrogen peroxide 3% – This is a powerful multi-purpose bleach liquid that can also be used as an antiseptic for treating minor cuts and scratches. You can find it at your local supermarket
- Dawn dish soap – Here in Australia, Dawn is branded as Fairy but it is made by the same company and works exactly the same!
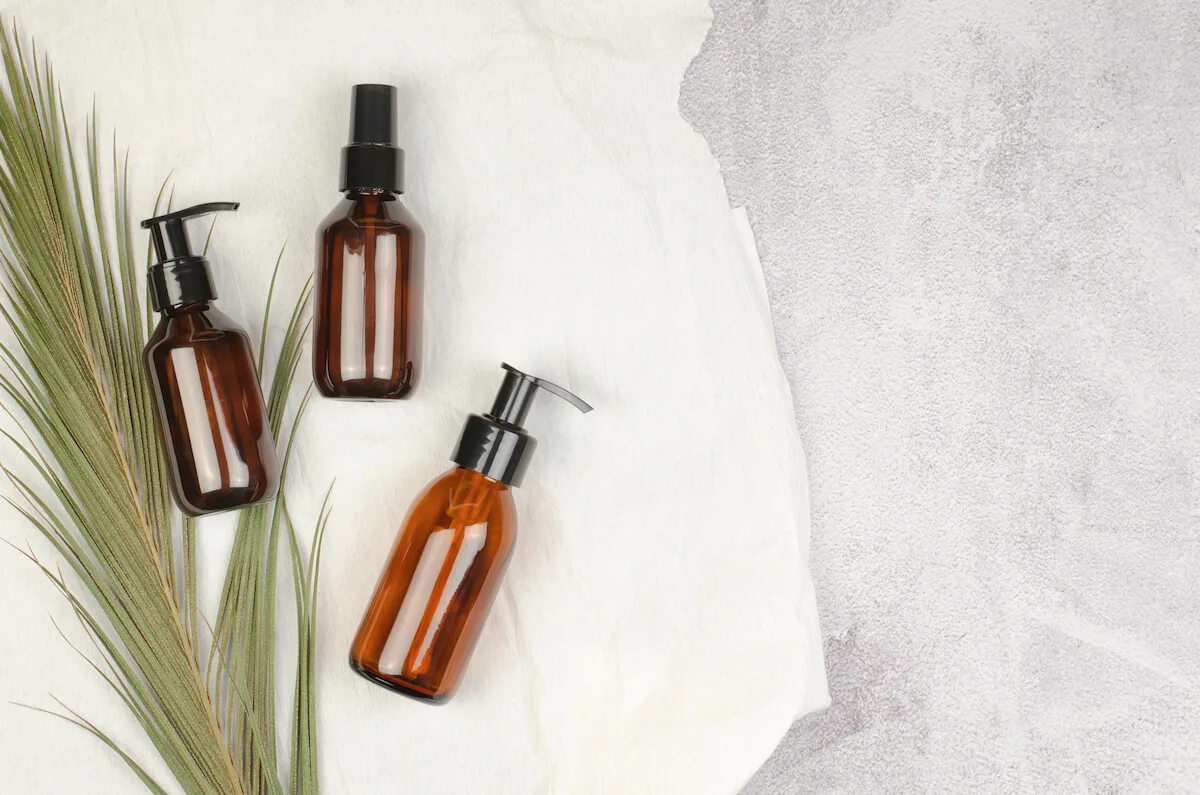
You will also need a spray bottle. I recommend using an amber glass spray bottle to help protect your ingredients from sunlight and to prevent any leaching from plastic.

To make the solution, simply add 1 part dish soap to 2 parts hydrogen peroxide.
For example, if you’re using a 500ml spray bottle, you would add 150ml of dish soap and 300ml of hydrogen peroxide, or half a cup of dish soap and 1 cup of hydrogen peroxide.
Once you’ve added the ingredients to the spray bottle, give it a good shake until combined.
When you are ready to use your spray, just spray the homemade stain remover onto the stain and rub it into the area. It works on dry or damp clothing but is best if the clothing is already damp.
In most cases, the stain will vanish almost immediately as you work the solution into the stained area. If not, use a clean, damp cloth to scrub it further. Make sure it is a white cloth so there is no colour transfer.
Then follow your normal laundry routine for washing clothes.
For tough stains, you may need to repeat the process or even soak the clothing overnight in a mixture of water and hydrogen peroxide before laundering it as normal.
Note: It is important to always test a small area first to make sure the hydrogen peroxide does not cause any bleaching or damage to your clothing. Make sure you are using 3% rather than anything higher too, or this may cause bleaching of your clothing. Also, it is not recommended for any speciality fabrics, such as those that require dry cleaning.
RELATED READING: How to deep clean your entire house
Types Of Stains That Work With This Homemade Remover
This DIY homemade stain remover recipe is incredibly versatile and can be used on a variety of stains. Here are some common types of stains that it works well on:
- Food stains
- Bloodstains
- Grass stains
- Makeup stains
- Mud stains
- Sweat stains or yellow armpit stains
Remember, this solution is best used as a laundry pre-treatment method but can also be used around the home on other surfaces as well.

Tips For Making Homemade Stain Remover
Make sure you keep your DIY homemade stain remover out of direct sunlight. I store mine in the laundry room closet on a shelf with my laundry powder and laundry products.
If your homemade stain remover recipe isn’t working as well as expected, there are a few things that are worth considering:
- Is your hydrogen peroxide old? Over time, hydrogen peroxide will start to break down and lose its potency. It’s best to use a fresh bottle for the most effective results.
- Did you mix your solution correctly? Making sure you have the right combination of dish soap and hydrogen peroxide is very important or the solution will be too diluted.
- Are you using enough of the solution? Make sure you’re using enough of the mixture to saturate the stain. If not, it won’t be as effective.
- Is your stain remover kept in direct sunlight? Even with a dark bottle, it’s best to keep your solution out of direct sunlight as it can cause the hydrogen peroxide to break down more quickly. A dry, dark place is best for storing all your home cleaning supplies.
Other DIY Homemade Stain Removal Methods
While the above recipe is a great general-purpose homemade stain remover or laundry stain spot cleaner, sometimes you need something a little bit stronger—especially when it comes to tough stains. Here are a few other recipes that can be used for tougher stains:
Grease Stain Removal
Grease and oil splashes can quickly ruin a favourite item of clothing if you aren’t sure how to remove the grease stains. The best chance of preventing permanent staining is to act quickly.
Start by lying the clothing flat and placing an old towel or layers of paper towels under the stain so it doesn’t seep through to the other layers. Blot as much of the grease away as possible with a paper towel.
Once you’ve removed as much excess grease as possible, sprinkle the area with baking soda. Use an old toothbrush or scrubbing brush to scrub gently at the stained area.
As the grease is absorbed into the baking soda, it will change colour. Scrape it away and reapply a new layer of powder and repeat if needed.
Add dish soap to the stained area and scrub again. Leave the mixture for around 15 minutes then wash the clothing like normal using a hot washing cycle. Make sure the type of fabric is suitable for a hot water wash first though so you don’t end up shrinking it after all that effort!
Carpet Stain Removal
Carpets can be a real pain to clean—especially if you have kids or pets in the house. Spills and stains are inevitable but there are some great DIY recipes that can make cleaning them up a lot easier.
In our house, it is definitely much more a pet stains situation than the kids, with one of our cats sometimes deciding he likes to gorge himself with food and then vomit all over the carpet. Ewww!
One of the best homemade carpet cleaners contains just three simple ingredients that you probably already have in your kitchen.
Start by cleaning up as much of the excess mess as you can, such as blotting with paper towelling or scraping away larger mess.
Mix one teaspoon of white vinegar with one teaspoon of mild dish soap, such as Dawn or Fairy, and stir into 3/4 cup of warm water. Apply to the stained area and leave it to soak in for 15 minutes. Be careful not to apply too much solution to the area if it is only small.
Then blot at the stain with a paper towel or a clean, white absorbent cloth, starting from the outside and working your way in until the stain no longer transfers onto the cloth.
This DIY carpet stain removal method is good for use as a Homemade pet stain remover, including as a Homemade pet urine carpet cleaner.
Carpet Drying Hack: Layer the damp area with several layers of paper towelling and place something heavy on top. This will dry the carpet much faster than allowing it to naturally dry.
Ink Stain Removal
Always start by testing a small area first, when trying any stain remover methods – homemade or with store-bought stain remover.
Lie the fabric on a flat surface and place something beneath the ink stains area such as an old towel or paper towelling.
Saturate a cotton tip with rubbing alcohol and blot the ink stain until it transfers to the cotton or dissolves away. Rinse with cold water then wash as normal.

Blood Stain Removal
Rub with a cake of bathroom soap over the blood stains and allow to dry. Wash as normal on a cold cycle.
Or use cornflour and water to create a paste and leave on the stain until dry. Brush off then wash as normal.
We hope you found these DIY stain removal tips helpful! There’s no need to switch all your white clothes to dark-coloured clothing now! Remember, when dealing with any kind of stain, it’s important to act quickly—the sooner you treat a stain, the better your chances of getting it out for good.
Check out more home cleaning tips:
- Reduce cleaning time at home
- How to make cleaning fun
- Expert cleaning hacks to save time
- How to deep clean your home
- Oven cleaning hacks
- How to create a home cleaning schedule
- Areas of your home you may be forgetting to clean
- Things to throw away or replace
- Cleaning games for kids
- Best chores for kids by age
- How to clean pillows
- DIY home cleaning solutions
Do you have any favourite home remedies for removing stains? We’d love to hear about them in the comments below!

Krista Gonzalez
Monday 28th of March 2016
This post is awesome! There is solution for any type of stain. I am from those people who have no idea how to deal with the stains, but since I have my two babies I really need to be more aware and prepare. Those cleaning tips are extremely helpful for me. Thanks a lot for sharing!!
Holly
Tuesday 29th of March 2016
Thank you. It's great to know in most cases we can remove a stain with something we already have on hand. Having kids means our carpet cops a hiding at times though!
Lizzie {Strayed Table}
Wednesday 29th of July 2015
I have a 15 month old and man the stains are endless. I am going to try the vinegar trick on her clothes. I have a few harder to remove already bad stains, I might give them a once over too. Thanks
Holly
Saturday 1st of August 2015
Definitely worth a try. Let us know how you go with the old stains and yes, they are a sad reality with toddlers lol I now have a reflux baby to go with my messy toddler. Mess everywhere!
Lucy @ Bake Play Smile
Tuesday 28th of July 2015
I need this post right now!! Perfect timing!!! Thank you so much - you've just saved the day... literally!!!
Holly
Tuesday 28th of July 2015
Sounds like a potential emergency averted lol fingers crossed your stain situation is resolved :)
Karin @ Calm to Conniption
Monday 27th of July 2015
All natural is a winner if it does the job. Great tips, thanks.
Mumma McD
Monday 27th of July 2015
You're a godsend, I've got a bucket full of spag bol stained toddler clothes, will bust out the vinegar!
Holly
Monday 27th of July 2015
Spaghetti has to be the worst. That and the dreaded cat spew on the carpet are our most common. Miss 2 loves spaghetti ?