In collaboration with Creative Fabrica
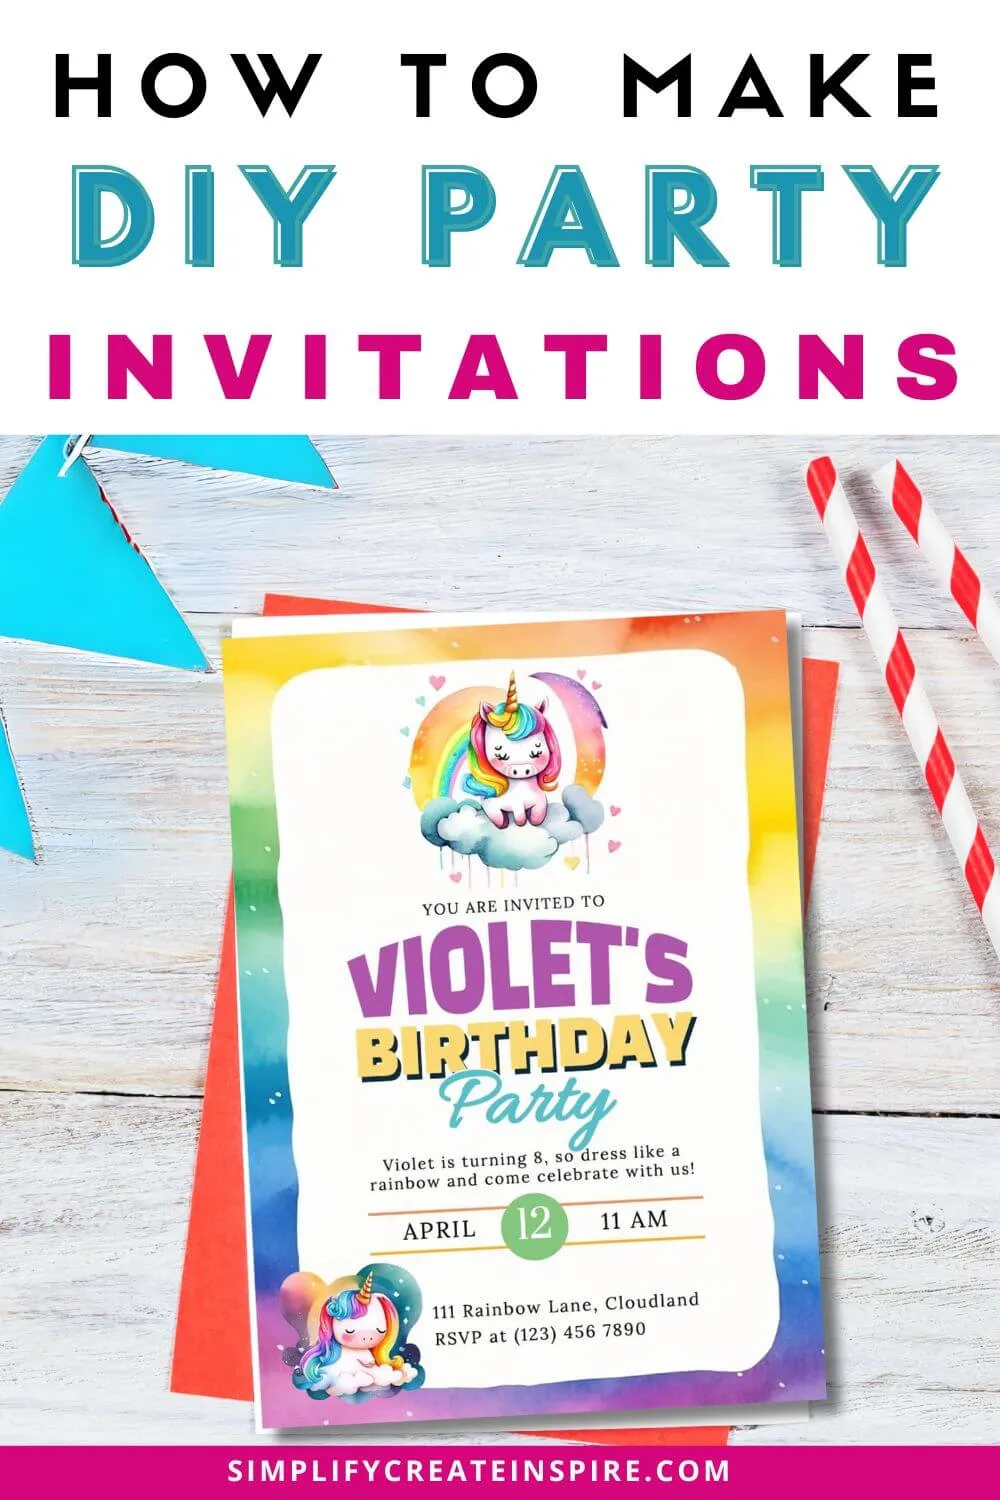
Did you know you can create and design you very own unique party invitations at home… online? It’s true and the best part is that making your own birthday party invites is really easy to do and a lot of fun. I’m going to show you how with one of the easiest (free) online design tools for making beautiful DIY party invitations at home.
Create Your Own Birthday Party Invitations At Home
Invitations are the opening act for any great event – they set the tone, build anticipation, and serve as the first point of contact with your guests. And you need any fancy design skills to create your own.
I’ve always loved all the little extra touches that go into party planning. It’s no secret that I love theme parties and my kids do too, often planning the theme for their next birthday party almost as soon as their last party is done.
One of my favourite steps is definitely creating the party invitations and any extra stationery to go along with them. I find the process so deeply satisfying. And the best bit, making your own is much cheaper than paying someone else to do it.
What Tools Do You Need To Make Party Invitations Online?
With the variety of incredible tools and resources available online these days, there are a lot of great options for creating custom invitations and party stationery at home. Some of these are completely free, while others can be quite pricy.
I’m all about keeping costs down so I’ve got some free options for you using a cool new online design tool:
- Creative Fabrica Studio
- Computer (you can get by with a mobile device, but computers are best)
- Optional: Printer
Step-by-Step Guide to Making DIY Party Invitations
Before you get started, it’s always good to have a bit of an idea of what type of party invitations you are planning to create. If you don’t have a theme in mind, this might need a little more brainstorming. But if you are planning a themed kids party, it makes things a little easier!
STEP ONE – Sign Up For Creative Fabrica Studio
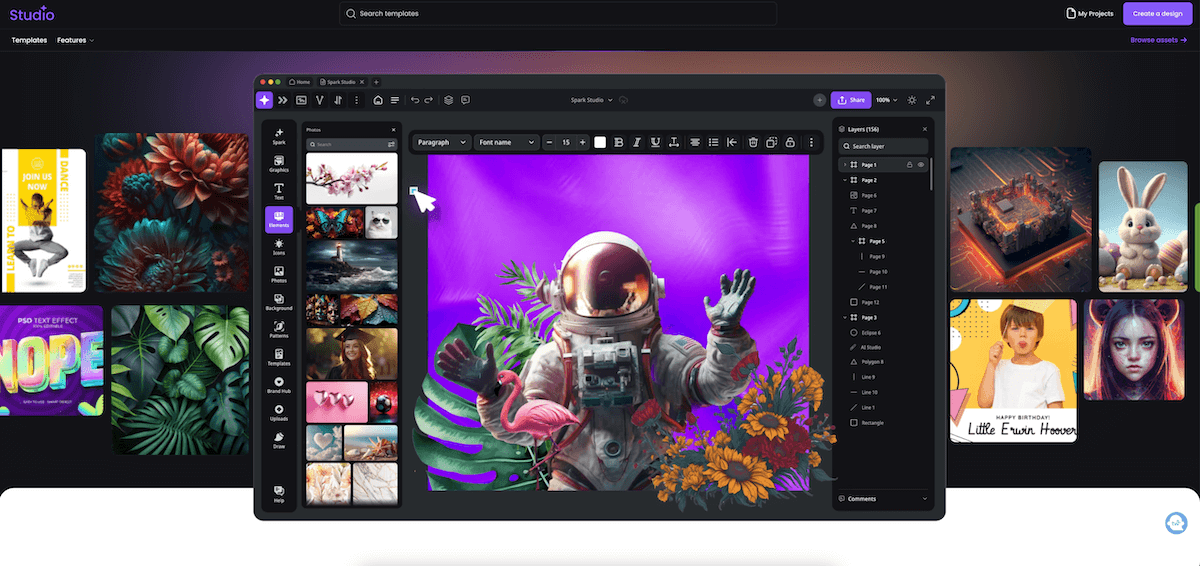
Creative Fabrica Studio is an online design tool that offers a variety of templates, graphics, and fonts for you to use in your projects. It’s completely free to sign up and start creating.
There are plenty of options for free or paid design programs, however, Creative Fabrica Studio is easy to use and there are loads of cool features.
Some of my favourite features are the built-in graphics to choose from or the AI image creation if you can’t quite find what you like. There is also a background remover, background colour changer and loads of creative image text editing options.
STEP TWO – Choose Your Invitation Template

There are plenty of invitation templates available on Creative Fabrica Studio for various occasions and themes. You can also create your birthday invitations from scratch too.
Browse through the options until you find one that you like. I searched ‘kids birthday invitations’ to find this rainbow design.
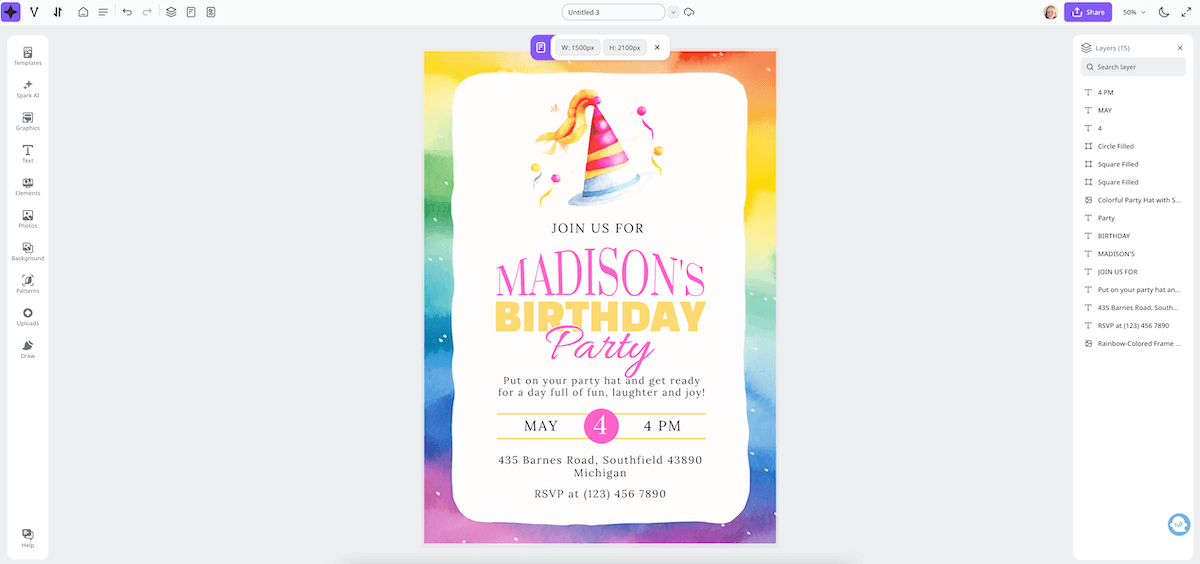
STEP THREE: Edit Design
This is the fun part! Time to create your design.
The Creative Fabrica Studio design tool is very user-friendly. The best way to learn is to have a play with the different options and features. If you change something and you don’t like it, hit the undo button at the top.
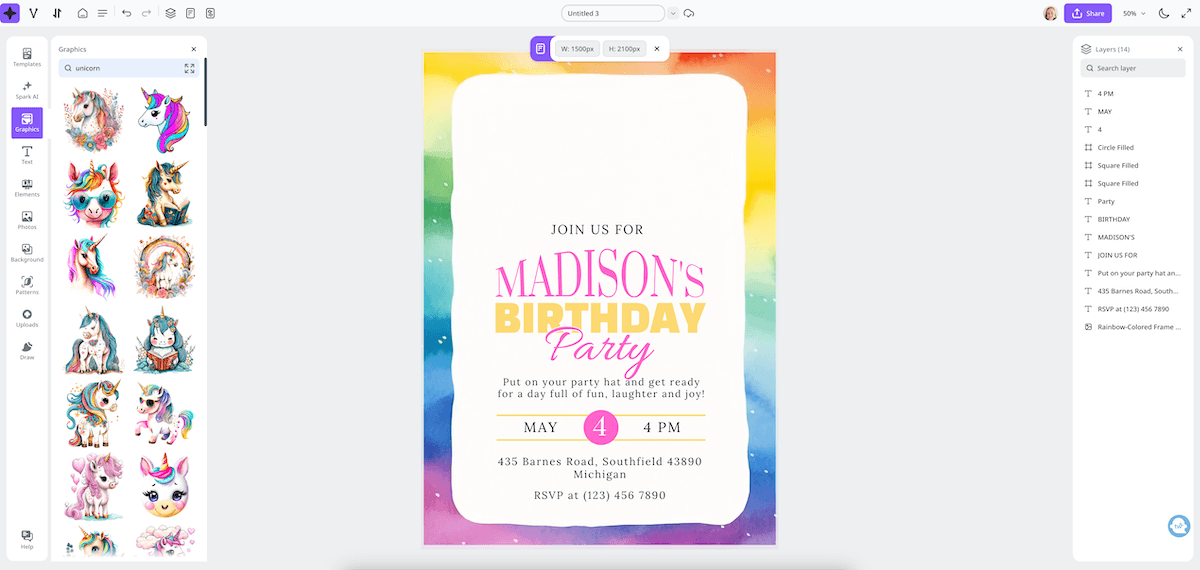
For this party invitation tutorial, I am going to create an invite for a unicorn-themed party. Search the graphics already within the Studio library to see what options you have or search through the elements too.
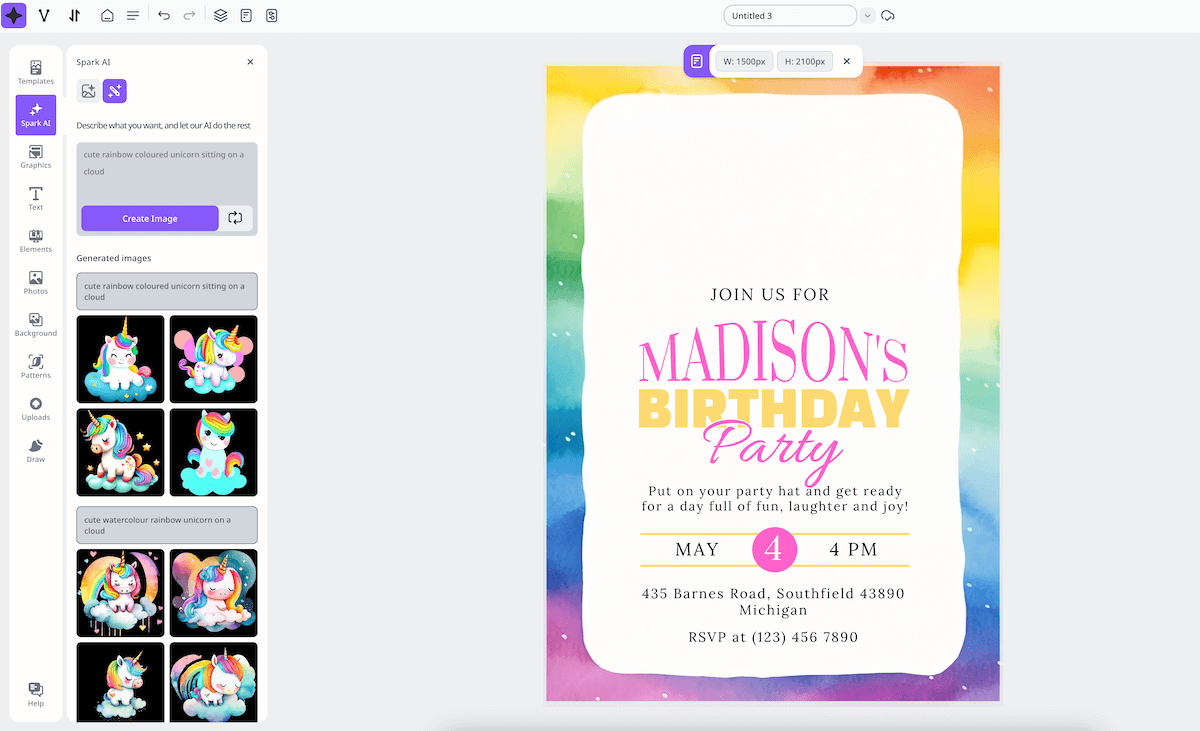
If you can’t find anything you like, you’ve got 2 more options to personalise your invitations – upload your own graphics and photos or use Spark AI to create something unique.
SPARK AI TIP: Creating images with artificial intelligence can take a little practice. It’s all about having the right prompts so play around with the level of detail you give it until you get something you like.
I created some cute unicorn graphics with Spark AI although when attempting to create a gaming console controller, the results weren’t as good.
STEP FOUR: Finalise Your Invitations
Change all the details, elements, colours and information on your invitation until you’re happy with the final design.
Once you have finished, you can download the design for sharing or printing. There are several options – download as an image in PNG or JPEG format or as a PDF format. I always choose PNG for printing as this is a higher-quality option.
You can now share your invitation digitally, as a text message or social media message to friends and family or you can print them out (or a little of both).
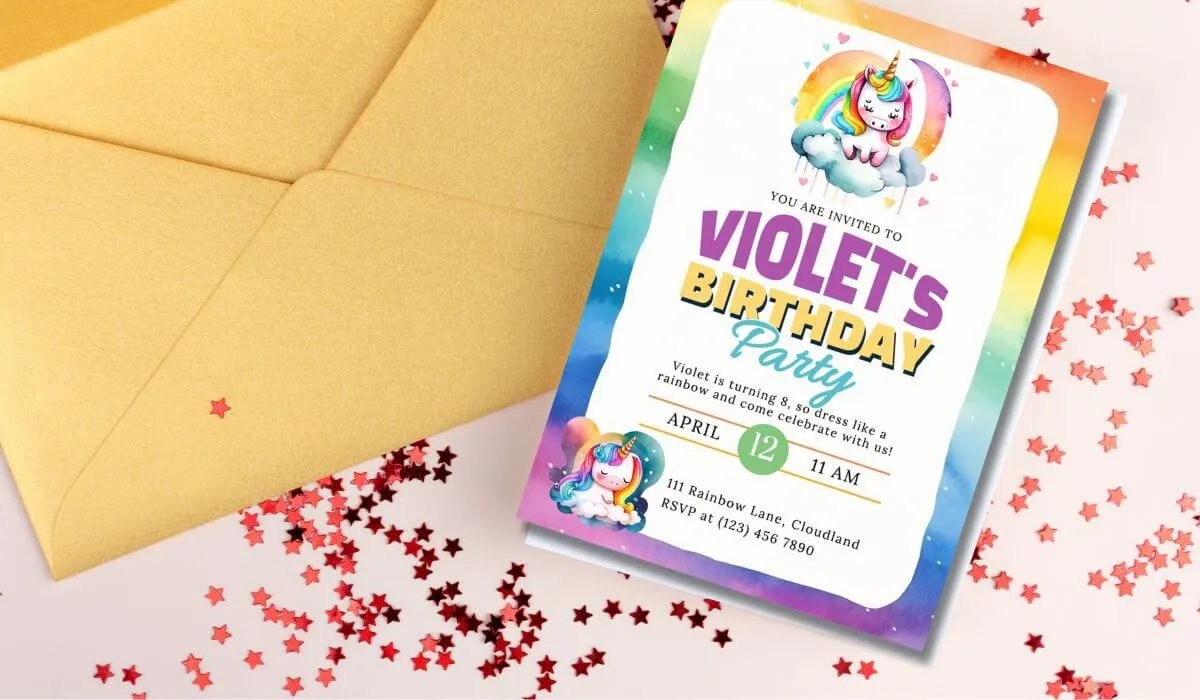
Here is the final result of my example unicorn birthday party invitation, plus I made a coordinating thank you card too:
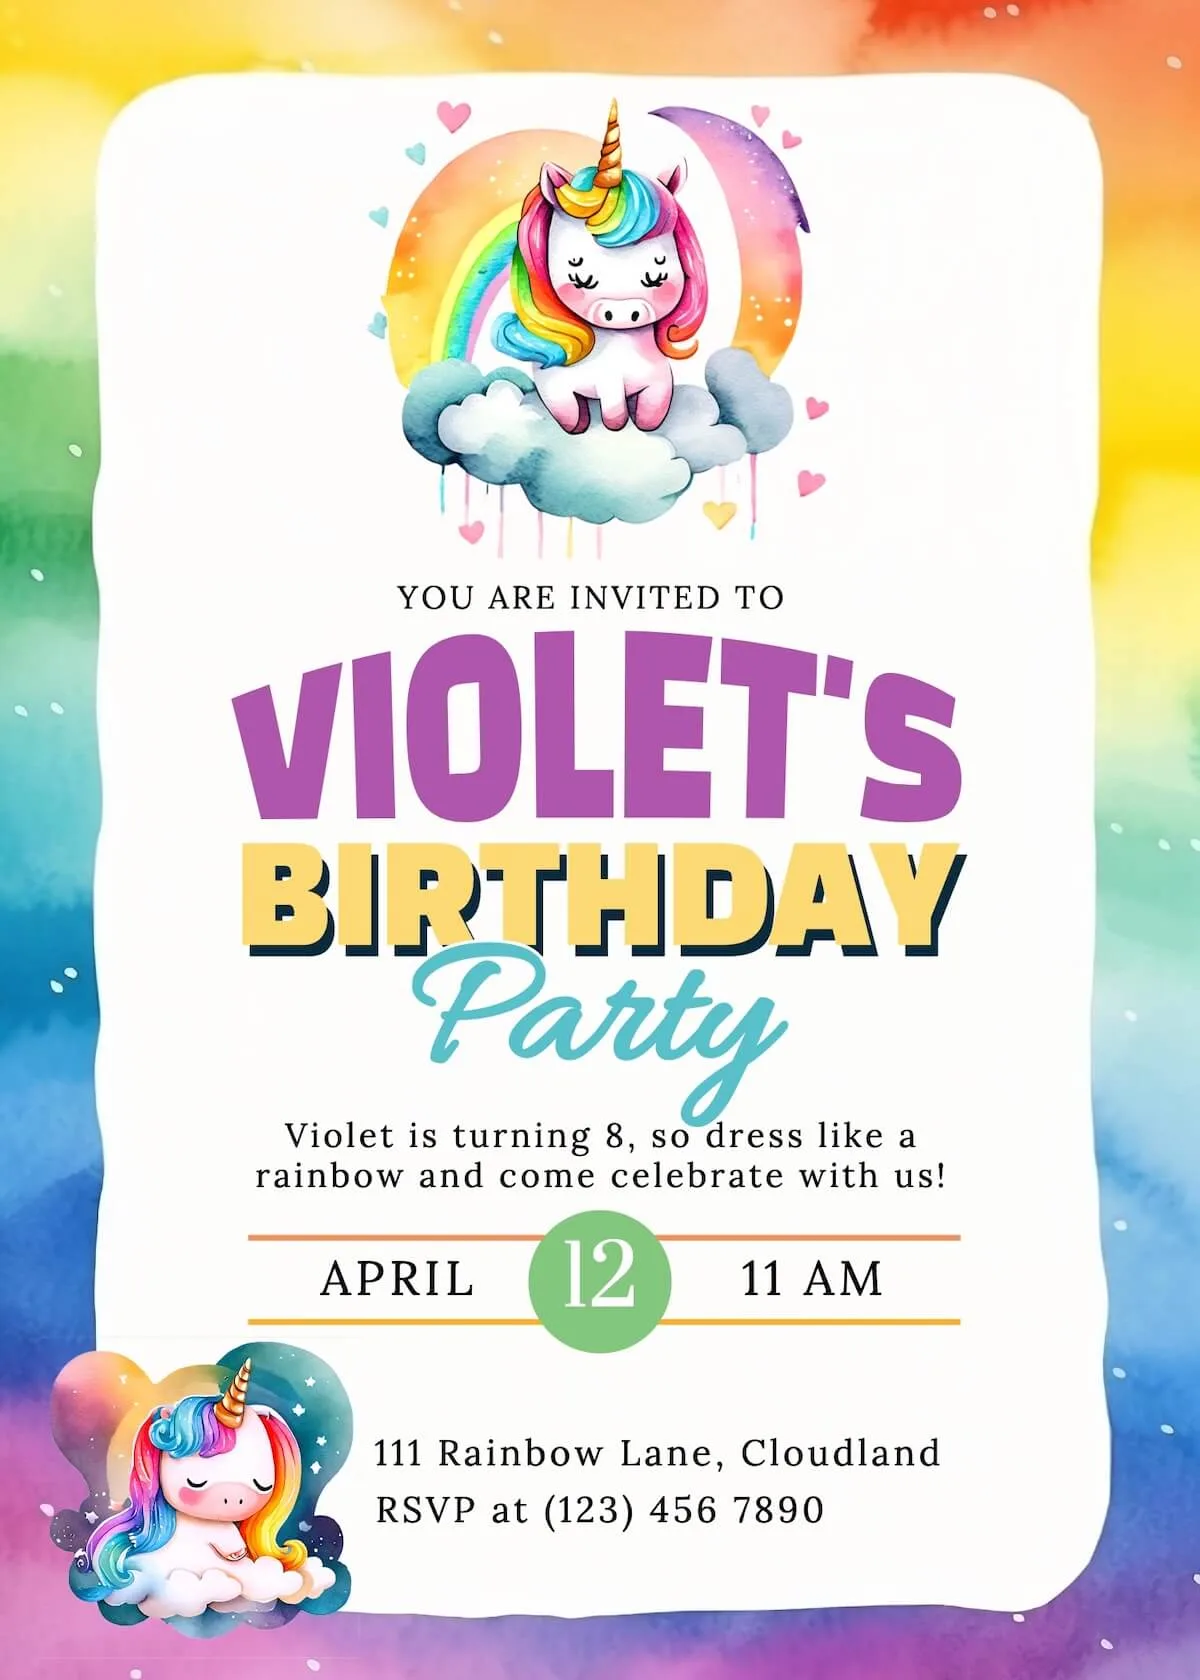
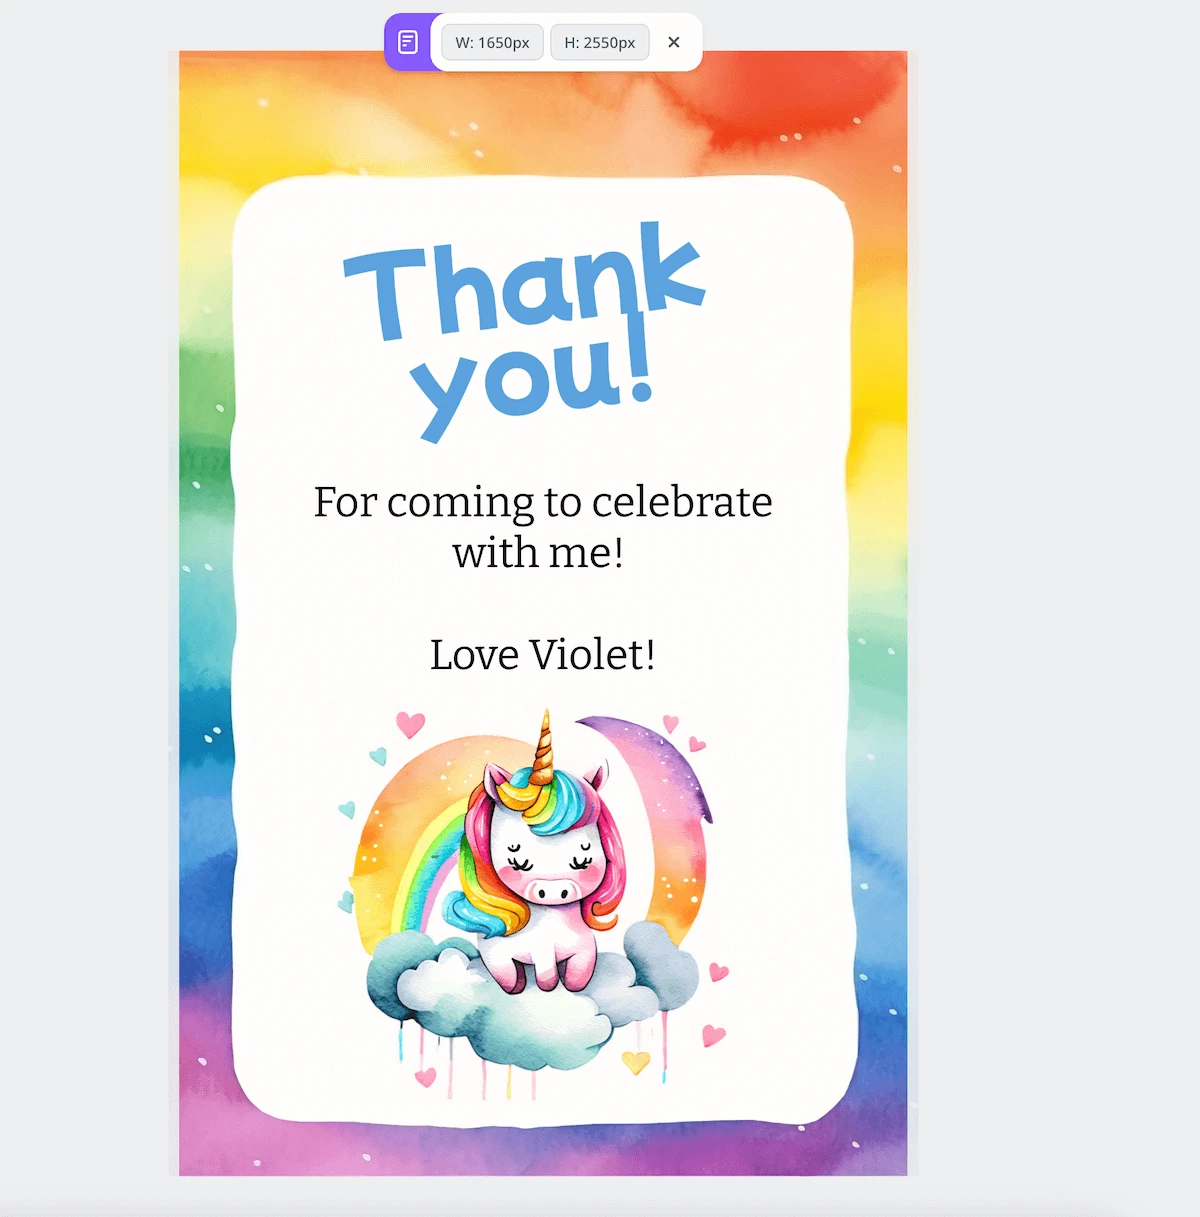
The whole process from start to finish took under 10 minutes. 15 minutes if you include the thank you card. So quick and easy!
Creative Fabrica Studio Video Tutorial
In case you’re more a visual learning and like to see things done step by step, I have also put together a super quick video tutorial for how I created the unicorn birthday party invitation. You can watch it below:
Making Custom Photo Invitations
Another really fun option for personalised party invitations is adding a photo. Creative Fabrica Studio makes this really easy to do since it has a background remover.
You can upload the photo you want to include on your invitation, such as a photo of the birthday child, and edit this to suit your invitation template.
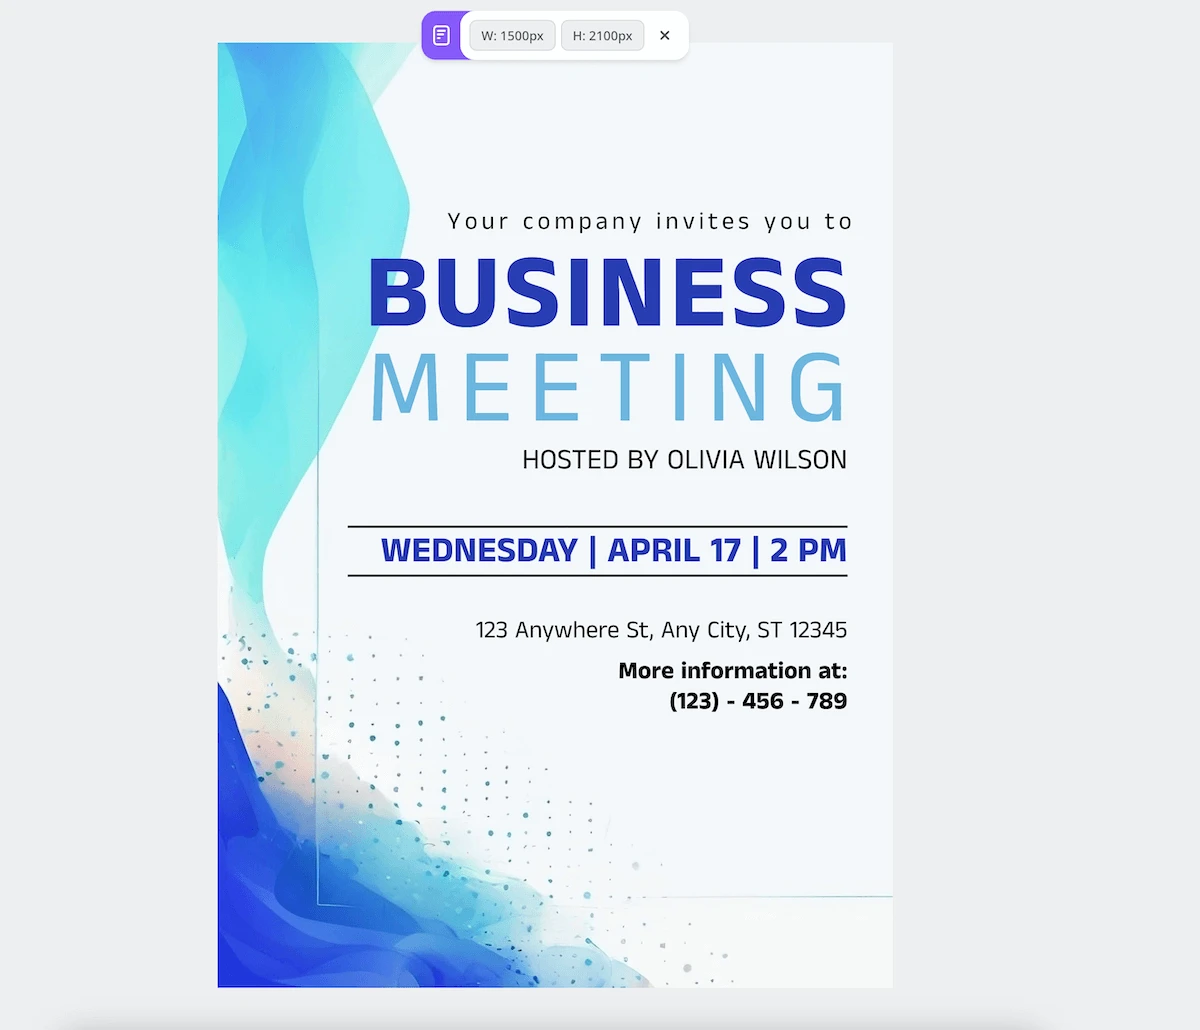
Here is a fun example of one I made using an AI photo from the Studio image gallery. This is also another example of what you can do with the templates within Studio. This invitation started as a business meeting template, converted into a simple personalised photo invitation for a 10th birthday party.
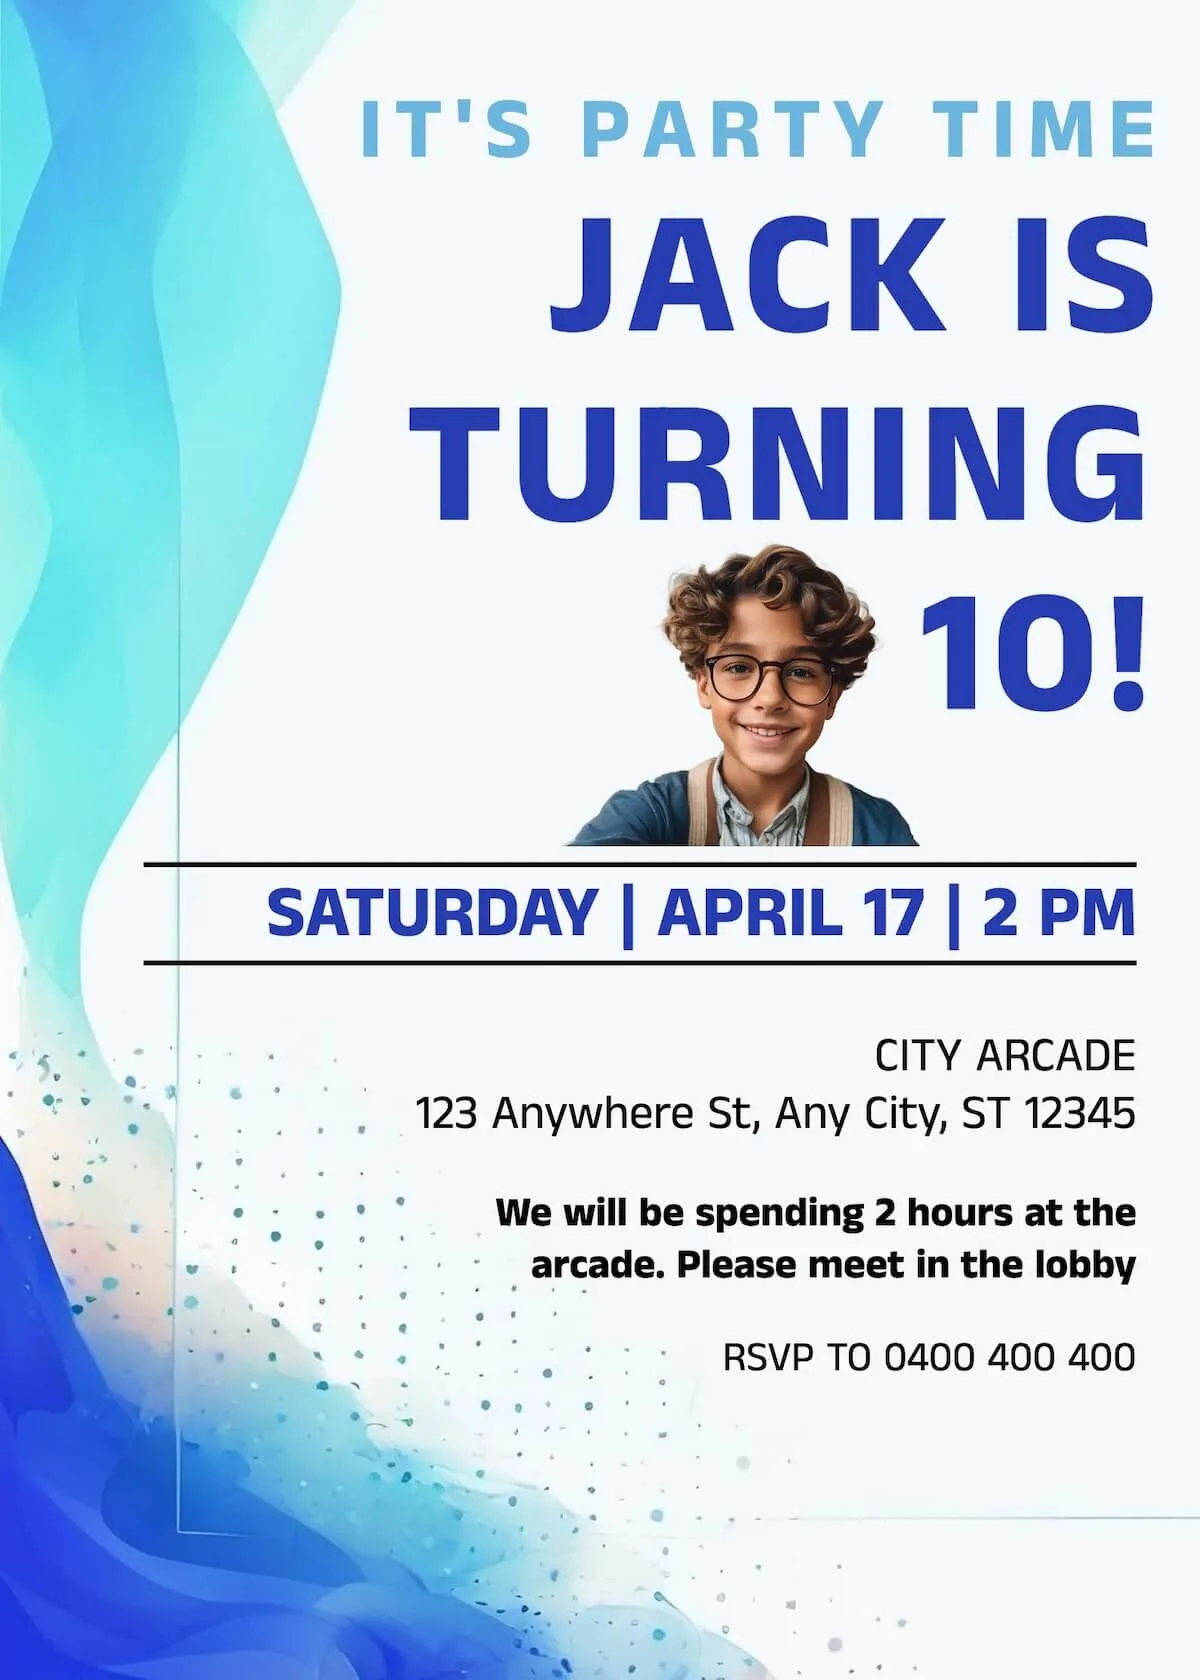
In the past, I have created a few funny photo invitations for various events. For my husband’s 40th, he had an NBA-themed party so I used an image of his favourite NBA player but swapped it with his face for a laugh.
Having a photo is a really cute idea for birthday invitations for younger kids especially!
How Do I Print Party Invitations?
You have a few options for printing party invitations. If you have a colour home printer, you can print your invitations at home. I have done this many times in the past, although these days I have a fairly simple office printer and not a fancy photo printing one like I have had in the past.
If I am making simple invitations, I often print them on matt photo paper at home still. Otherwise, I print them at a local photo lab on photo paper.
If you’re planning to do this, creating 5×7 inch invitations is perfect since it’s the same as the standard photo size. This makes it very inexpensive.
I usually order prints online, unless I’m short on time. If that’s the case, it’s easy to put your file on a USB to print from a photo booth at the shops for instant prints. Most of these machines have connections to get the file directly from your phone storage now too.
Creative Fabrica Studio Review: Is It Good?
This was my first experience creating with Creative Fabrica Studio. I have been a Creative Fabrica All-Access Pass subscriber for several years, using their templates, graphics, fonts and SVGs in my digital product creation process, but actually had no idea Studio existed.
The tool is really quick and easy to use with pretty much all the features you would need right there inside of the design tool. Best of all, it’s completely free!
Plus you’ve still got the option to upload your own images and photos or any images you download from the Creative Fabrica library also. The templates make it super quick and easy to create your own party invitations either from scratch or using an existing template.
Bonus Tip: I always save a copy of each birthday party invitation I create for my kids’ birthday parties and add it to their keepsake folders. They love looking back at the invitations as a reminder of their previous birthday parties and the different themes they loved at the time.
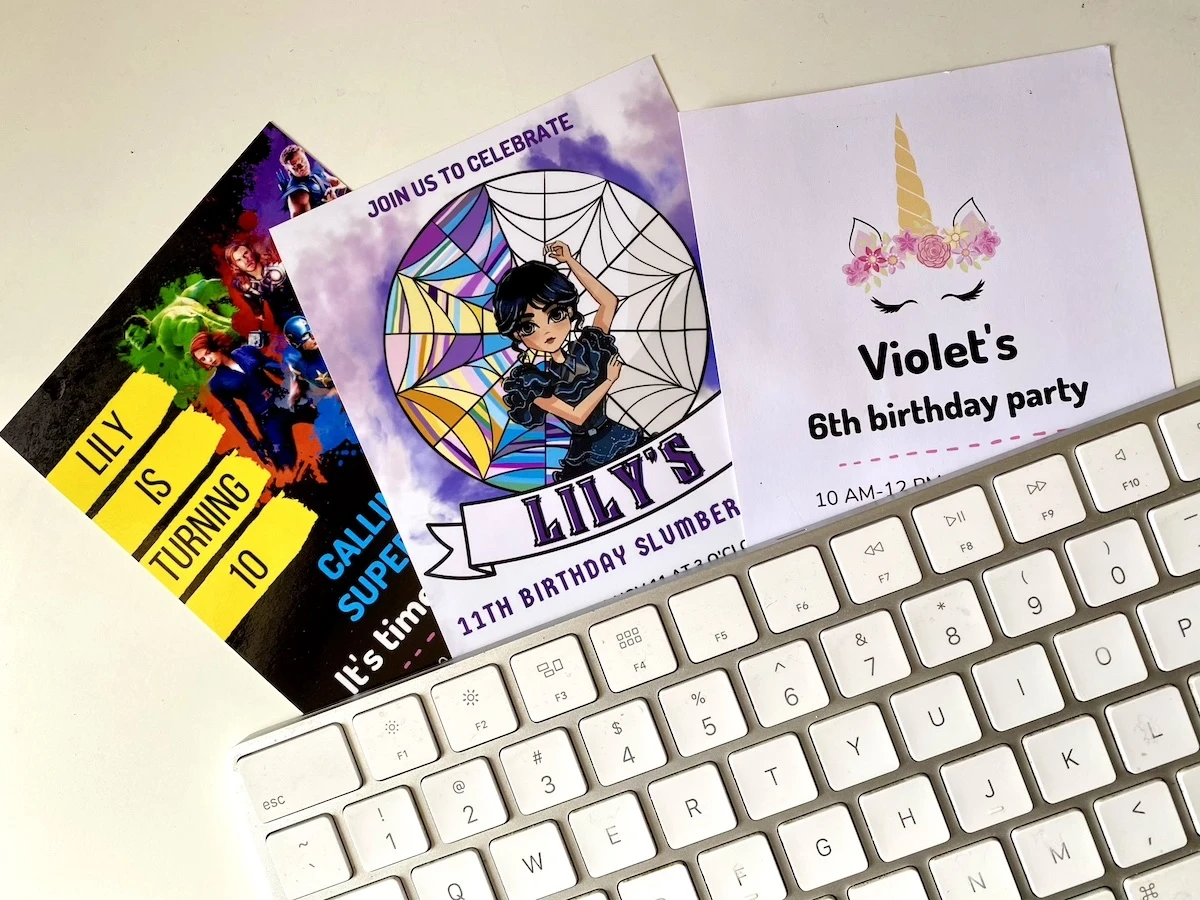
Making your own printable party invitations is an easy way to save money on birthday party planning, without having to spend on a designer or custom invitation designs. You can easily create your own at home instead, with your own personal touch. It’s such a satisfying feeling too, especially when someone comments on the cute invitations!

Get more party planning tips and ideas:
- How to plan a kid’s birthday party
- The best kids birthday party games & activities
- Party bag alternatives that aren’t candy
- Cool entertainment ideas for children’s parties
- Birthday treats for school that aren’t cupcakes
- How to plan a party for adults
- Party theme ideas for kids
- Party theme ideas for adults
- Easy birthday party snacks for kids
