Chocolate-coated Christmas Oreo pops are a quick festive treat, perfect for Christmas parties. With only 2 main ingredients – Oreos and chocolate, plus decorations, these Christmas Oreos on a stick are ready in no time. Even for those last-minute pre-Christmas catch-ups. Best of all, they taste amazing!

Chocolate Coated Christmas Oreo Pops
As soon as October is finished, it feels like suddenly the holiday season is on our doorstep and that means Christmas desserts and treats.
With invites to Christmas parties, classroom parties and entertaining friends and family at home more often, it’s always helpful to have a few quick and easy treats to throw together.
Just like these no-bake choc peppermint balls, using leftover candy canes, these Christmas chocolate-coated Oreo pops are so simple to make and are always a crowd-pleaser.
Who doesn’t love Oreos? Plus having them on a stick means less melted chocolate on little fingers! During our Australian summer Christmas, this is a huge bonus!
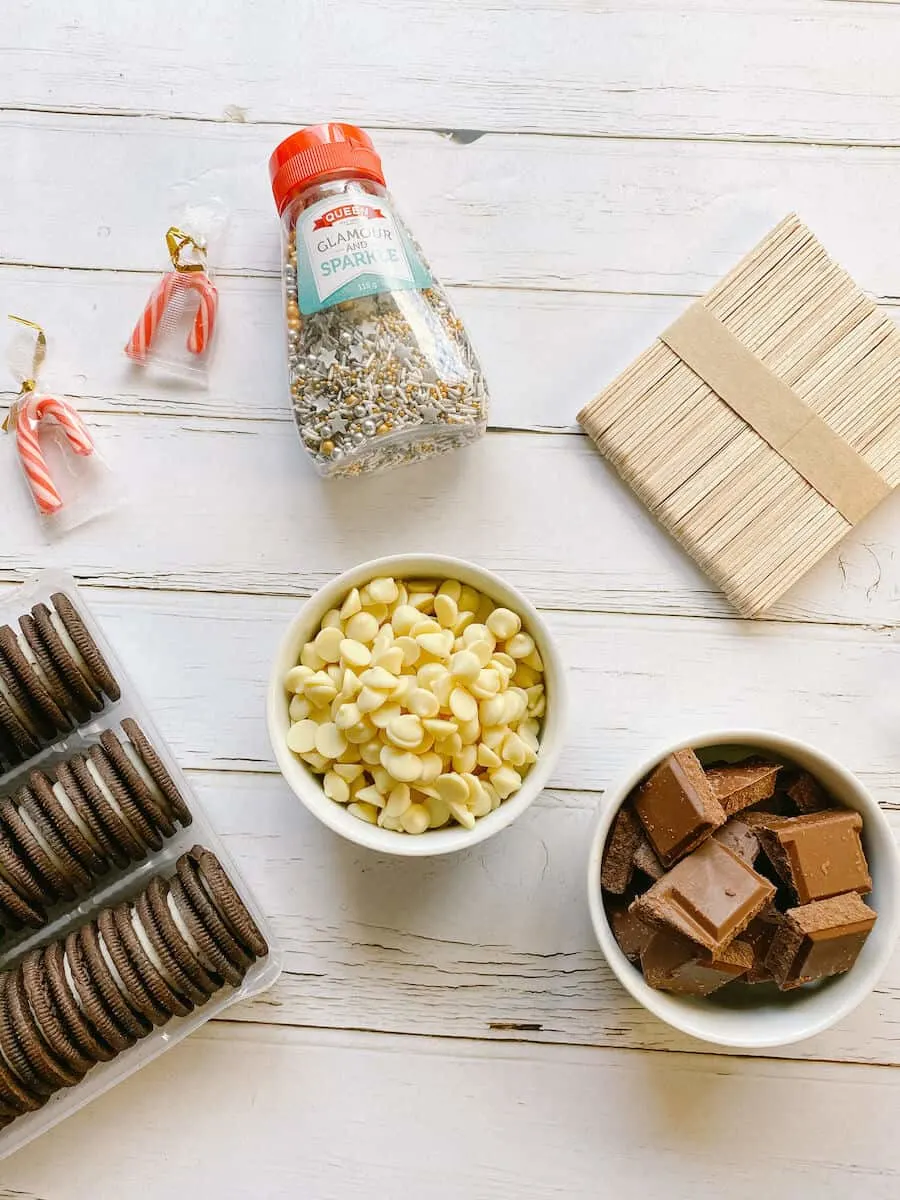
TIP: The Oreos will separate when you dip them in the melted chocolate, as the heat softens the cream. You will need to hold your Oreo together on the stick and smooth over this part with chocolate after the rest is coated.
Use a mug instead of a shallow bowl for your melted chocolate as it will help you to dip your Oreo deeper into the chocolate, rather than having to roll it in a shallow dish.
This is something I learnt the hard way but now use a mug instead.
For more Oreo desserts, these double chocolate Oreo brownies are a crowd-pleaser and easy to make. Or try this no-bake Oreo cheesecake too!
Both are great for entertaining or cut into small pieces to take with you to events and get-togethers.
How To Make Oreo Pops
- Crush candy canes into small pieces. An easy way to do this is by placing a few candy canes into a ziplock bag and crushing them with a rolling pin.
- Melt chocolate in a microwave-safe bowl in 30-second increments, stirring in between. Take care not to burn your chocolate.
- Slide a wooden ice cream stick or plastic lollypop stick into the centre of your Oreo. Make sure you slide it 3/4 of the way in. This will help it stay firm once the chocolate sets.
- Dip your Oreo into the melted chocolate. You will need to hold your Oreo together during this stage as it will come apart. Once your Oreo is coated, smooth over the area your fingers were with the back of a spoon so it is completely covered in chocolate.
- Roll in the crushed candy cane or decorate with sprinkles, cake decorating candies or anything else you wish to use.
- Place on parchment paper and once you have finished decorating all the Oreos, place them in the refrigerator to set. This should only take approximately half an hour.
TIP: Put your Oreos in the freezer with the popsicle sticks in them for 5 or so minutes before you dip them in chocolate. This will make them less likely to melt apart.
The printable recipe card with a FULL ingredients list and detailed instructions can be found at the bottom of this post.
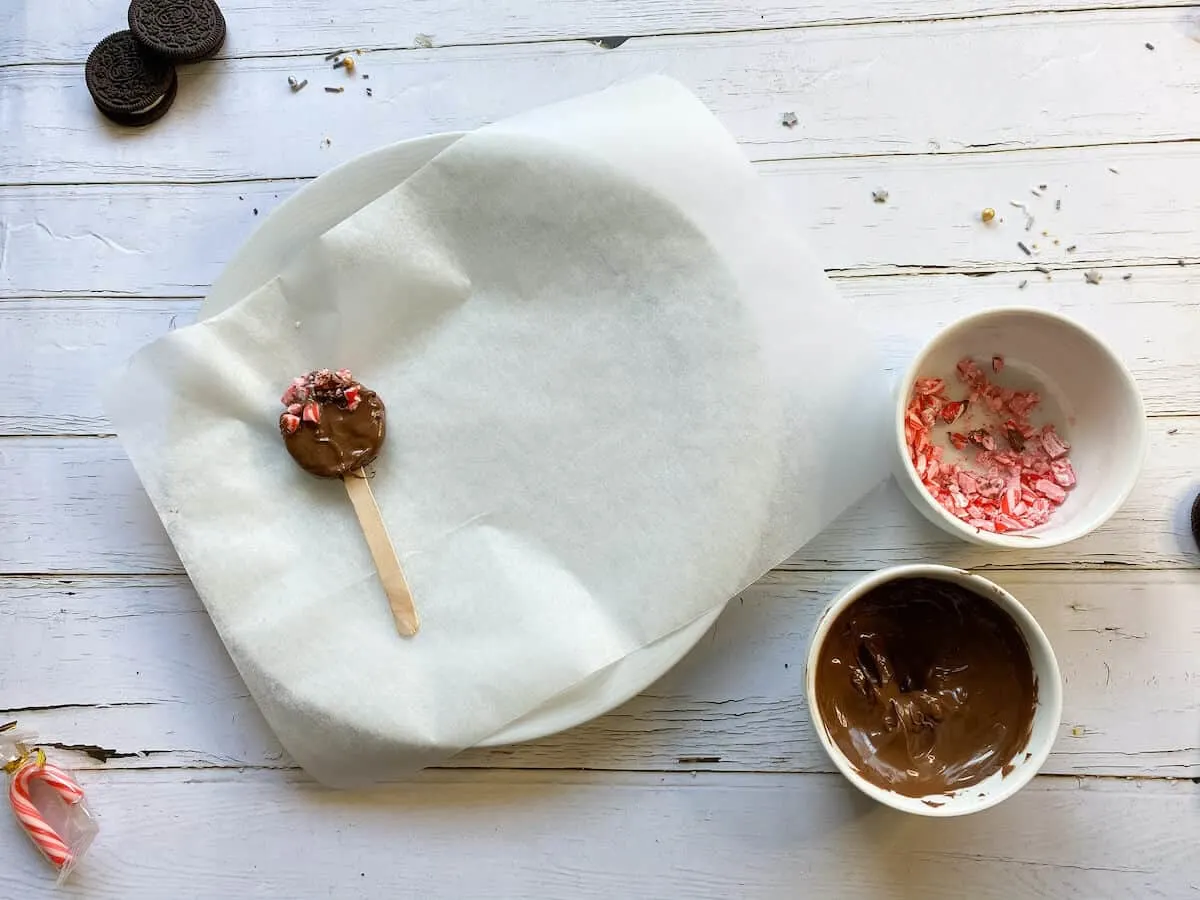
Chocolate-Coated Oreo Pop Decorations
For Christmas Oreo Pops, crushed candy cane is a perfect decoration and the peppermint flavours taste delicious paired with the Oreo and chocolate. This works for milk, dark or white chocolate-dipped Oreos.
We also made a batch using white chocolate and cake decorating candy.
They are supposed to look like a snowman but they look a little more like a scarecrow, as we did not have any black candies. Still super cute!
For other Oreo decorating ideas:
- Christmas sprinkles in green, red and white
- Use food colouring to change the colours of white chocolate for bright-coloured Oreos
- Place a mini Reeces candy on top, facing down, to make your Oreos look like Christmas ornaments

FAQS & TIPS
How do you make Oreo Pops without breaking them?
To minimise the risk of breaking Oreos, add the sticks to your Oreo very carefully then place them in the refrigerator or freezer for 5-10 minutes. This will keep the cream firm longer when dipping in melted chocolate. You will still need to gently hold your Oreo biscuit when coating in chocolate to avoid the cookie separating.
How do you store Oreo Pops?
Store Chocolate Oreo pops in the refrigerator in an airtight container. They will last up to 2 weeks in the refrigerator.
Useful Supplies For Making Oreo pops
We used wooden popsicle sticks for our Oreo pops, as this is what we had on hand at home already. However, you can also purchase packs of lollypop or cake pop sticks for the same purpose. These look great.
Either works fine so go with whichever option you prefer!
More Christmas Desserts To Try
Try one of these other delicious no bake Christmas desserts as well. They are the perfect treats to pair with your Christmas Oreo pops!
These chocolate-coated Christmas Oreo pops are a fun festive treat for all ages. You can easily whip up a batch in around half an hour, using just 2 basic ingredients – Oreos and chocolate, with any decorations you please! Don’t just limit this to Christmas decorations either. Oreo pops are a fun treat for any theme, all year round!
Check out more yummy recipes perfect for Christmas:
- Christmas tree rice Krispie treats
- White chocolate crackles
- Simple pavlova
- Chocolate coconut slice
- Healthy chocolate crackle slice
- Choc peppermint balls
- Rum balls
- What to serve with Christmas ham
- Candy cane recipes
Love It? Pin It


Christmas Oreo Pops
Chocolate-coated Christmas Oreo pops are a quick festive treat, with only 2 main ingredients – Oreos and chocolate. Decorate with crushed candy canes and sprinkles.
Ingredients
- White and milk chocolate melts
- Pack of Oreos
- Decorations - candy cane, sprinkles
- Popsicle or cake pop sticks
Instructions
- Crush candy canes into small pieces by placing a few candy canes into a ziplock bag and crushing them with a rolling pin.
- Melt chocolate in a microwave-safe bowl in 30-second increments, stirring in between.
- Slide a wooden ice cream stick or plastic cake pop stick 3/4 of the way into the centre of your Oreo, taking care not to break your Oreo cookies.
- Dip Oreos into the melted chocolate. You will need to hold your Oreo together during this stage as it will come apart. Once your Oreo is coated, smooth over the area your fingers were so it is completely covered in chocolate.
- Dip Oreo pop in crushed candy cane or sprinkles and add edible decorations.
- Place on parchment paper, finish decorating then place in the refrigerator to set for approximately half an hour.
Notes
TIP: The Oreos will separate when you dip them in the melted chocolate, as the heat softens the cream. You will need to hold your Oreo together on the stick and smooth over this part with chocolate after the rest is coated.
Recommended Products
As an Amazon Associate and member of other affiliate programs, I earn from qualifying purchases.
Nutrition Information:
Yield: 12 Serving Size: 1Amount Per Serving: Calories: 46Total Fat: 2gSaturated Fat: 1gTrans Fat: 0gUnsaturated Fat: 1gCholesterol: 3mgSodium: 16mgCarbohydrates: 7gFiber: 0gSugar: 5gProtein: 0g
These figures are provided as an approximate guide only.

