xTool O1 Omni UV Printer Review 2026: A Beginner’s Guide
This post may contain affiliate links. Read the full disclosure
I’ll be honest with you from the start. Before the xTool O1 Omni UV Printer arrived at my house, I didn’t even know what a UV printer was.
I’ve used a Cricut for years, and I’ve had an xTool M1 laser for a while now, but I had never used anything like this. Never seen one in action either. So this is my honest xTool O1 Omni review from an absolute beginner, including the bits where I felt completely out of my depth.
For complete transparency, xTool sent me the O1 Omni Printer (Dual-Head UV Edition) so I could test it at my own pace and share my experience. All opinions are my own, the good and the not so good.
If you’re a hobby crafter wondering whether a UV printer is something you could actually use, or whether it’s way too much machine, this review is for you.
xTool O1 Omni UV Printer: Worth It?
A seriously capable printer that prints full colour on almost anything. There’s a big learning curve for beginners, and it’s best suited to crafters who want to sell what they make or have a lot of projects in mind but the capabilties are exciting and impressive.
Quick summary: xTool O1 Omni UV Printer Review
The xTool O1 Omni is a desktop UV printer that prints full colour designs onto things like acrylic, wood, metal, glass and leather. Depending on which edition you get, it can also print on fabric.
The guided setup and test project are easy to follow, but it’s a big machine with a big learning curve. And you will need a few extra supplies before you can print on some materials.
PROS
- Excellent guided setup videos
- Guided first project made printing simple
- Prints on a huge range of materials
- Raised texture and special effects you can’t get from a regular printer
- Beautiful vibrant print designs
- Ability to print on round items like tumblers and ornaments with rotary attachment
CONS
- Big learning curve and a lot of new terminology
- Three editions, and it’s hard to work out which one you need
- Very heavy (41kg), needs a permanent spot
- Need to spend a bit on extras before you get started
- Expensive for a hobby crafter
What is a UV printer? (The Beginner Version)
If you’re as clueless as I was, here’s the simple version.
A UV printer works a bit like your home inkjet printer, except it prints with special ink that’s dried instantly with UV light.
Because the ink sets hard straight away, you can print on solid objects, not just paper. Think phone cases, acrylic keyrings, wooden signs, tumblers and magnets.
It can also build up layers of ink so the print has a raised texture you can feel, and add gloss or foil effects.
The terminology that confused me most:
- UV printing: printing directly onto a hard (or flexible) object.
- UV DTF: printing onto a film to make a sticker-style transfer you can press onto curved or awkward shapes. On the O1 this needs the laminator attachment.
- DTG (direct to garment): printing straight onto fabric like a t-shirt.
- DTF (direct to film): printing onto film, then heat pressing the design onto fabric, shoes or caps.
DTG and DTF are only available on one of the three editions (more on that below). This is exactly the kind of thing I wish someone had explained to me before I started.
How is it different to a laser or a Cricut? A Cricut cuts. A laser cuts and engraves (burns) designs into materials. A UV printer adds full colour to the surface. They do quite different jobs, which is why xTool lets the O1 work alongside their lasers in the same software and one thing I love: one software for all of their tools.
What is the xTool O1 Omni Printer?
The xTool O1 Omni Printer is a desktop UV printer that xTool calls the world’s first 4-in-1 Omni Printer, because it can do UV, UV DTF, DTG and DTF printing. The catch (and the part that confused me most) is that no single edition does it all, and you can’t upgrade between editions later.
The 3 xTool O1 Omni Versions
| Single UV Edition | Dual-Head UV Edition | UV + DT Fabric Edition | |
|---|---|---|---|
| Best for | Beginners personalising hard items | Advanced UV effects and flexible materials, a bigger budget | Crafters who want hard items and apparel |
| Printheads | 1 | 2 | 2 |
| Materials | Acrylic, wood, metal, glass, ceramic | Adds leather and canvas | Adds cotton and polyester fabric |
| Fluorescent colours | No | Yes | No |
| Prints on T-shirts (DTG/DTF) | No | No | Yes |
| UV DTF stickers and transfers | Yes, needs laminator | Yes, needs laminator | Yes, needs laminator |
I have the Dual-Head UV Edition. The second printhead adds fluorescent red and yellow, plus flexible white ink, which lets it print on bendy things like leather without cracking.
Check out their guide to materials and capabilities here.
Beginner’s tip: Work out what you actually want to make before you choose. If you want to print T-shirts, you need the UV + DT Fabric Edition. If you want neon effects or leather, it’s the Dual-Head. If it’s mostly hard items, the Single UV Edition is the cheapest way in.
Key specs
- Print area: 13″ x 4.8″ (330 x 122mm) standard bed, or 13″ x 16.5″ (330 x 420mm) on the large bed
- Resolution: 720 x 1440 dpi
- Raised texture: up to 7mm (0.28″)
- Weight: 41.12kg (90.7 lbs) for my edition
- Size: 714 x 374 x 468.5mm (28.1″ x 14.7″ x 18.4″)
- Software: xTool Studio on Mac or Windows
Specs from the xTool O1 Omni product page.
Unboxing and setting up the O1 Omni
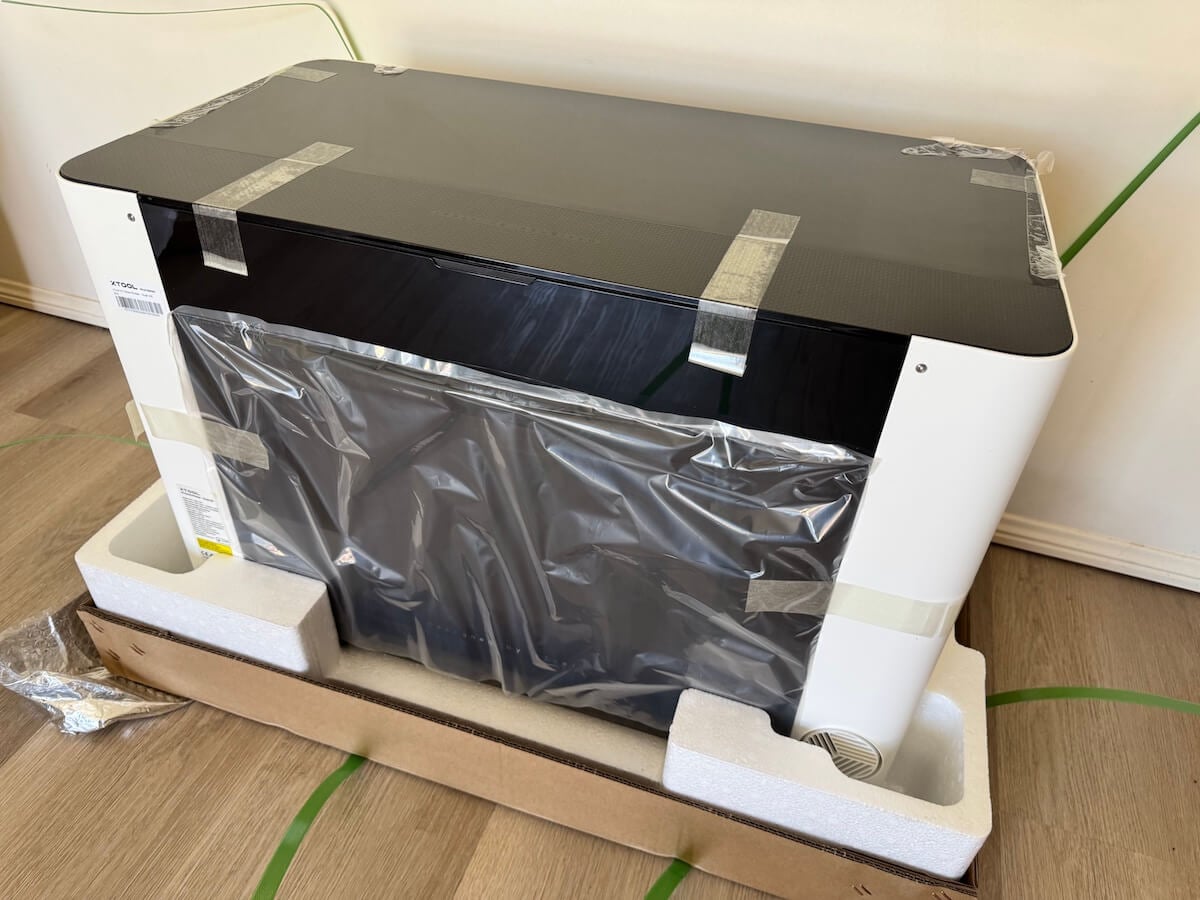
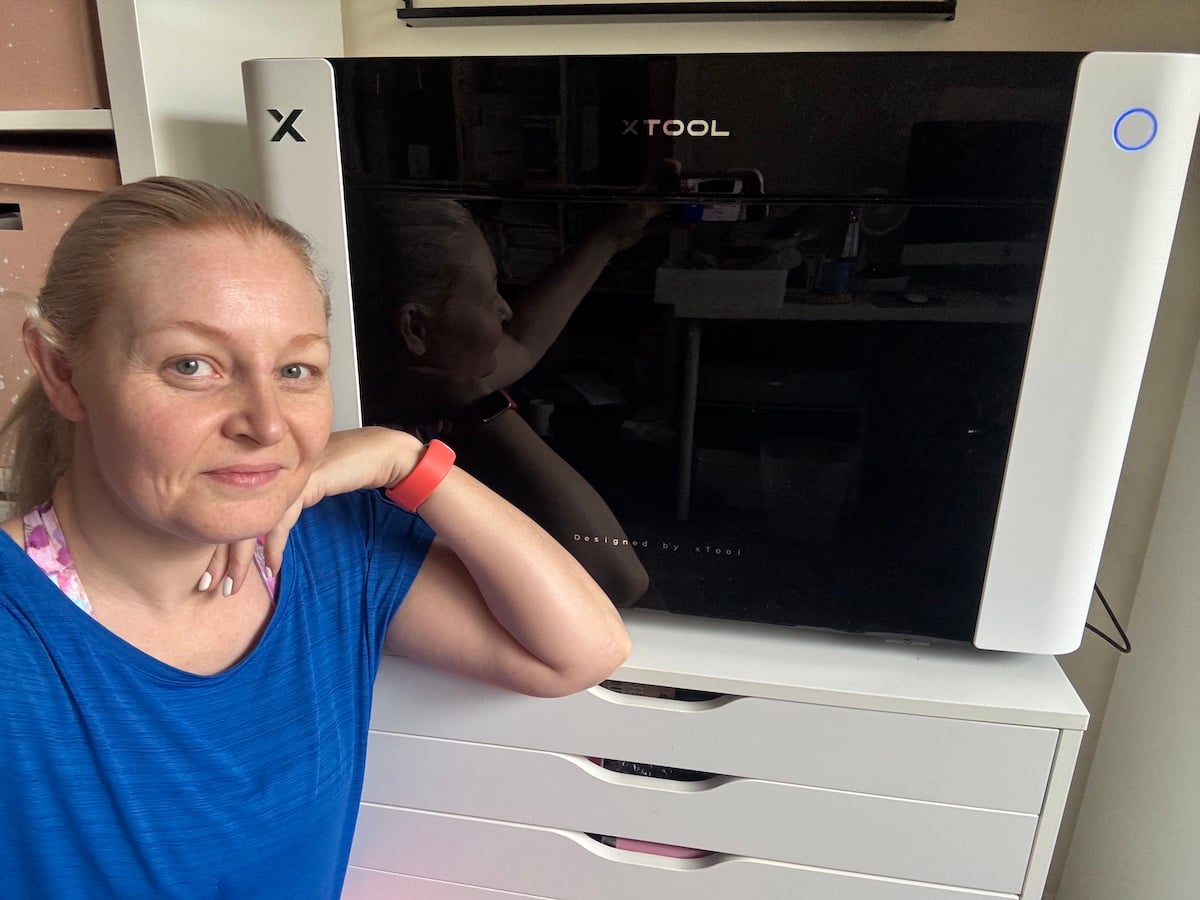
First things first. This machine is heavy. My edition weighs 41kg, which is about the same as my 14 year old. There was no way I was lifting it on my own, so I needed help getting it into place. Luckily, the hubby is a willing helper!
What’s in the box:
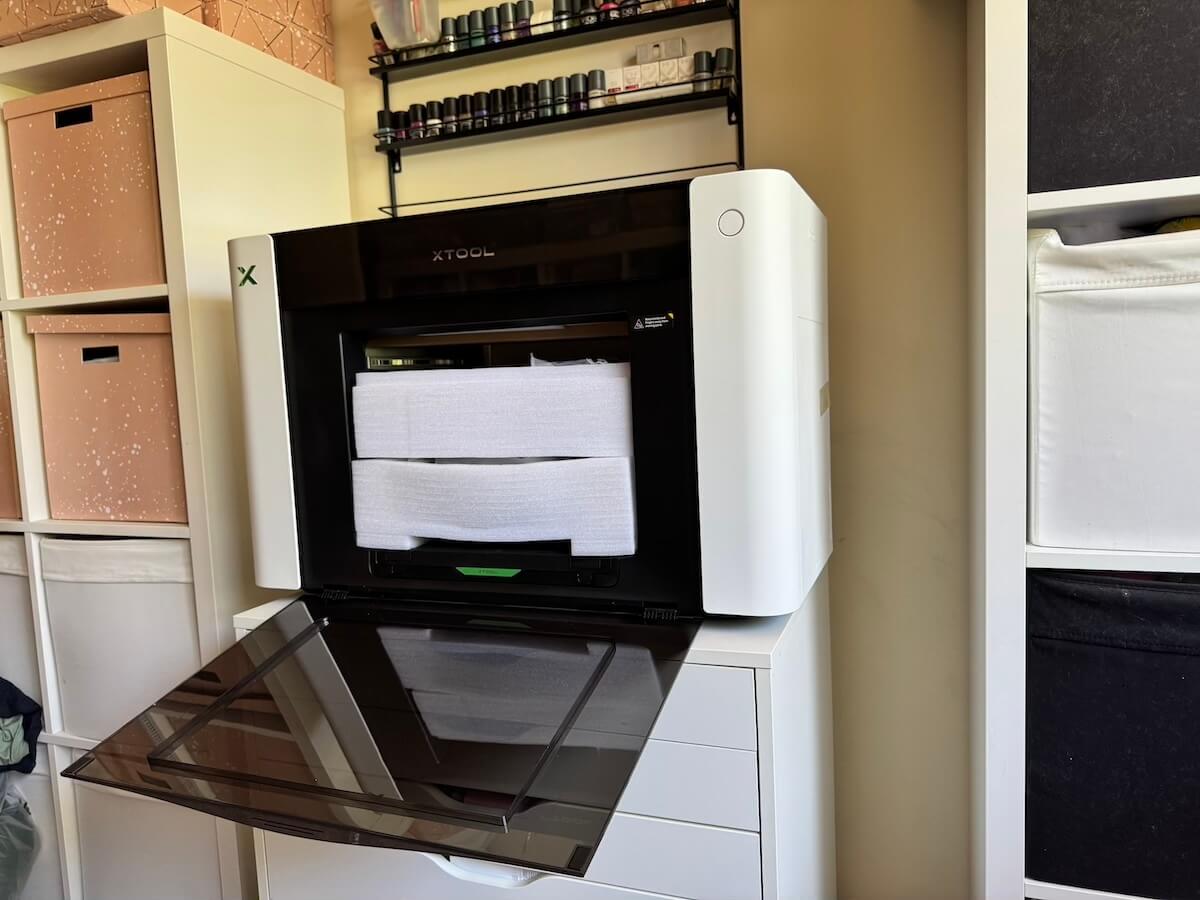
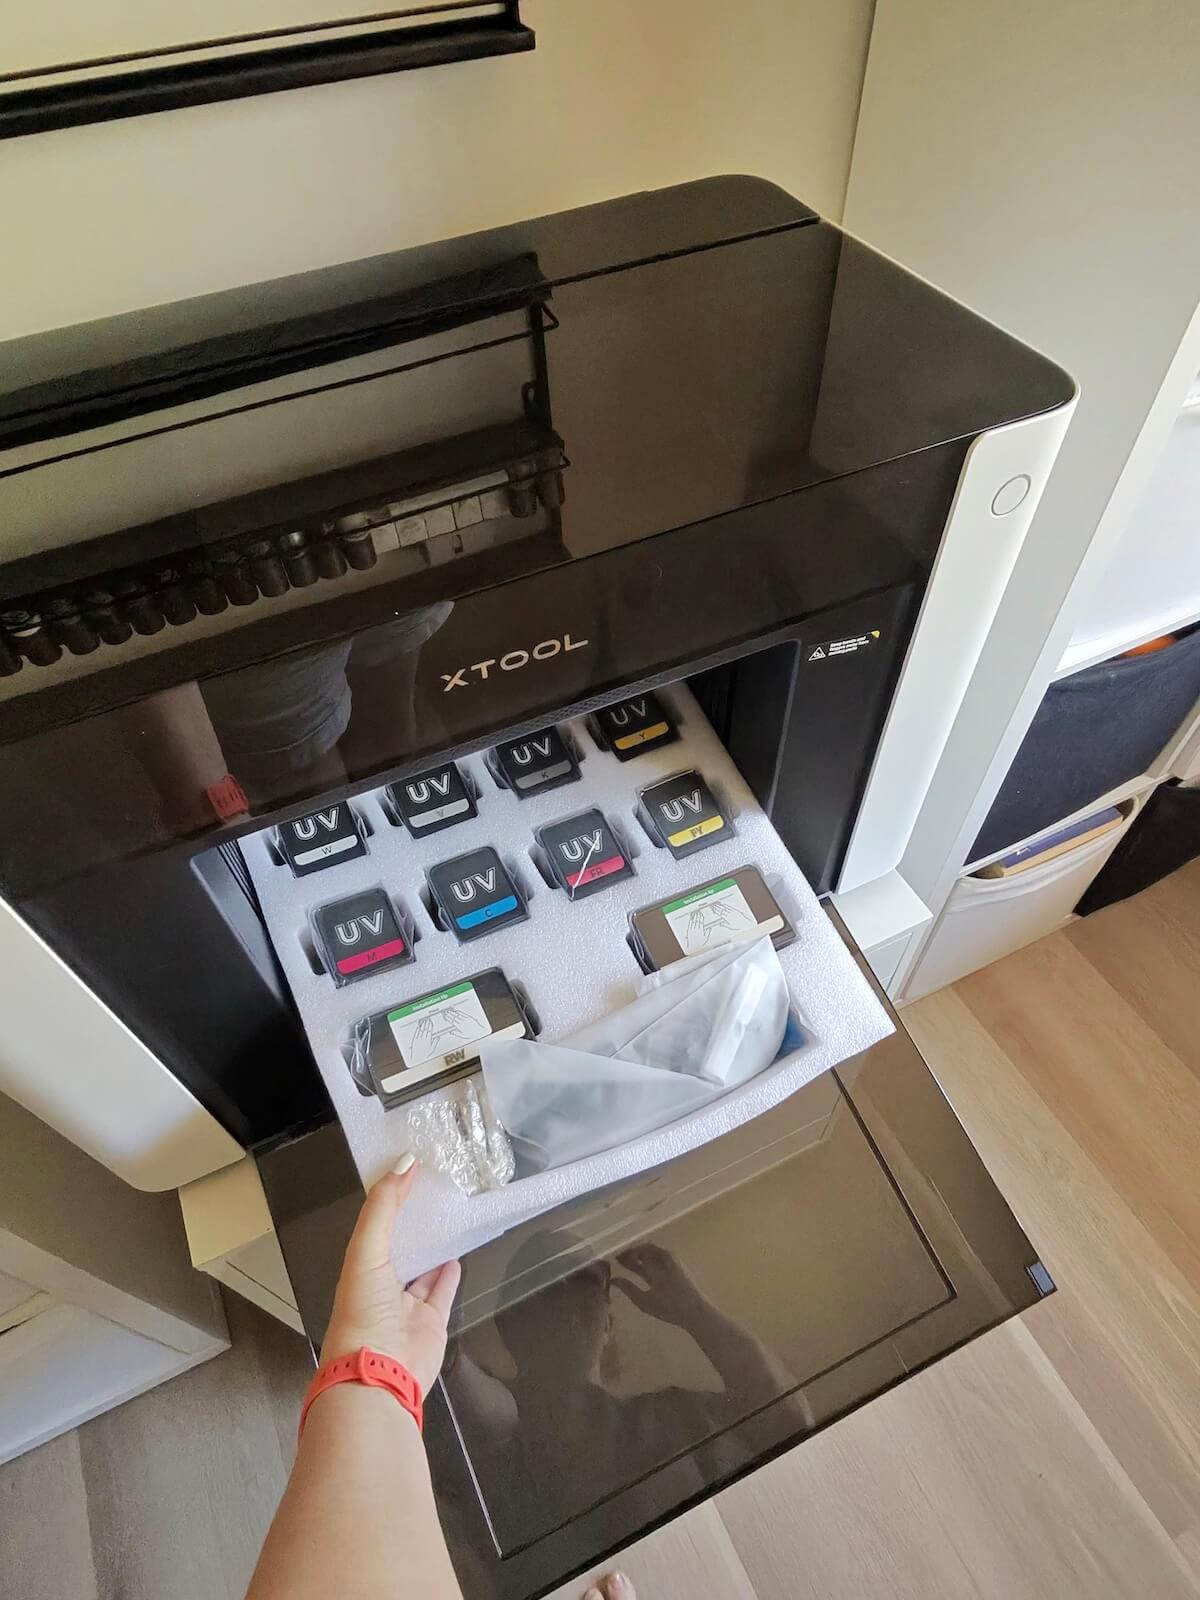
Each Omni model comes with all the essentials you need to get your machine set up. This includes a power cable, USB cable, 2 base plate sizes and mats, syringes to pull the ink through the print head, gloves, safety glasses, your inks and several other essentials.
It also includes 3 magnet blanks to do a test project at the start, but these are the only materials it includes.
Finding Space For The Omni O1 Printer
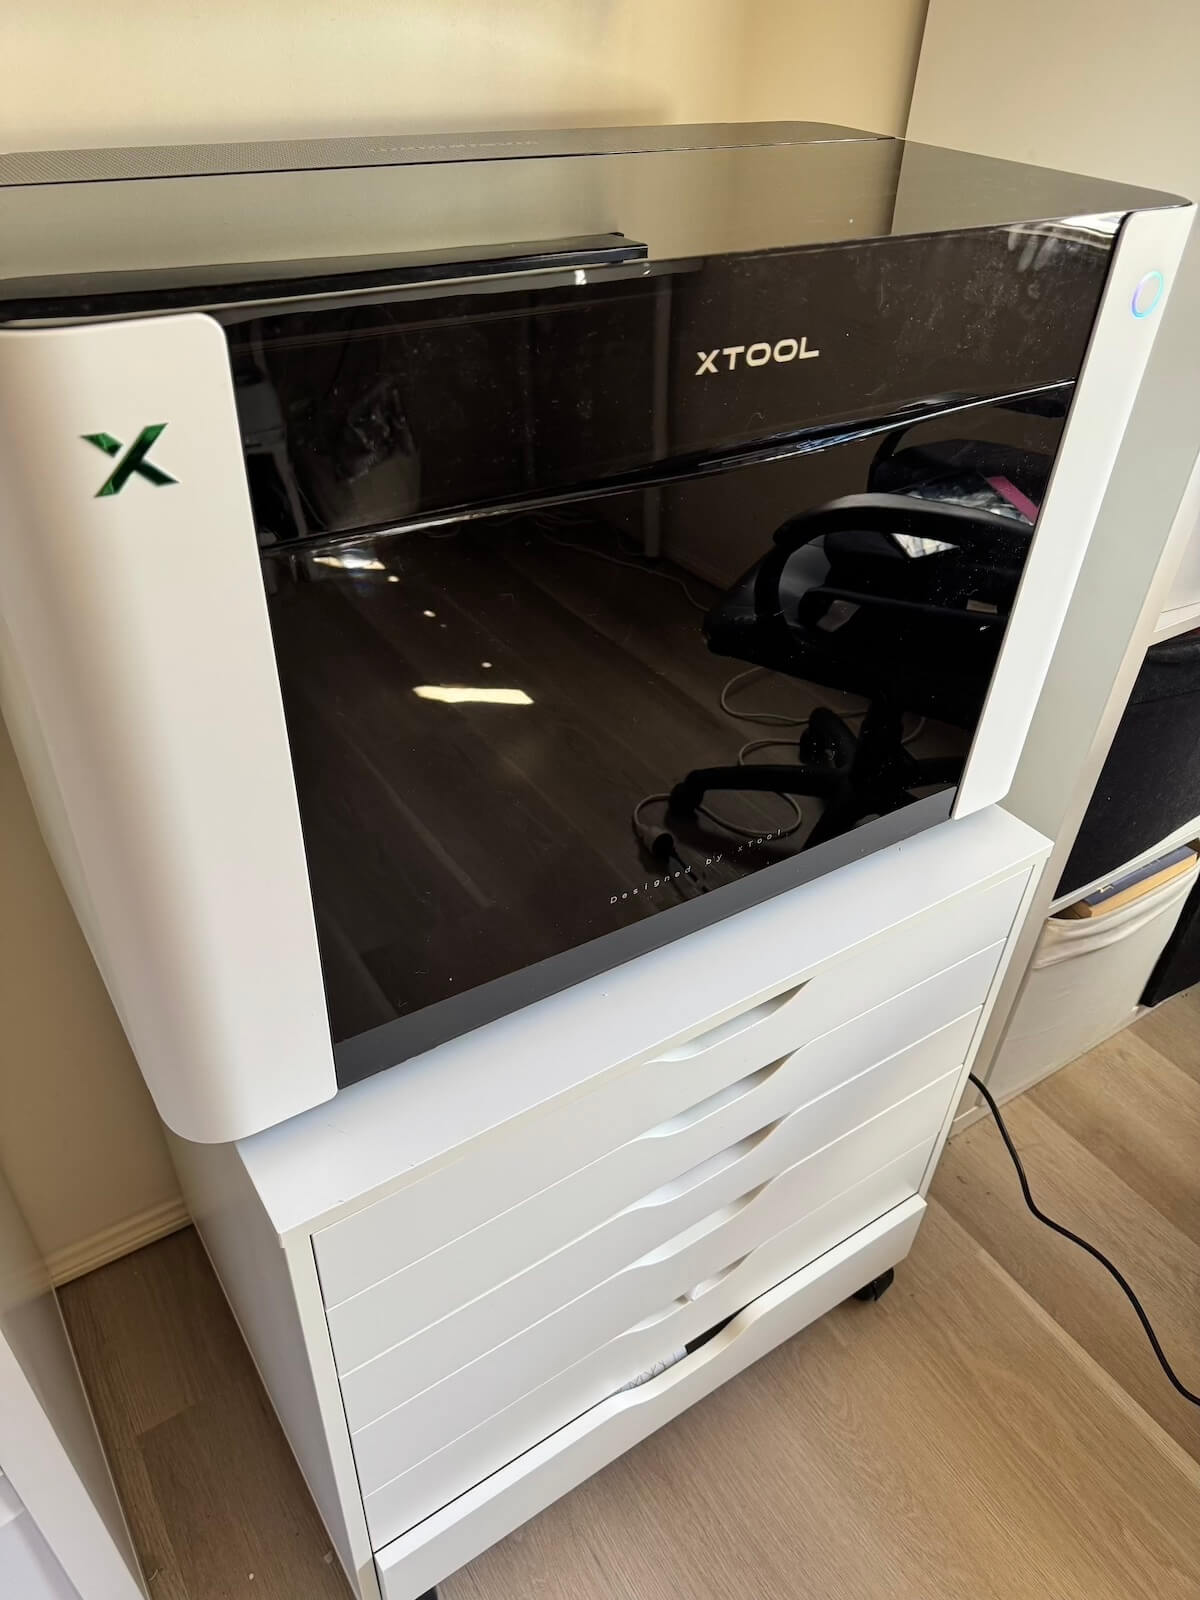
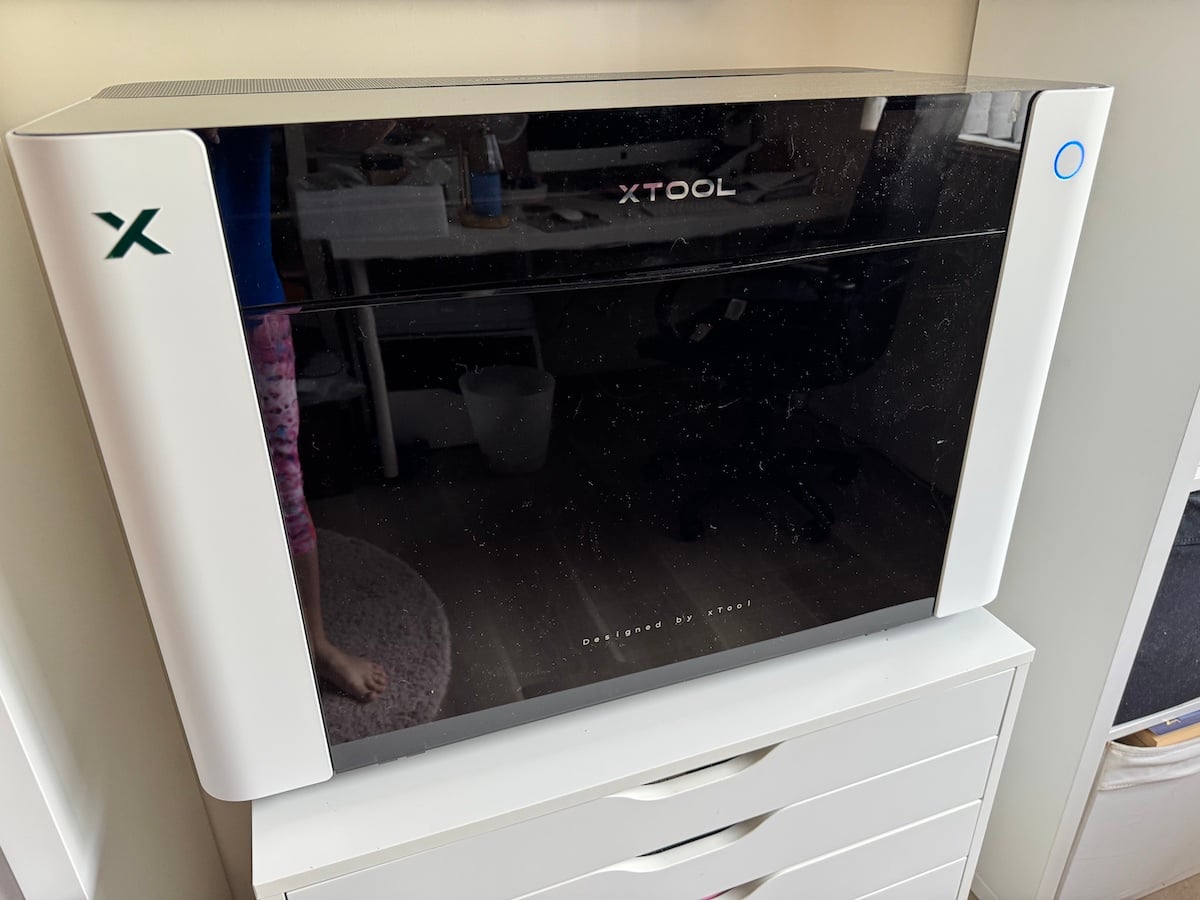
My original plan for where it would live didn’t work once I saw the size of it. I ended up putting it on a rolling set of drawers where my xTool M1 used to sit. It’s not perfect but at least it means I can pull it out when I am using it.
The drawers I am using are from IKEA, and they are very sturdy.
If placing it on a permanent desk without wheels, you need at least 30cm at the rear, front and sides, which is an enormous space. Definitely a challenge in a small craft room like mine that is already pretty full.
That created another problem.
The cable to connect it to the computer is only 1.2m long, and I use a desktop computer. So every time I want to print, I roll the drawers right up next to my desk. It works, but it’s not ideal.
If you use a desktop too, plan your spot with the cable length in mind (or buy a longer cable, but it needs to be a high-quality USB cable that handles file transfers. Not a basic charging cable.
Setting Up The Omni O1 Printer
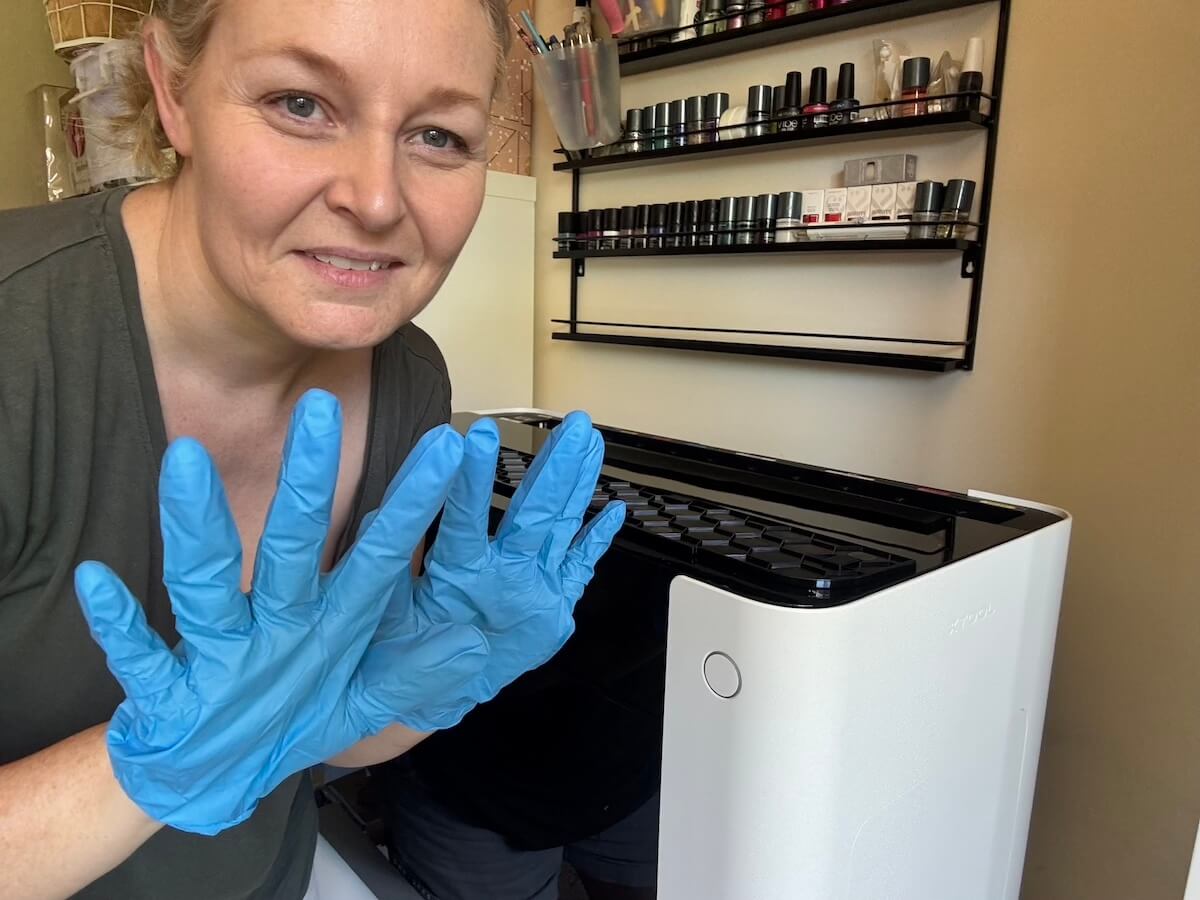
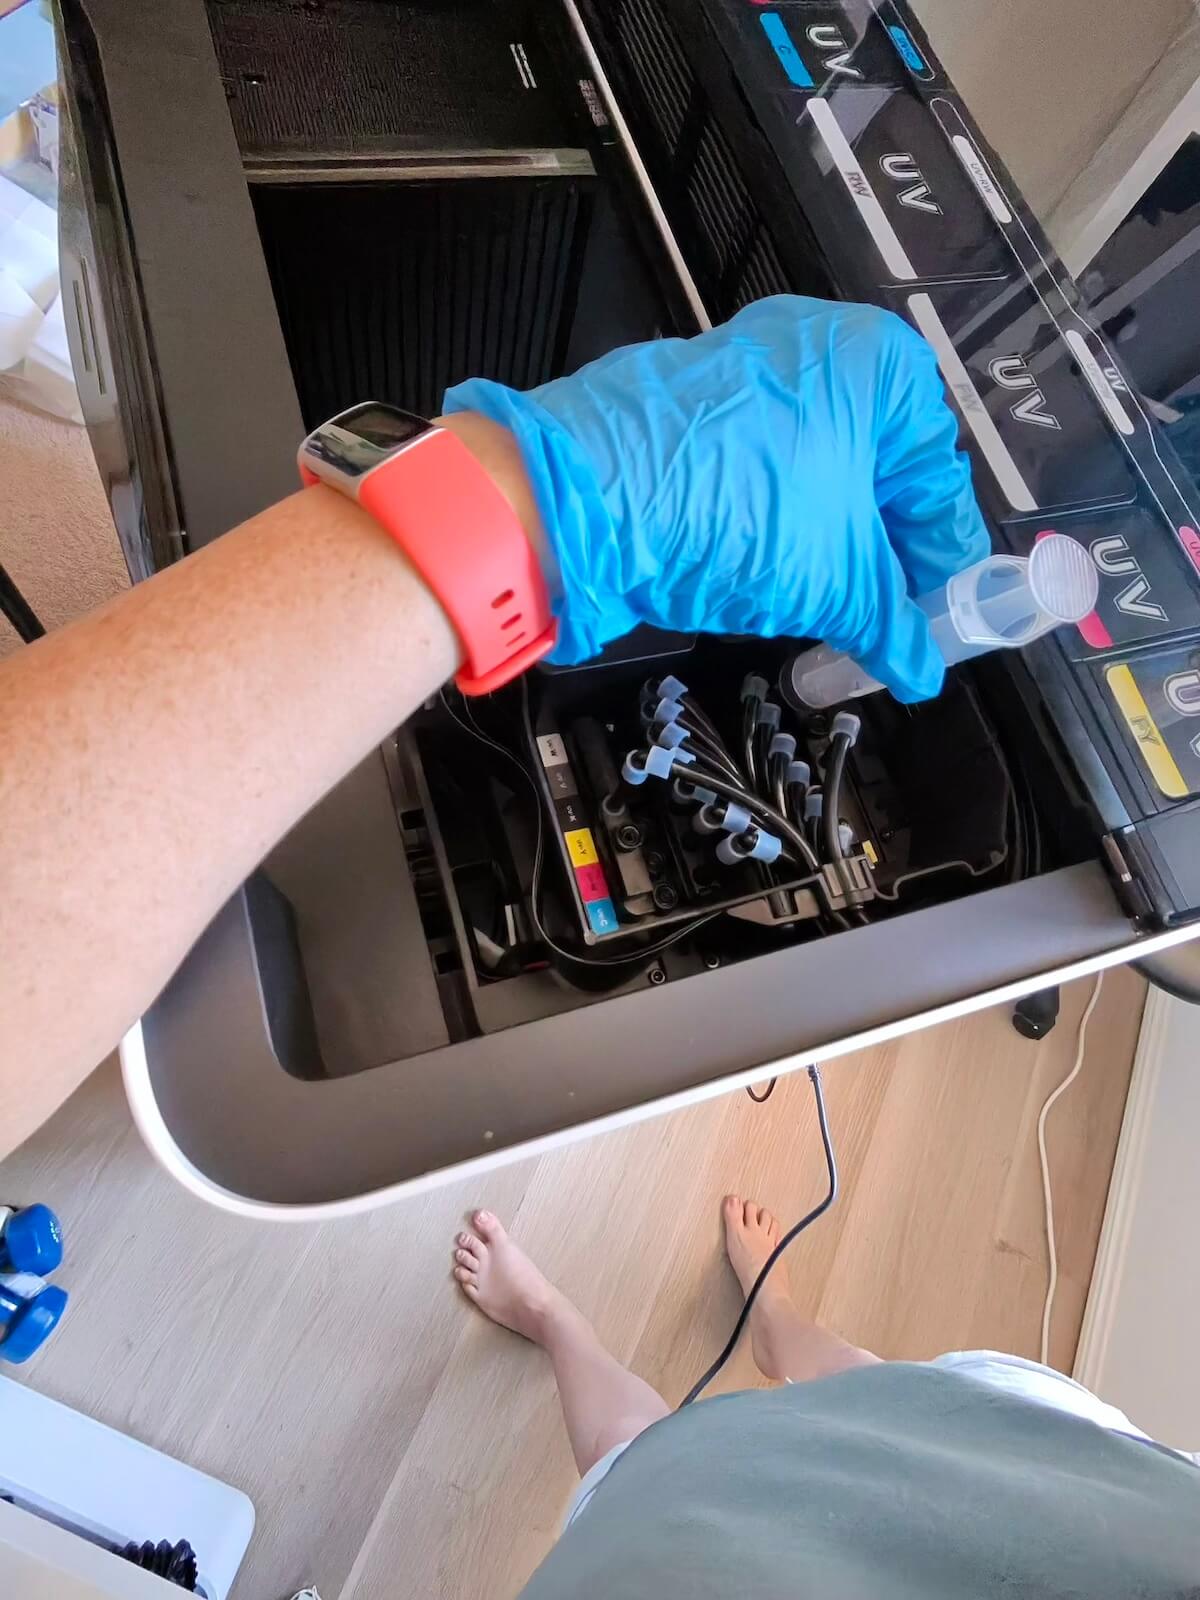
The setup took a long time. I’m talking hours because I was taking my time to make sure I did it right. Most of that was getting the ink system ready and calibrating.
The most daunting part for me was using syringes to pull the ink through to the printhead. Thankfully, xTool’s guided setup videos are excellent.
They walk you through each step slowly and clearly, and I managed it without any disasters.
I didn’t need to call xTool support, but I did watch a lot of videos. Both the official xTool videos and some creator videos had some fantastic tips about mistakes not to make before setting up the printer.
Beginner’s tip: Set aside a whole session for setup when you’re not rushed, and watch each video all the way through before you start that step. I would set aside 3-4 hours if you’re a beginner like me.
What You Need Before Your First Project
This was the biggest surprise for me, and the thing I most want other beginners to know.
I had big plans to print on glass, metal and acrylic straight away. But these materials need a UV primer first so the ink sticks properly. Primer wipes don’t come in the box, which meant waiting for them to arrive after ordering.
So I hit a roadblock before I’d even started the projects I was most excited about.
Beginner’s tip: Before your printer arrives, write a list of the first few projects you want to make. Then check exactly what materials and supplies each one needs. It’s much less frustrating than having a brand new machine set up and ready to go, and nothing to print on.
Things to check you have:
- UV primer (wipes or spray) for the materials you plan to use
- Blanks to print on, e.g. acrylic, tumblers, magnets, wood
- The laminator, if you want to make UV DTF stickers and transfers
- A permanent, sturdy spot within 1.2m of your computer if using a desktop
What Can You Make With An xTool O1 Omni?
This is where the O1 gets exciting, even for a nervous beginner like me. Here are a few ideas of what you can make:
- Fridge magnets
- Acrylic keyrings and signs
- Phone cases
- Personalised tumblers and mugs (with the rotary attachment)
- Coasters
- Personalised leather wallets and tags (Dual-Head UV Edition)
- Custom medallions and coins
- Stickers and decals (with the roll feeder and laminator)
- Stained glass
- T-shirts, tote bags and caps (UV + DT Fabric Edition only)
It can also do some really fun special effects: raised 3D texture, gloss and matte finishes, foil effects and (on my edition) fluorescent colours that glow under a blacklight.
I have the rotary attachment and roll feeder too, which opens up the possibility for a few other options.
Worth noting that if you do go for the UV + DT Fabric Edition, you will also need a craft oven. This was the model I was leaning towards, but that changes the situation because I don’t have the space for a craft oven, so I will stick to using my Cricut vinyl cutting machine with heat transfer vinyl for fabric projects.
The xTool Studio Software
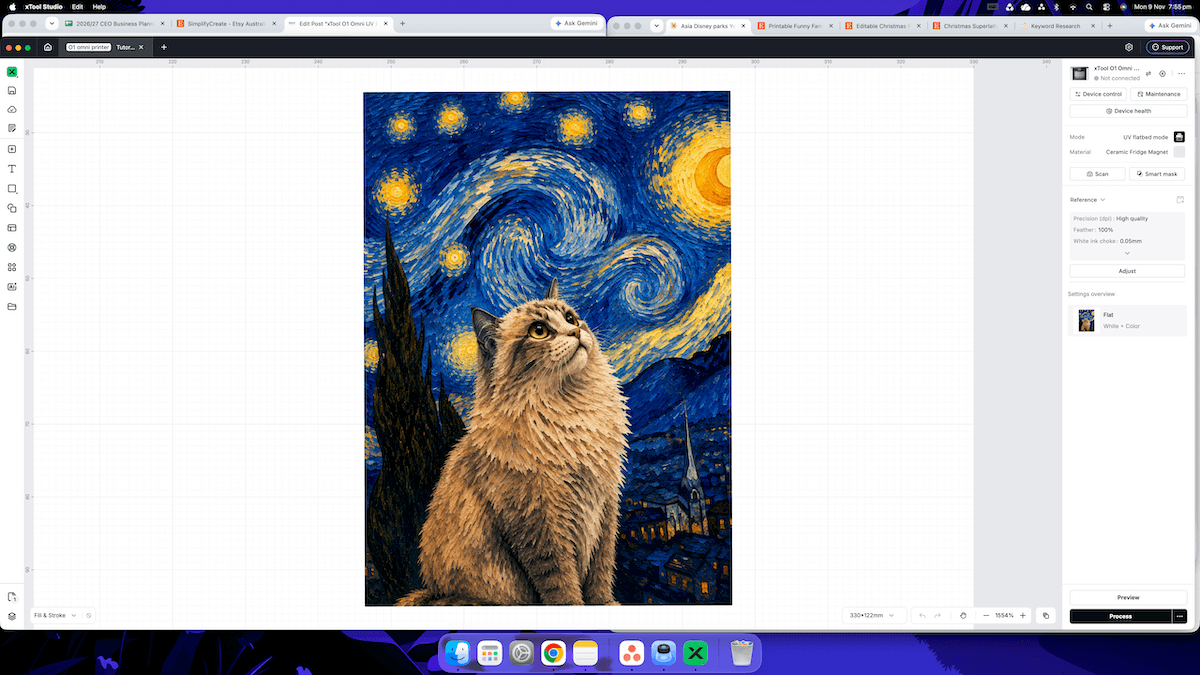
The O1 runs on xTool Studio, the same software as xTool’s lasers. If you have a compatible xTool laser, you can design something, cut it on the laser, then print on it with the O1 without lining everything up by hand. xTool’s site lists the P3, P2, P2S, S1, M2 and M1 Ultra as compatible, with more to come.
My original M1 isn’t on that list unfortunately, but for anyone with a newer model, you have the option to combine your machines.
The software also has ready-made templates, a big library of textures and AI design tools.
I find xTool Studio more user-friendly than the Cricut Design Space, which has almost everything behind a paywall these days. It is relatively easy to navigate.
Within the Studio, you can start your own project from scratch, or use Atomm AI to help you design. There are also guides within the studio for beginners.
But the best thing is how intuitive it is, how it scans your item, and then you can use the smart mask feature to drop your design right where you want it on your project. From here, you can adjust the settings to get it exactly the way you want it.
My First xTool Omni O1 Project: A Magnet
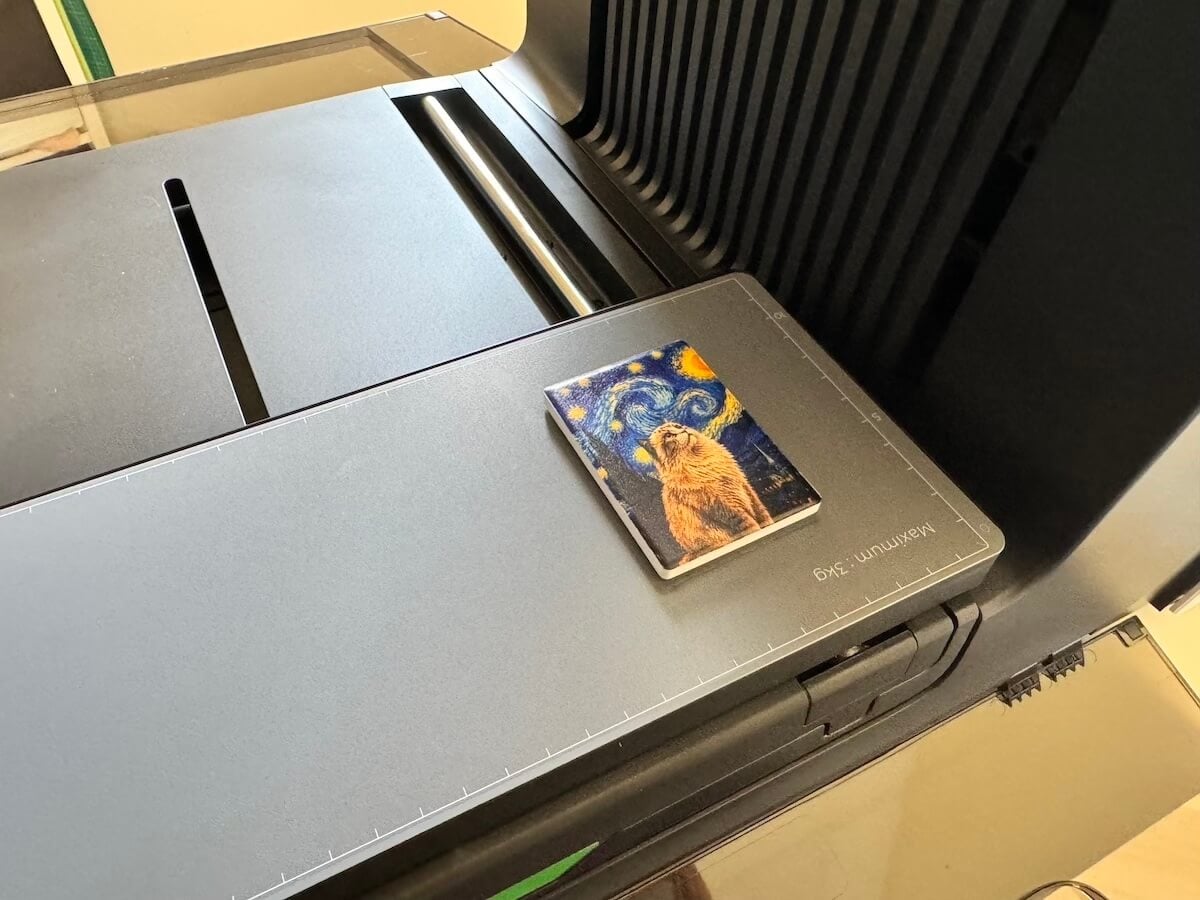
My first project was the guided test project, a fridge magnet.
Once everything was set up, the actual printing was simple. The software walked me through each step, so all I had to do was follow along.
It took just over 5 minutes to print the adorable cat magnet.
I’ll be honest, the guided project is a very different experience from coming up with your own design from scratch. But it’s great to get a win straight out of the gate.
My recommendation is to start with a small, inexpensive project, rather than accidentally ruining an expensive item because you didn’t set it up quite right.
Safety, Smell, Noise & Space
Unlike my laser, the O1 doesn’t need a hose out the window. It has a built-in air filter with HEPA and activated carbon filters, which xTool says removes up to 96.4% of VOCs. The UV inks are GREENGUARD Gold certified.
- Smell: There was a faint small when installing the ink cartridges and during printing but it was very minimal. The machine itself also has a slight lingering smell since it needs to stay on.
- Noise: It’s noticeable noise when you’re in the same room but fairly quiet overall.
- Space: It needs a permanent, sturdy spot. At 41 kg, it’s not something you pack away after each project like a Cricut.
- Maintenance: xTool’s automatic maintenance system keeps the printhead from drying out for at least 14 days when it’s not in use, and it stirs the white ink automatically so it doesn’t settle.
Beginner’s tip: If you’re in a warm climate like us in Queensland, you definitely need to make sure your printer in a cool dry place. Not a hot garage or shed.
Is The xTool O1 Omni Good For Beginners?
Yes and no.
The guided setup and first project are very beginner-friendly. If I can do it, having never even seen a UV printer before, most crafters can.
But there’s a big learning curve once you go beyond the guided steps. The terminology, the three editions, the extra supplies, and the sheer size of it were all a lot to take in as a hobby crafter.
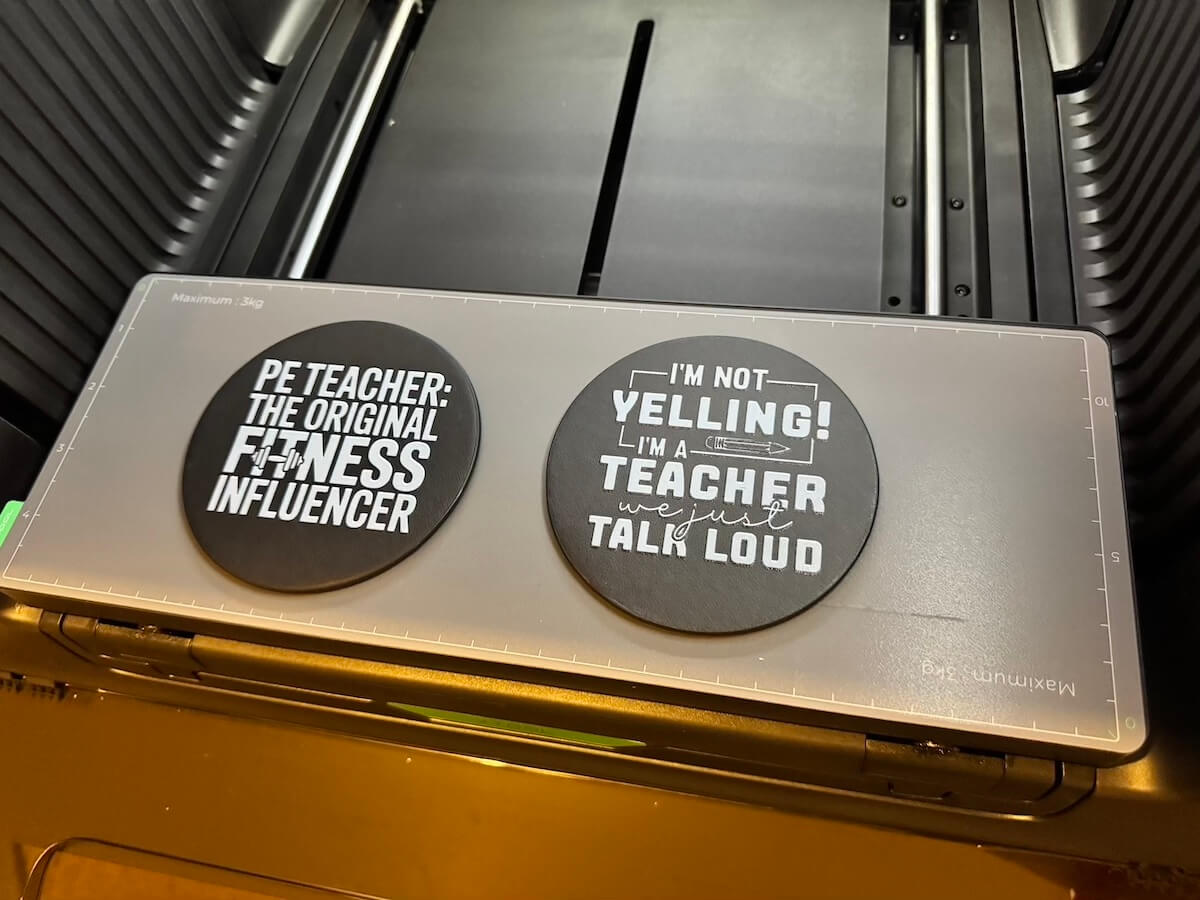
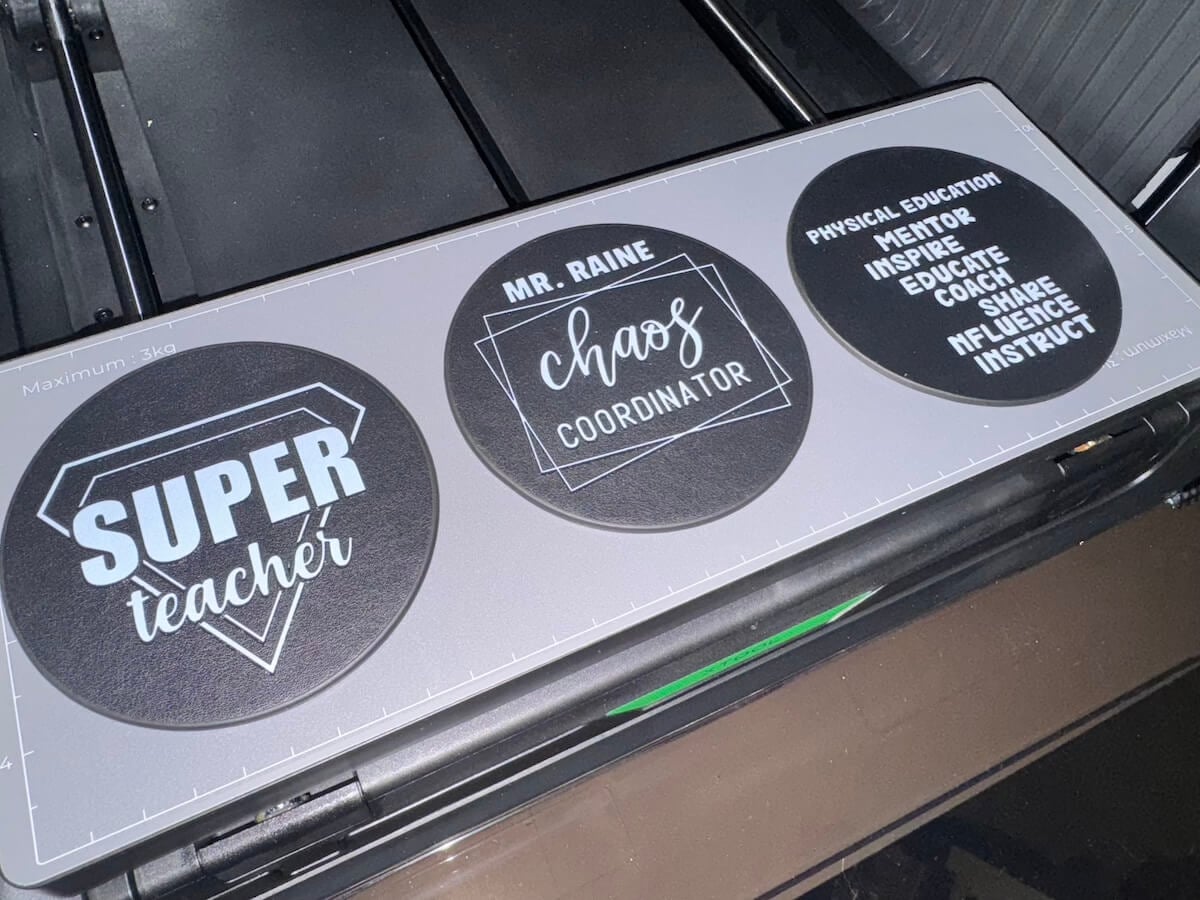
In saying that, my first unguided project was very easy to make. I was winging it a little, making a set of faux leather coasters for my daughter’s PE teacher and aside from the fact that I chose the wrong colour setting for two of them, I had them made within an hour without a tutorial needed.
I’d recommend it if you:
- Want to sell personalised products, or already do
- Have a clear list of projects you want to make
- Have a permanent spot for a large, heavy machine
- Have the budget for a machine of this cost
I’d skip it (for now) if you:
- Only craft occasionally
- Mostly make cards, vinyl decals or simple iron-on projects (a Cricut will do the job for much less)
- Don’t have the space
UV Printer VS Laser Vs Cricut
If you’re trying to work out which machine you actually need, here’s how they compare based on the three I own.
| Cricut Maker | xTool M1 laser | xTool O1 Omni UV printer | |
|---|---|---|---|
| What it does | Cuts thin materials, draws, embosses | Cuts and engraves a variety of materials, including plywood, vinyl, leather, acrylic | Prints full colour |
| Best for | Vinyl, cards, iron-on | Wood signs, engraved gifts | Colourful personalised products |
| Colour | Only the colour of your material | Only engraved marks | Full colour, plus texture and effects |
| Learning curve | Easy | Big | Big |
| Space | Fits on a desk, easy to store | Large, needs a vent | Large and heavy (41kg), permanent spot |
For me, they do quite different jobs, so for someone with a handmade business or who does a lot of crafting and gift making, all 3 have their place.
Although the xTool M Series also cuts vinyl, a desktop laser such as the xTool M1 Ultra or M2 eliminates most of the Cricut needs too.
Read my Cricut Maker 3 review and xTool M1 review for more on those machines.
What I Think Of The xTool O1 Omni UV Printer
What I love:
- The guided setup videos: Clear, step-by-step, and the reason I got through the ink setup without panicking.
- Guided projects: Following the test project made printing feel simple, even as a total beginner.
- What it can print on: Being able to add full colour to acrylic, wood, metal, leather and more opens up so many gift and product ideas.
- The special effects: Raised texture, gloss, foil and fluorescent colours are things I’ve never been able to do with my other machines.
- No vent hose: A big plus after the window setup I need for my laser.
- Level up your gifting: I love the whole new range of personalised gifts I can make, often quicker and easier than weeding a vinyl design for the same thing
- User-friendly: Surprisingly easy to get started once it’s set up
What I don’t love:
- The learning curve: There’s a lot of new terminology, and it took a lot of video watching to feel even slightly confident and to know which edition to get.
- Size and weight: At 41kg, I needed help to move it, and I had to change my plans for where it would live.
- The short cable: 1.2m isn’t long enough if you use a desktop computer.
- Price: It’s a big investment for a hobby crafter.
- Having to leave it on: This made me a little uneasy at first but to keep the ink from drying out, the machine needs to stay on. It makes small noises sometimes as it does its automated maintenance but its not overly noticable.
Price And Where To Buy
The xTool O1 Omni Printer starts from $2,499 USD for the Single UV Edition.
You can buy it directly from the xTool website.
Accessories are sold separately, including the rotary attachment (for tumblers and mugs), the roll feeder and the laminator (for UV DTF stickers and transfers).
Final Thoughts: Is The xTool O1 Omni UV Printer Worth It?
I went into this knowing nothing about UV printers, and I’ll admit I felt out of my depth more than once. The setup took a long time, there was a lot of terminology to learn and I hit a roadblock with primer before I’d even started the projects I wanted to make.
But the guided videos and projects made the first steps far less scary than I expected. And now that it’s set up, I can see the possibilities.
I am so excited about the DIY gift potential and yes, if I were considering a small product-based business, it would be a total game-changer.
If you’re a hobby crafter who makes things now and then, it’s probably more machine than you need. But if you want to sell personalised products, or you have a long list of projects in mind and the space for it, the O1 Omni can do things none of my other machines can.
My biggest advice: work out what you want to make, pick the right edition for it and make sure you have the supplies before it arrives.
FAQs
What is the xTool O1 Omni Printer?
It’s a desktop UV printer from xTool that prints full colour onto materials like acrylic, wood, metal, glass and leather. Depending on the edition, it can also make UV DTF transfers and print onto fabric.
Is the xTool O1 Omni good for beginners?
The guided setup and first project are beginner-friendly, but there’s a big learning curve after that. It suits beginners with a clear plan for what they want to make, especially if they want to sell their work.
Which xTool O1 Omni edition should I buy?
Choose the Single UV Edition for hard items on a lower budget, the Dual-Head UV Edition for fluorescent colours and flexible materials like leather, or the UV + DT Fabric Edition if you also want to print t-shirts and fabric. You can’t upgrade between editions later.
Can the xTool O1 Omni print on t-shirts?
Only the UV + DT Fabric Edition can print on t-shirts and fabric, using DTG or DTF printing.
Do you need primer for UV printing?
A primer or UV promoter is recommended before printing on slippery, shiny surfaces like glass, metal and acrylic. It does not come in the box, but it will improve the longevity of your print.
How much does the xTool O1 Omni weigh?
Around 41kg (90 lbs), depending on the edition. You will need help to move it.
You may also like: