How To Make A DIY Paper Plate Suncatcher
This post may contain affiliate links. Read the full disclosure
If you are looking for a simple kid’s craft project that you can make at home, DIY suncatchers are a perfect way to have some creative fun with your children. Inspired by nature, and in the true Aussie Spirit of May Gibbs and the Gumnut Babies, create paper plate suncatchers you can display around your home!
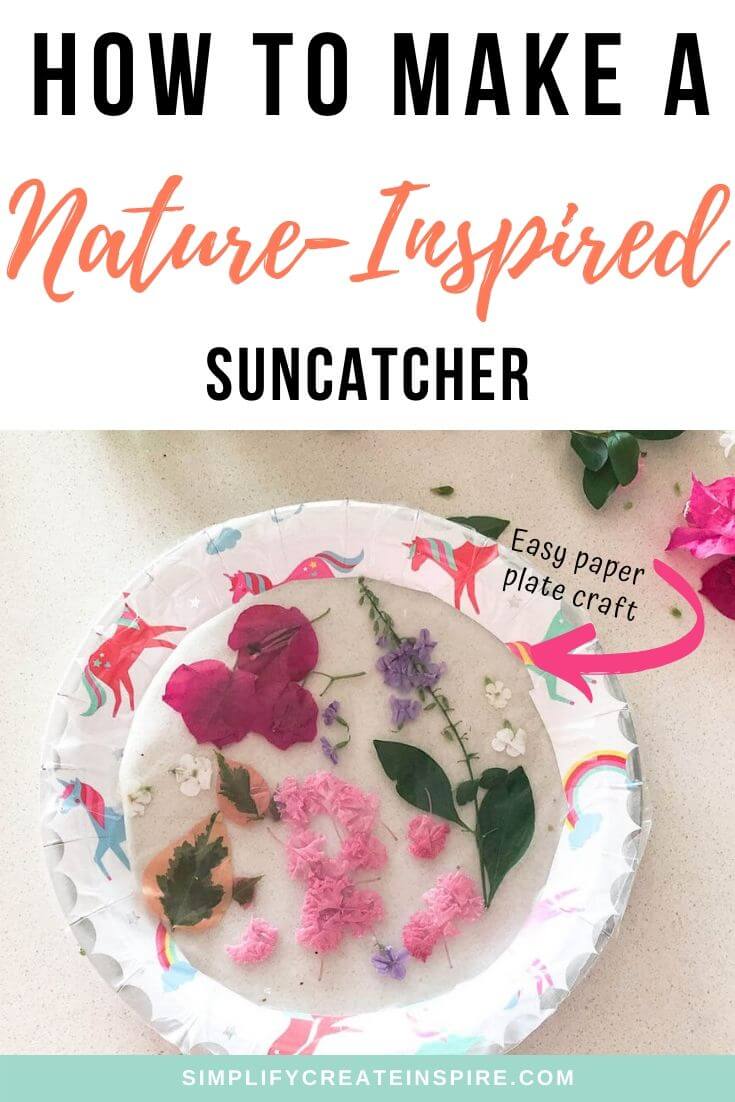
Paper plate crafts are one of the most budget-friendly kid’s crafts to make at home since most of us have a supply of paper plates on hand for entertaining.
The options are endless and this flower suncatcher craft is such an enjoyable and educational activity.
It encourages kids to go exploring in the backyard or local park and discovering the beauty of nature. Even better, you can use your found treasures to make your suncatchers.
More fun kid-friendly crafts to try:
- Yarn friendship bracelets
- Clay mini figures
- Floral bunny headband
- Creative play recipes to make at home
- Creative play for toddlers
What You Will Need To Make A Paper Plate Suncatcher
The best thing about this papercraft is that you will hopefully have all of these items at home already. If you don’t, they are inexpensive items that you should be able to get at your local discount variety store or online:
- A collection of flowers, leaves, seeds and feathers from your garden
- Large paper plates (or a substitute for a disposable plastic plate instead)
- Scissors or a craft knife
- A roll of clear contact – alternatively you could use a transparent coloured contact instead
- Ribbon or string – optional if you prefer to hang your suncatcher instead of sticking it on the window
Where To Find Nature Supplies For Your Sun Catchers
Go for a wander in your backyard, go for a walk around your neighbourhood or visit the local park and gather anything small that tickles your fancy. Items such as small gum nuts, flowers, leaves, seeds and sticks are perfect. Keep an eye out for feathers too.
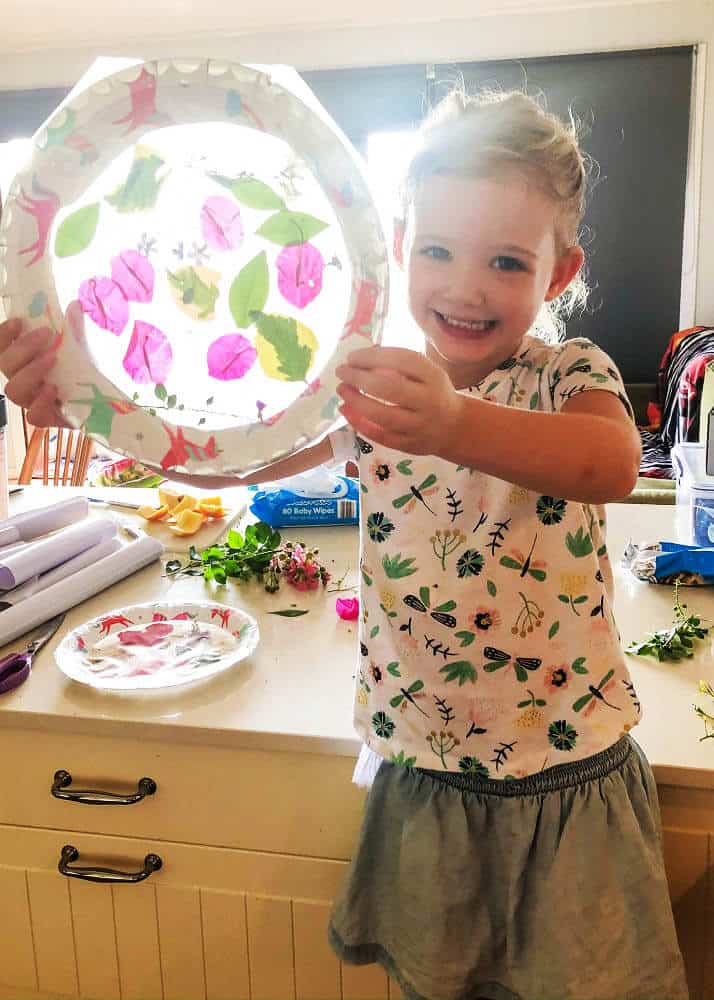
In our sun catchers, we’ve used crepe myrtle and bougainvillaea.
While you’re gathering little pieces, don’t forget to observe the animals going about their day, there’s so much to learn – butterflies, bees, ants, lady beetles, lizards, birds.
Talk with your children about what the creatures might be doing, where they might live, and how important bugs are to our ecosystem. This is a wonderful learning opportunity and one made more fun by the prospect of getting creative.
Once you’ve got sufficient nature supplies, return to where you’re going to make your sun catchers. Find a clear flat space like a table or bench. It’s time to get making!
How To Make DIY Suncatchers
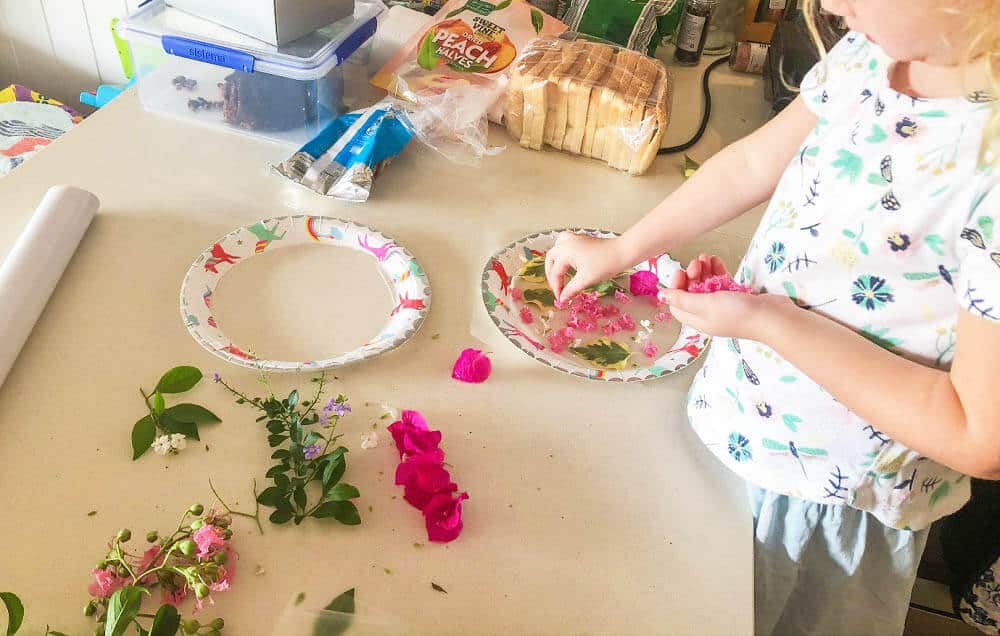
STEP ONE – Take the kids on a walk around the garden collecting leaves, flowers and other items they want to use in their paper plate suncatcher.
STEP TWO – Using scissors, carefully cut the centre out of your paper plate, leaving only a border. You can use plastic disposable plates instead, although may need a craft knife to cut out your circle. This is something you will need to do for your child or with careful supervisor for older children confident with using scissors.
STEP THREE – Cut 2 circles from your sheet of the contact, slightly bigger than the paper plate opening.
STEP FOUR – Peel the backing paper from one contact circle. Place on your benchtop with the sticky side facing up and press your paper plate evenly onto the sticky side of the contact. Make sure it is stuck on firmly.
STEP FIVE – Create a design on your contact by pressing the flowers, leaves and other items collected onto the sticky surface.
STEP SIX – Once your design is complete, peel the backing off your second circle of contact and press this firmly on top of the flowers, sticky side down. Press the contact to the edge of the plate, making sure you smooth out any air bubbles.
STEP SIX – If you want to hang your suncatcher, pierce a hole at the top of your paper plate and thread through ribbon or string so that you can tie it or hang it from a sunny spot in your house. Alternatively, you can use blue tack to stick your suncatcher on a window.
Think of these blossoming sun catchers as a deconstructed bouquet. Instead of putting the foliage in a vase where you can only see what’s on the outside, a sun catcher like this one means you can see every piece and every colour, particularly when picked up by the sunlight.
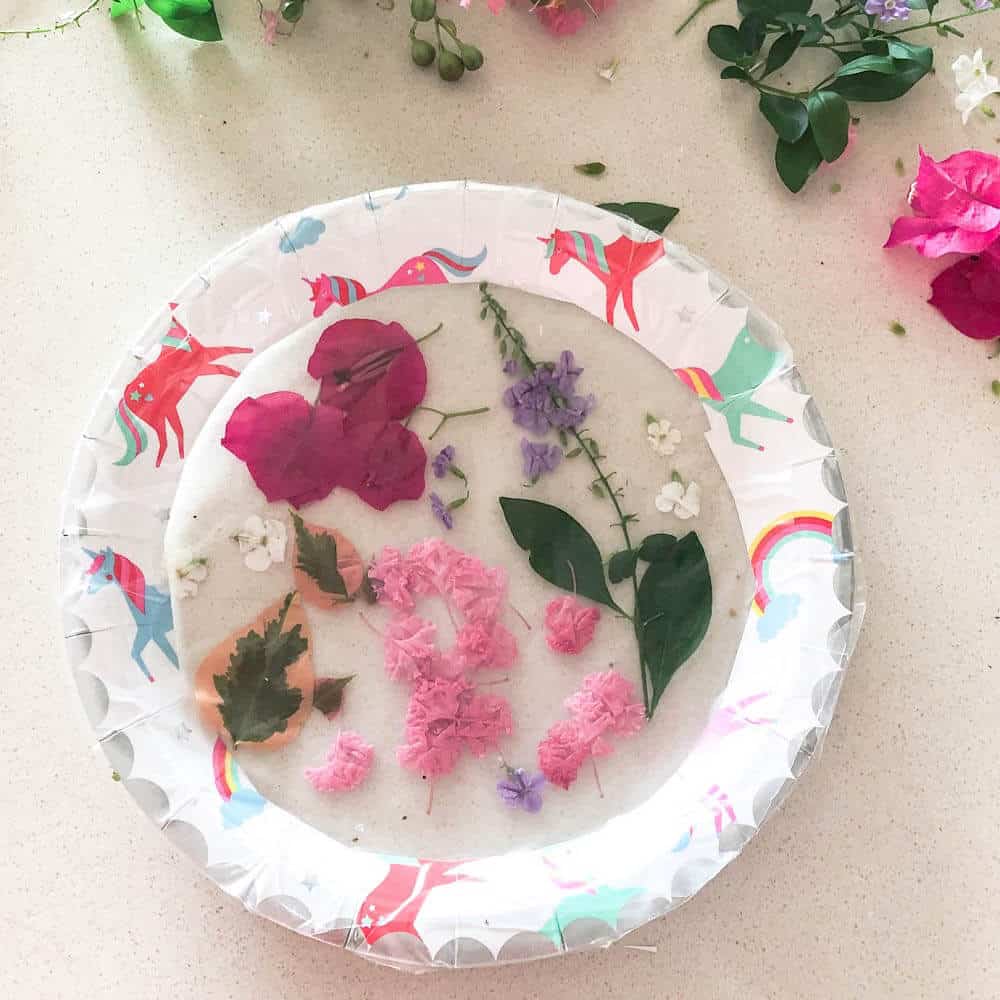
You can make these sun catchers just because. Or as decorations for a party. Or even to brighten up your Easter lunch.
Need more inspiration? Check out more than 100 Fun things to do at home and 100 fun things to do in your backyard
Use colours, decorations and patterned plates to suit any theme or occasion for your DIY suncatchers:
- For Christmas time, use a Christmas paper plate, with lots of red and green.
- For Easter, use pretty pastels and soft colours
- As party decorations, go with your party theme colours
And don’t feel you are limited only to flowers and nature for your suncatcher decorations. Add a scattering of glitter, sequins, and stickers to add extra colour and flair to your nature suncatchers.
For more inspiration from the Australia Bush, visit one of our faves, May Gibbs. Or check out these beautiful picture books set in the Aussie bush.
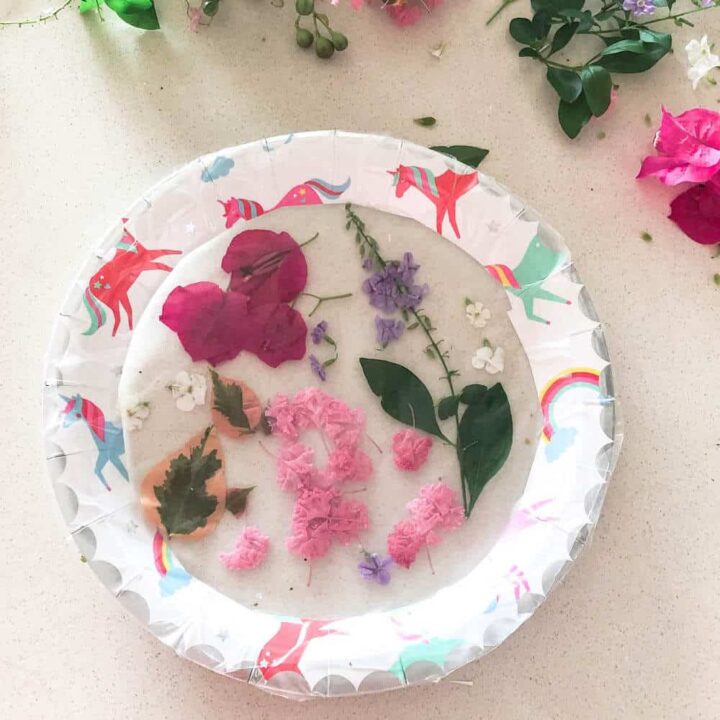
Paper Plate Suncatcher
Create your own nature-inspired suncatcher using paper plates. A simple craft project for younger children to enjoy.
Materials
- Flowers, leaves, nuts etc from the garden
- Large paper plates
- A roll of clear contact
- Ribbon (optional if you’d prefer to hang your suncatcher instead of sticking it on the window)
Tools
- Scissors
Instructions
- Lay the nature supplies you have collected on the flat surface.
- Get your paper plates (however many you need) and cut a circle out of the middle of each leaving just a ring.
- Cut a circle out of the contact in a slightly bigger shape than the plate opening.
- Peel the backing paper from the contact, so the sticky side is facing up while sitting on the benchtop.
- Press the paper plate evenly onto the sticky side of the contact.
- Create a design by pressing the flowers, leaves etc. onto the sticky surface.
- Once your design is complete, stick another circle of contact on top of the flowers, sticky side down.
- Press the contact to the edge of the plate, making sure you smooth out any air bubbles.
- If you plan to hang your suncatcher, pierce a hole at the top and thread some ribbon through.
Notes
If you would rather stick your suncatcher to the window, you can do this using tape or blue tack.

