The Easiest DIY Drawer Dividers in Under 15 Minutes
This post may contain affiliate links. Read the full disclosure
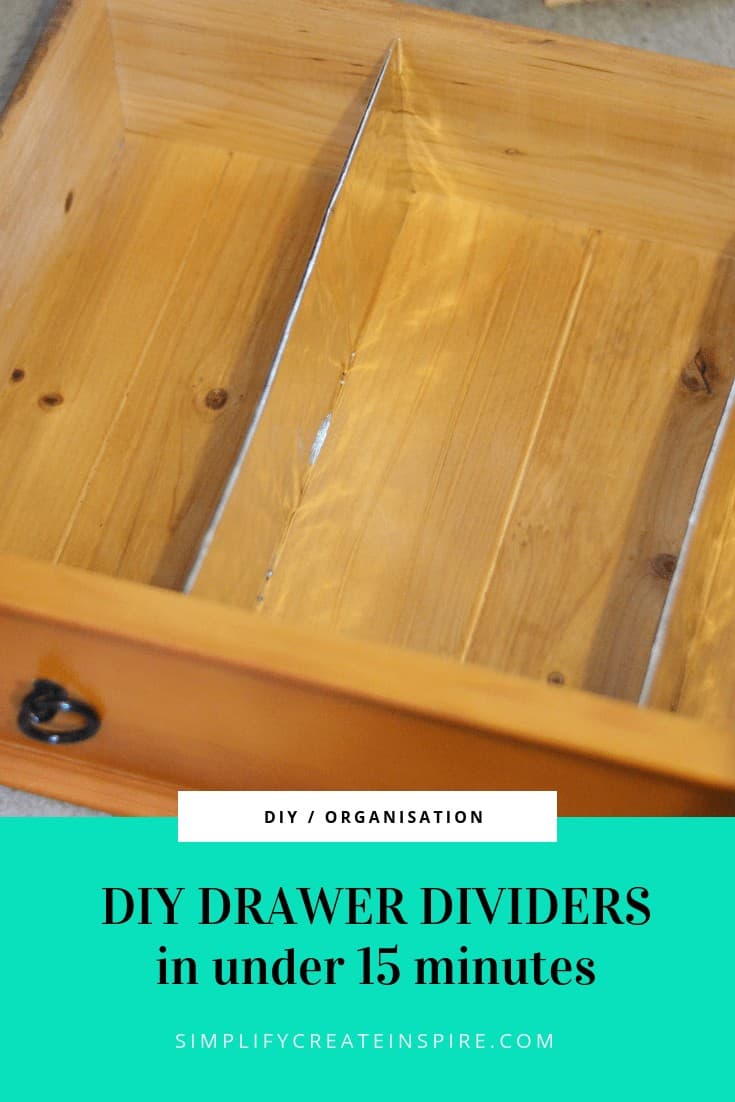
Wanting to make your own DIY drawer dividers from cardboard? This is the tutorial for you! Make your own custom drawer dividers in under 15 minutes! No fancy tools needed! This is the quickest and cheapest way to organise your drawers using items you already have at home.
Thanks to Netflix and Tidying Up With Marie Kondo, the world is suddenly obsessed all over again with decluttering mastermind Marie Kondo and her spark joy method of clearing the clutter.
The part I love most is her unique Konmari method clothing organisation, so it inspired a super quick DIY project – custom drawer dividers.
The best part is that these DIY drawer dividers were created using things already lying around the house! So essentially a totally free drawer makeover!
DIY CUSTOM DRAWER DIVIDERS
You can make your own DIY drawer dividers cardboard style and not only is it going to cost you virtually nothing, and takes about 15 minutes to do!
This is such a quick and easy way to transform your drawer space for organising clothing.
This tutorial is one you can easily adapt to drawers of any size, and it does not need to be limited just to clothing organisation.
RELATED READING: Easy Ikea Hacks For Your Home
Benefits of Drawer Dividers
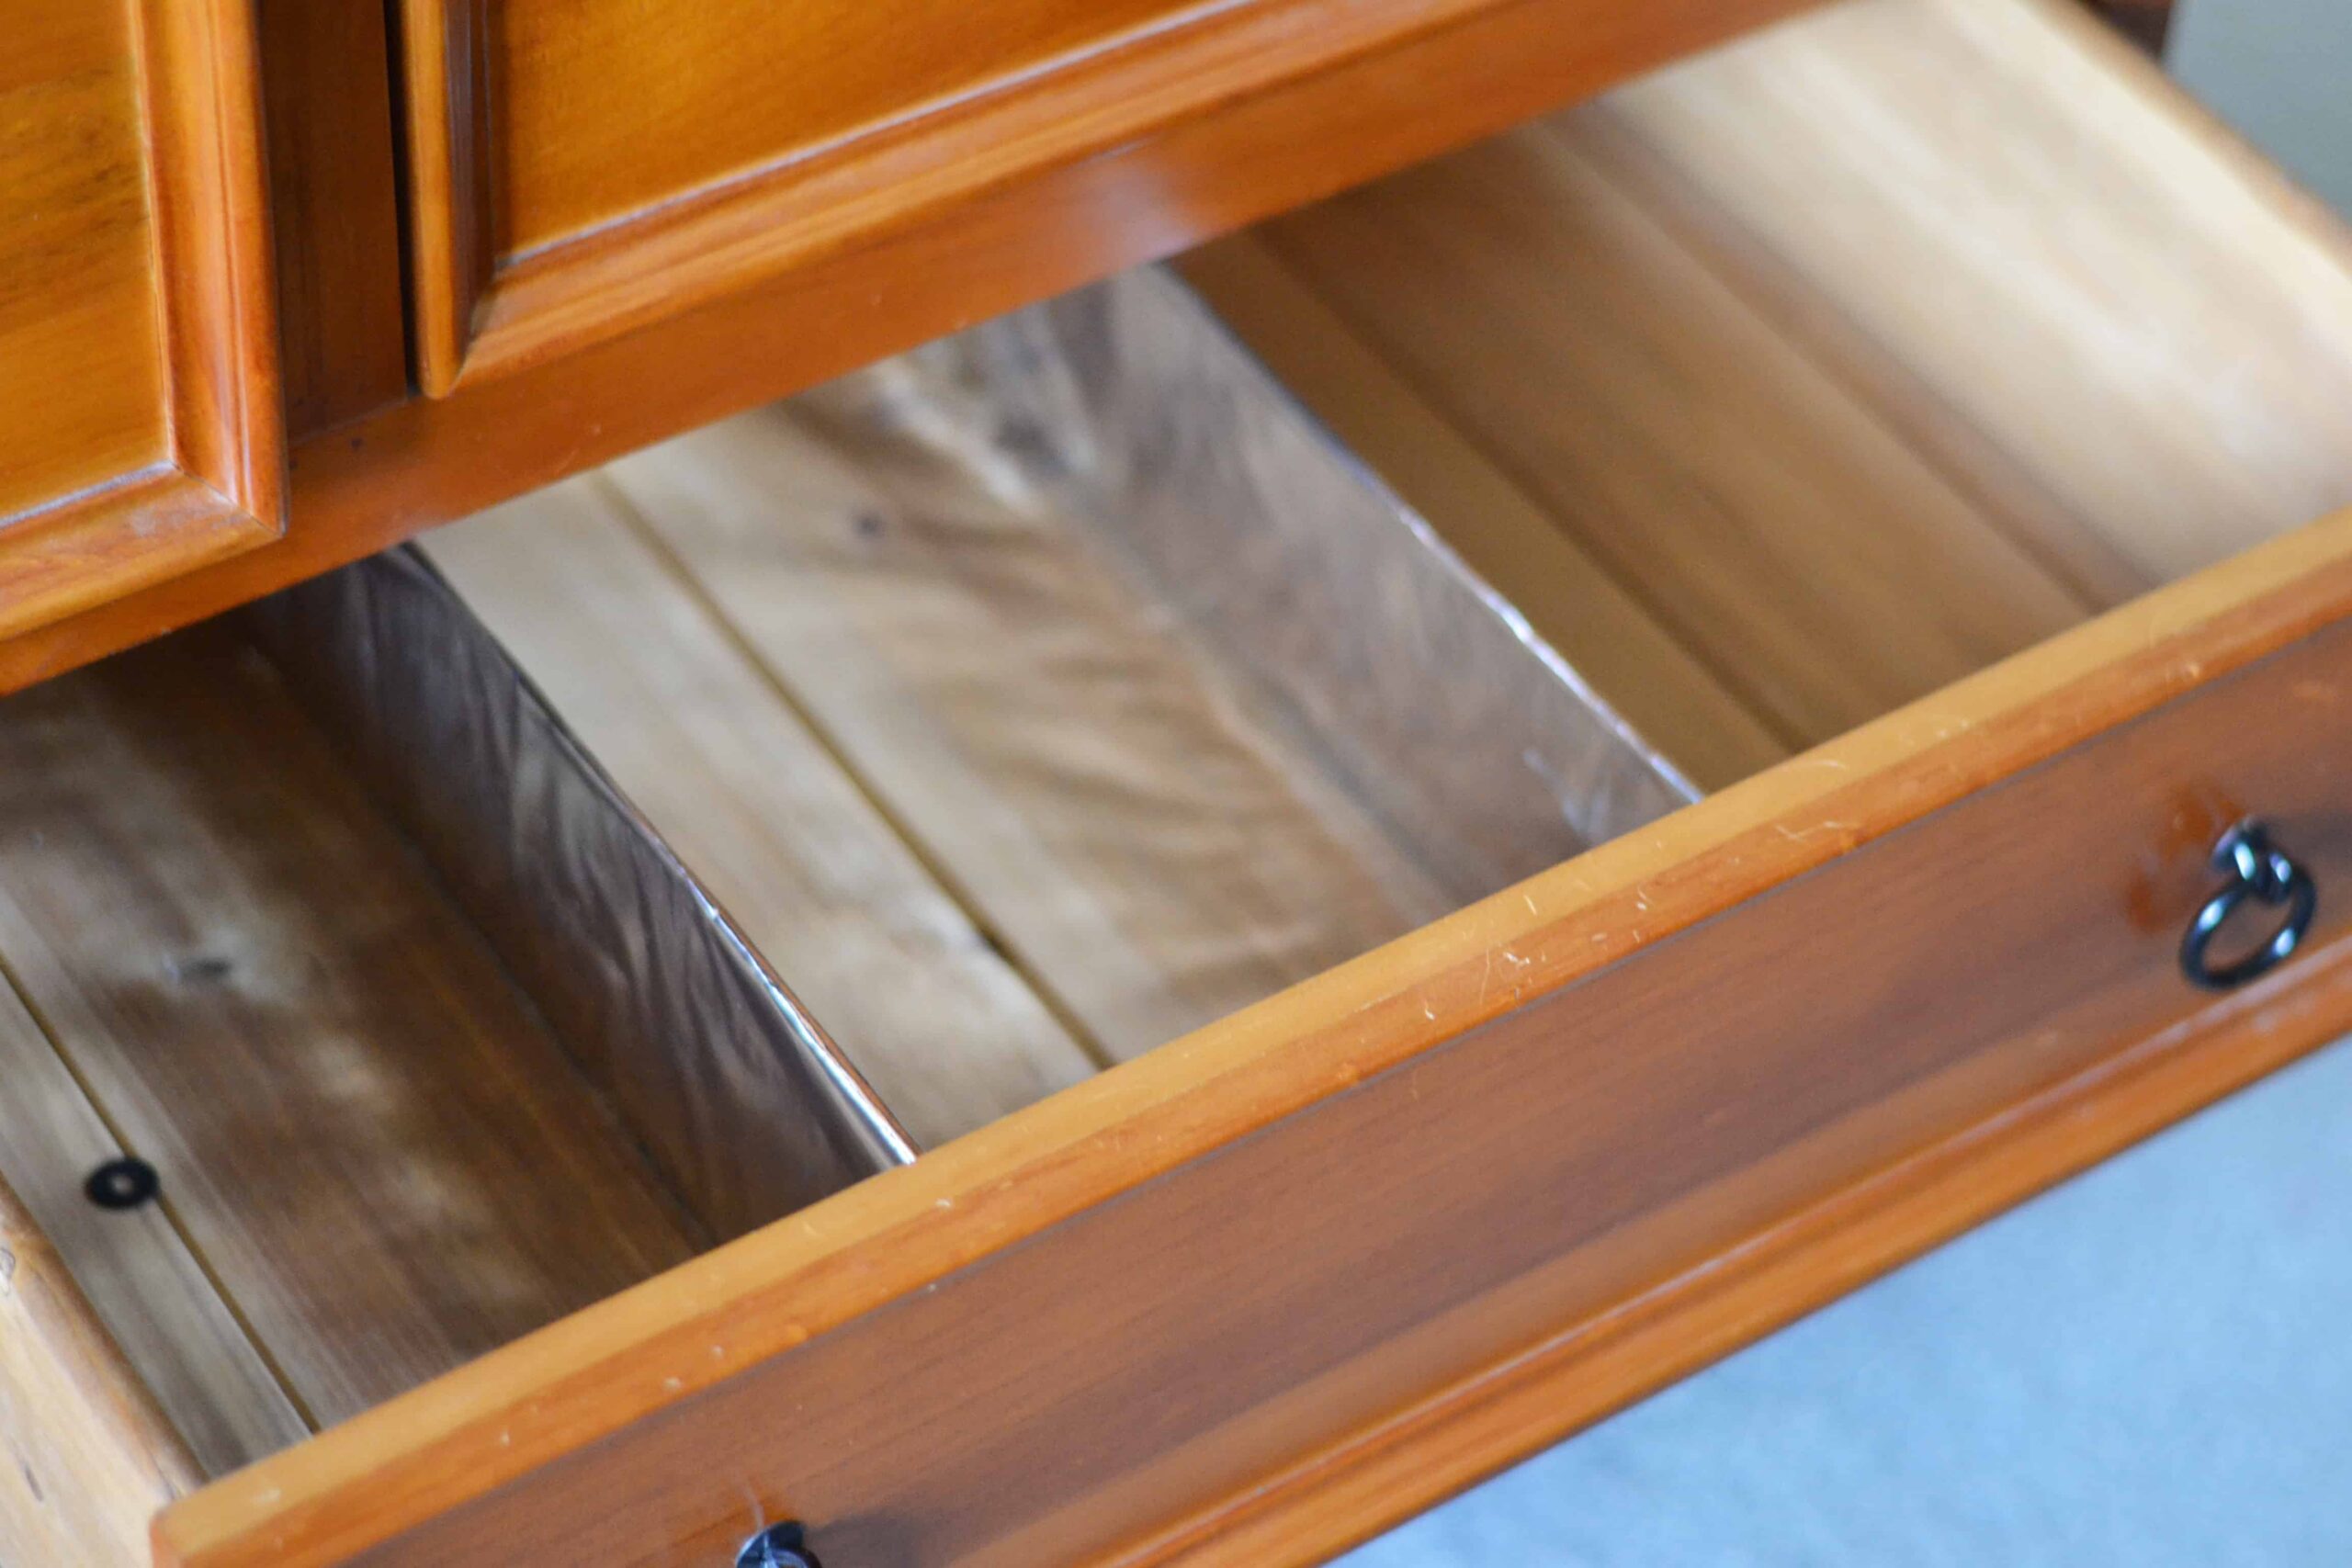
If you’re anything like me, if you’ve got a lot of space, you will pretty much just keep shoving roughly folded up clothes into the drawers to the point where I’ve got no clue what is underneath that top layer. Or up near the back.
When you divide up the drawers, it is a great way to encourage neater clothing storage, especially if you use the KonMari vertical clothing folding method.
You can divide up your drawers so that each space is a perfect size for the type of clothing. This was my big motivator for creating DIY dresser drawer dividers.
How to Make Drawer Dividers From Cardboard
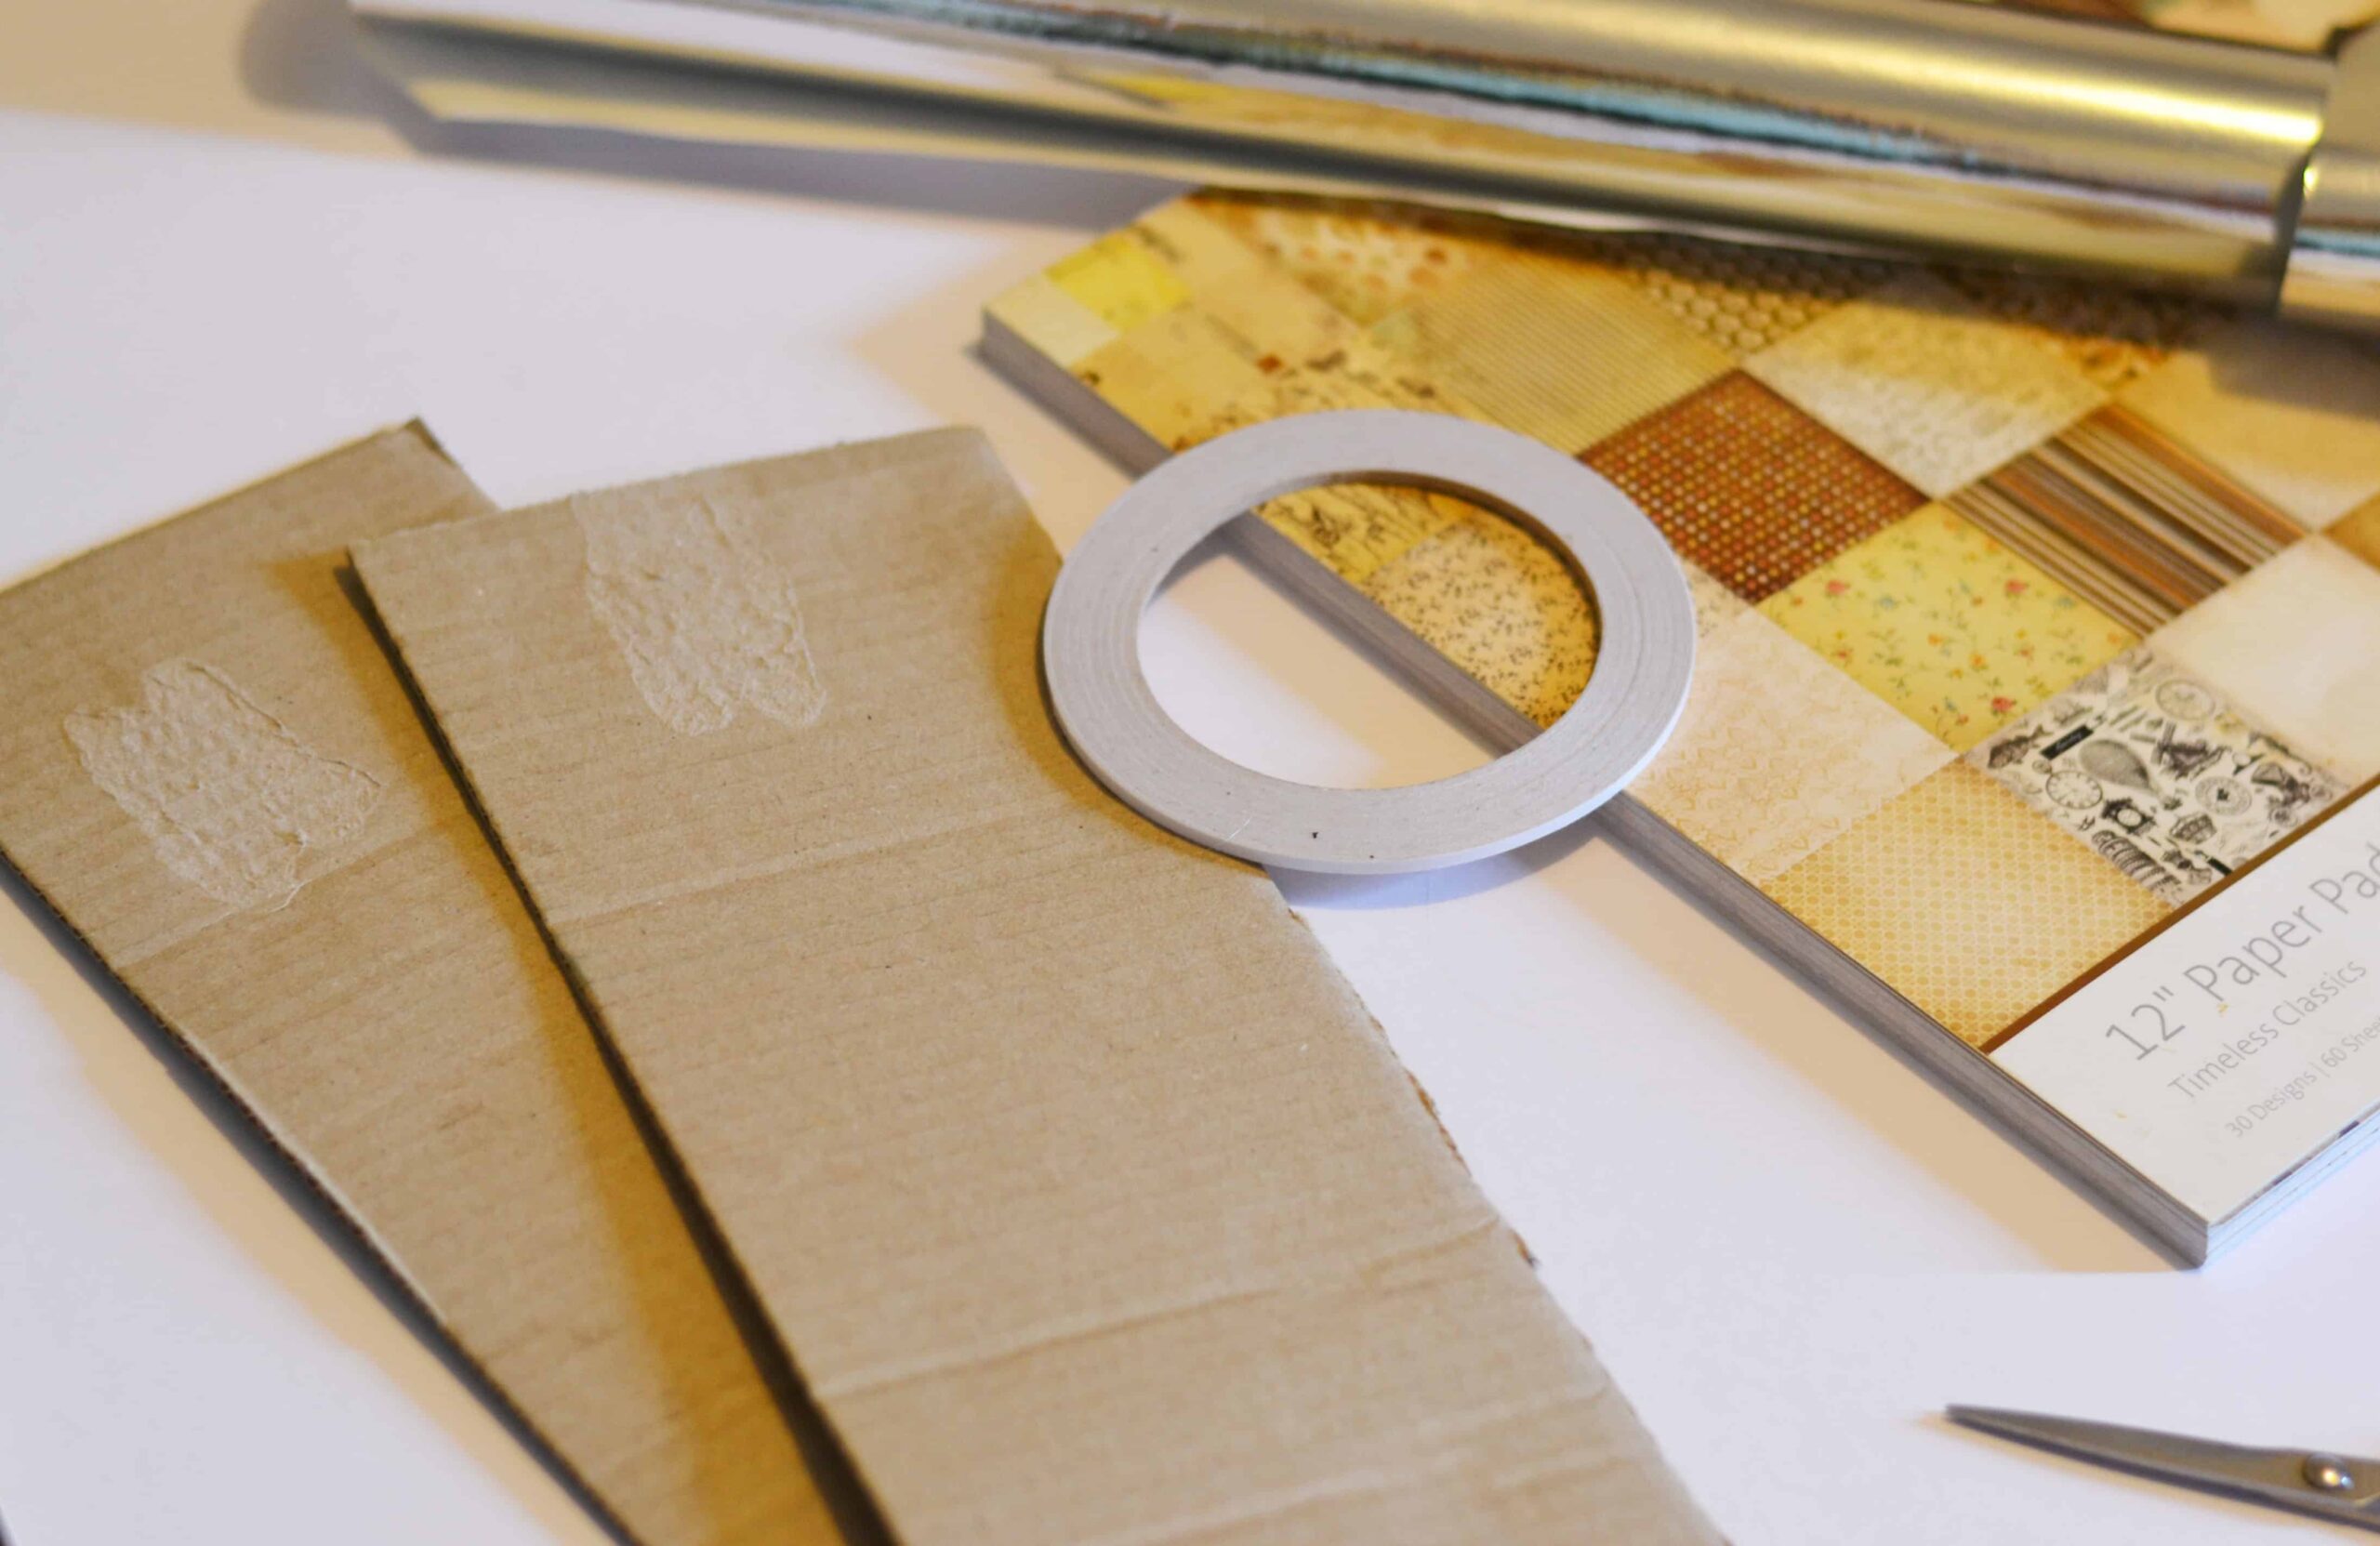
What You Need:
- Cardboard
- Wrapping or scrapbook paper
- Double-sided tape
- Craft knife or scissors
- Sticky tape
- Measuring tape
- Ruler
Instructions For DIY Clothes Drawer Dividers:
- Measure the height and width dimensions of your drawer along where you want your cardboard dividers to fit.
- Mark out the lines and size of your dividers on your cardboard or box then take care to cut them to size. Check size in the drawer before you cover your divider and make any necessary adjustments.
- Measure your wrapping paper or scrapbook paper large enough to cover both sides of your divider, folder over. Unless you’re eager to keep your dividers as their authentic self… beer branding and all in our case. Nope.
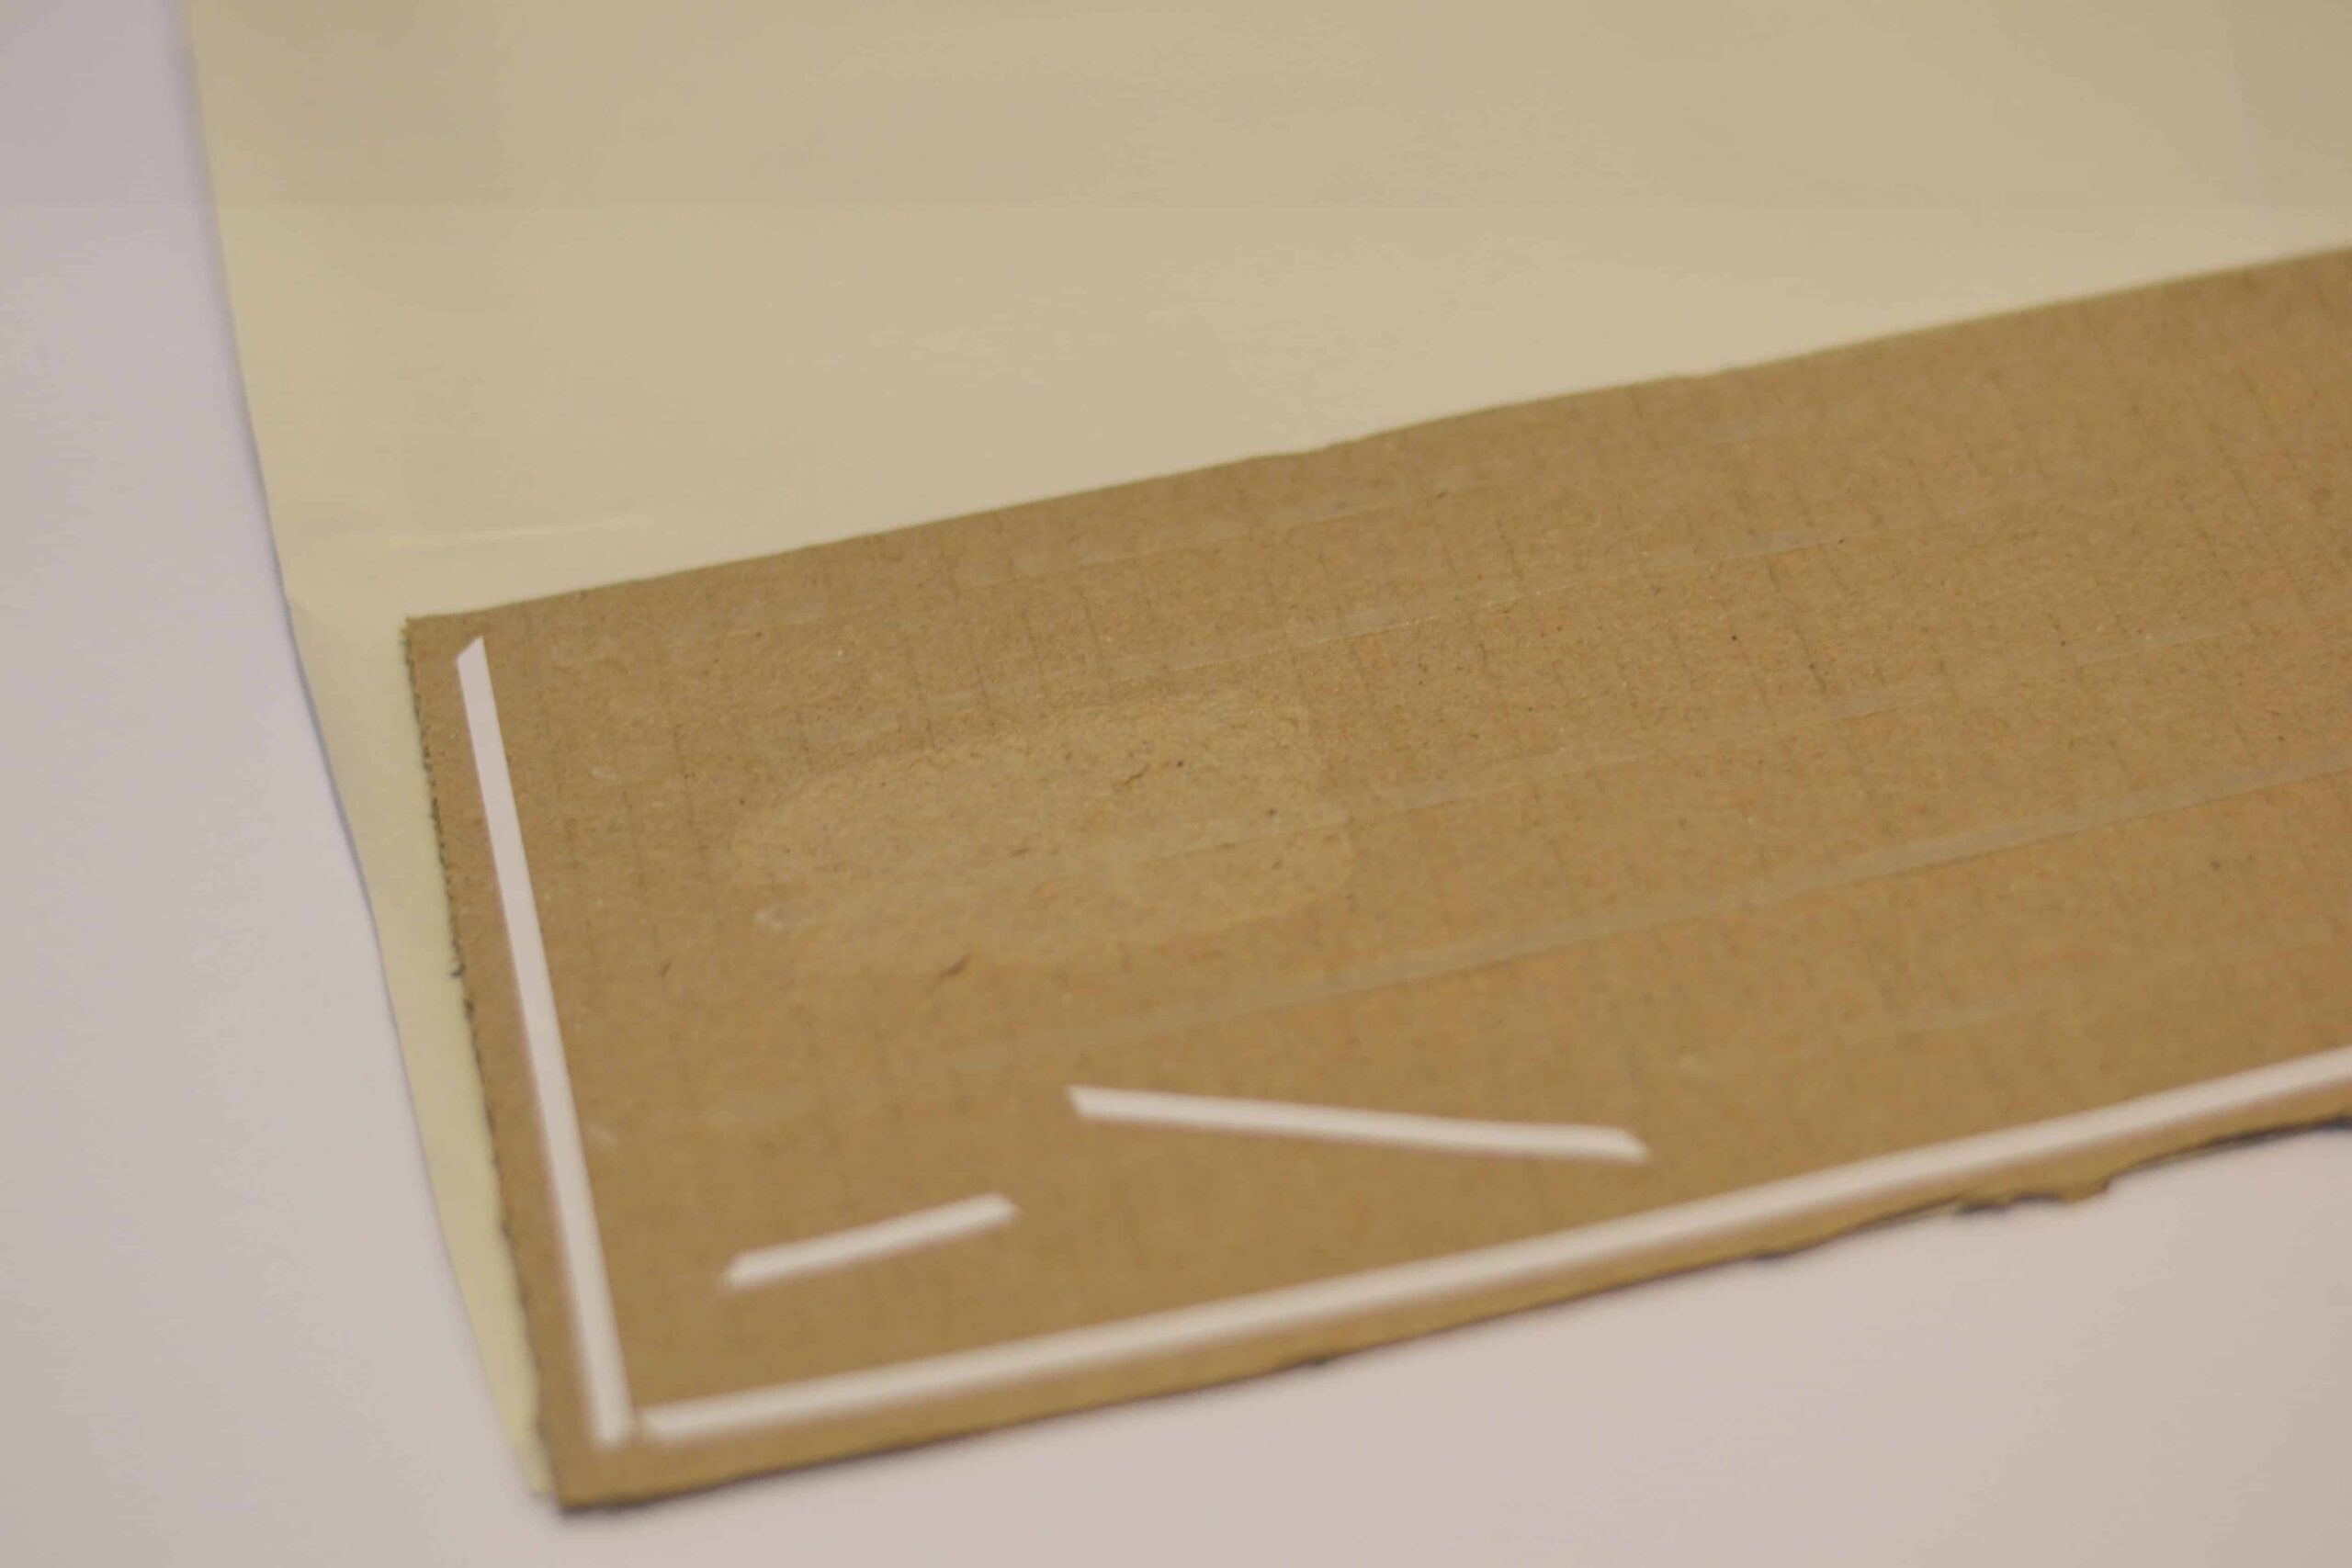
- Adhere pieces of cardboard to paper using double-sided tape. Alternatively, you can use contact paper instead.
- Insert dividers into your drawer in the positions you want them. Add extra reinforcement with wide sticky tape if needed at the ends of the drawer. This will help prevent them from moving.
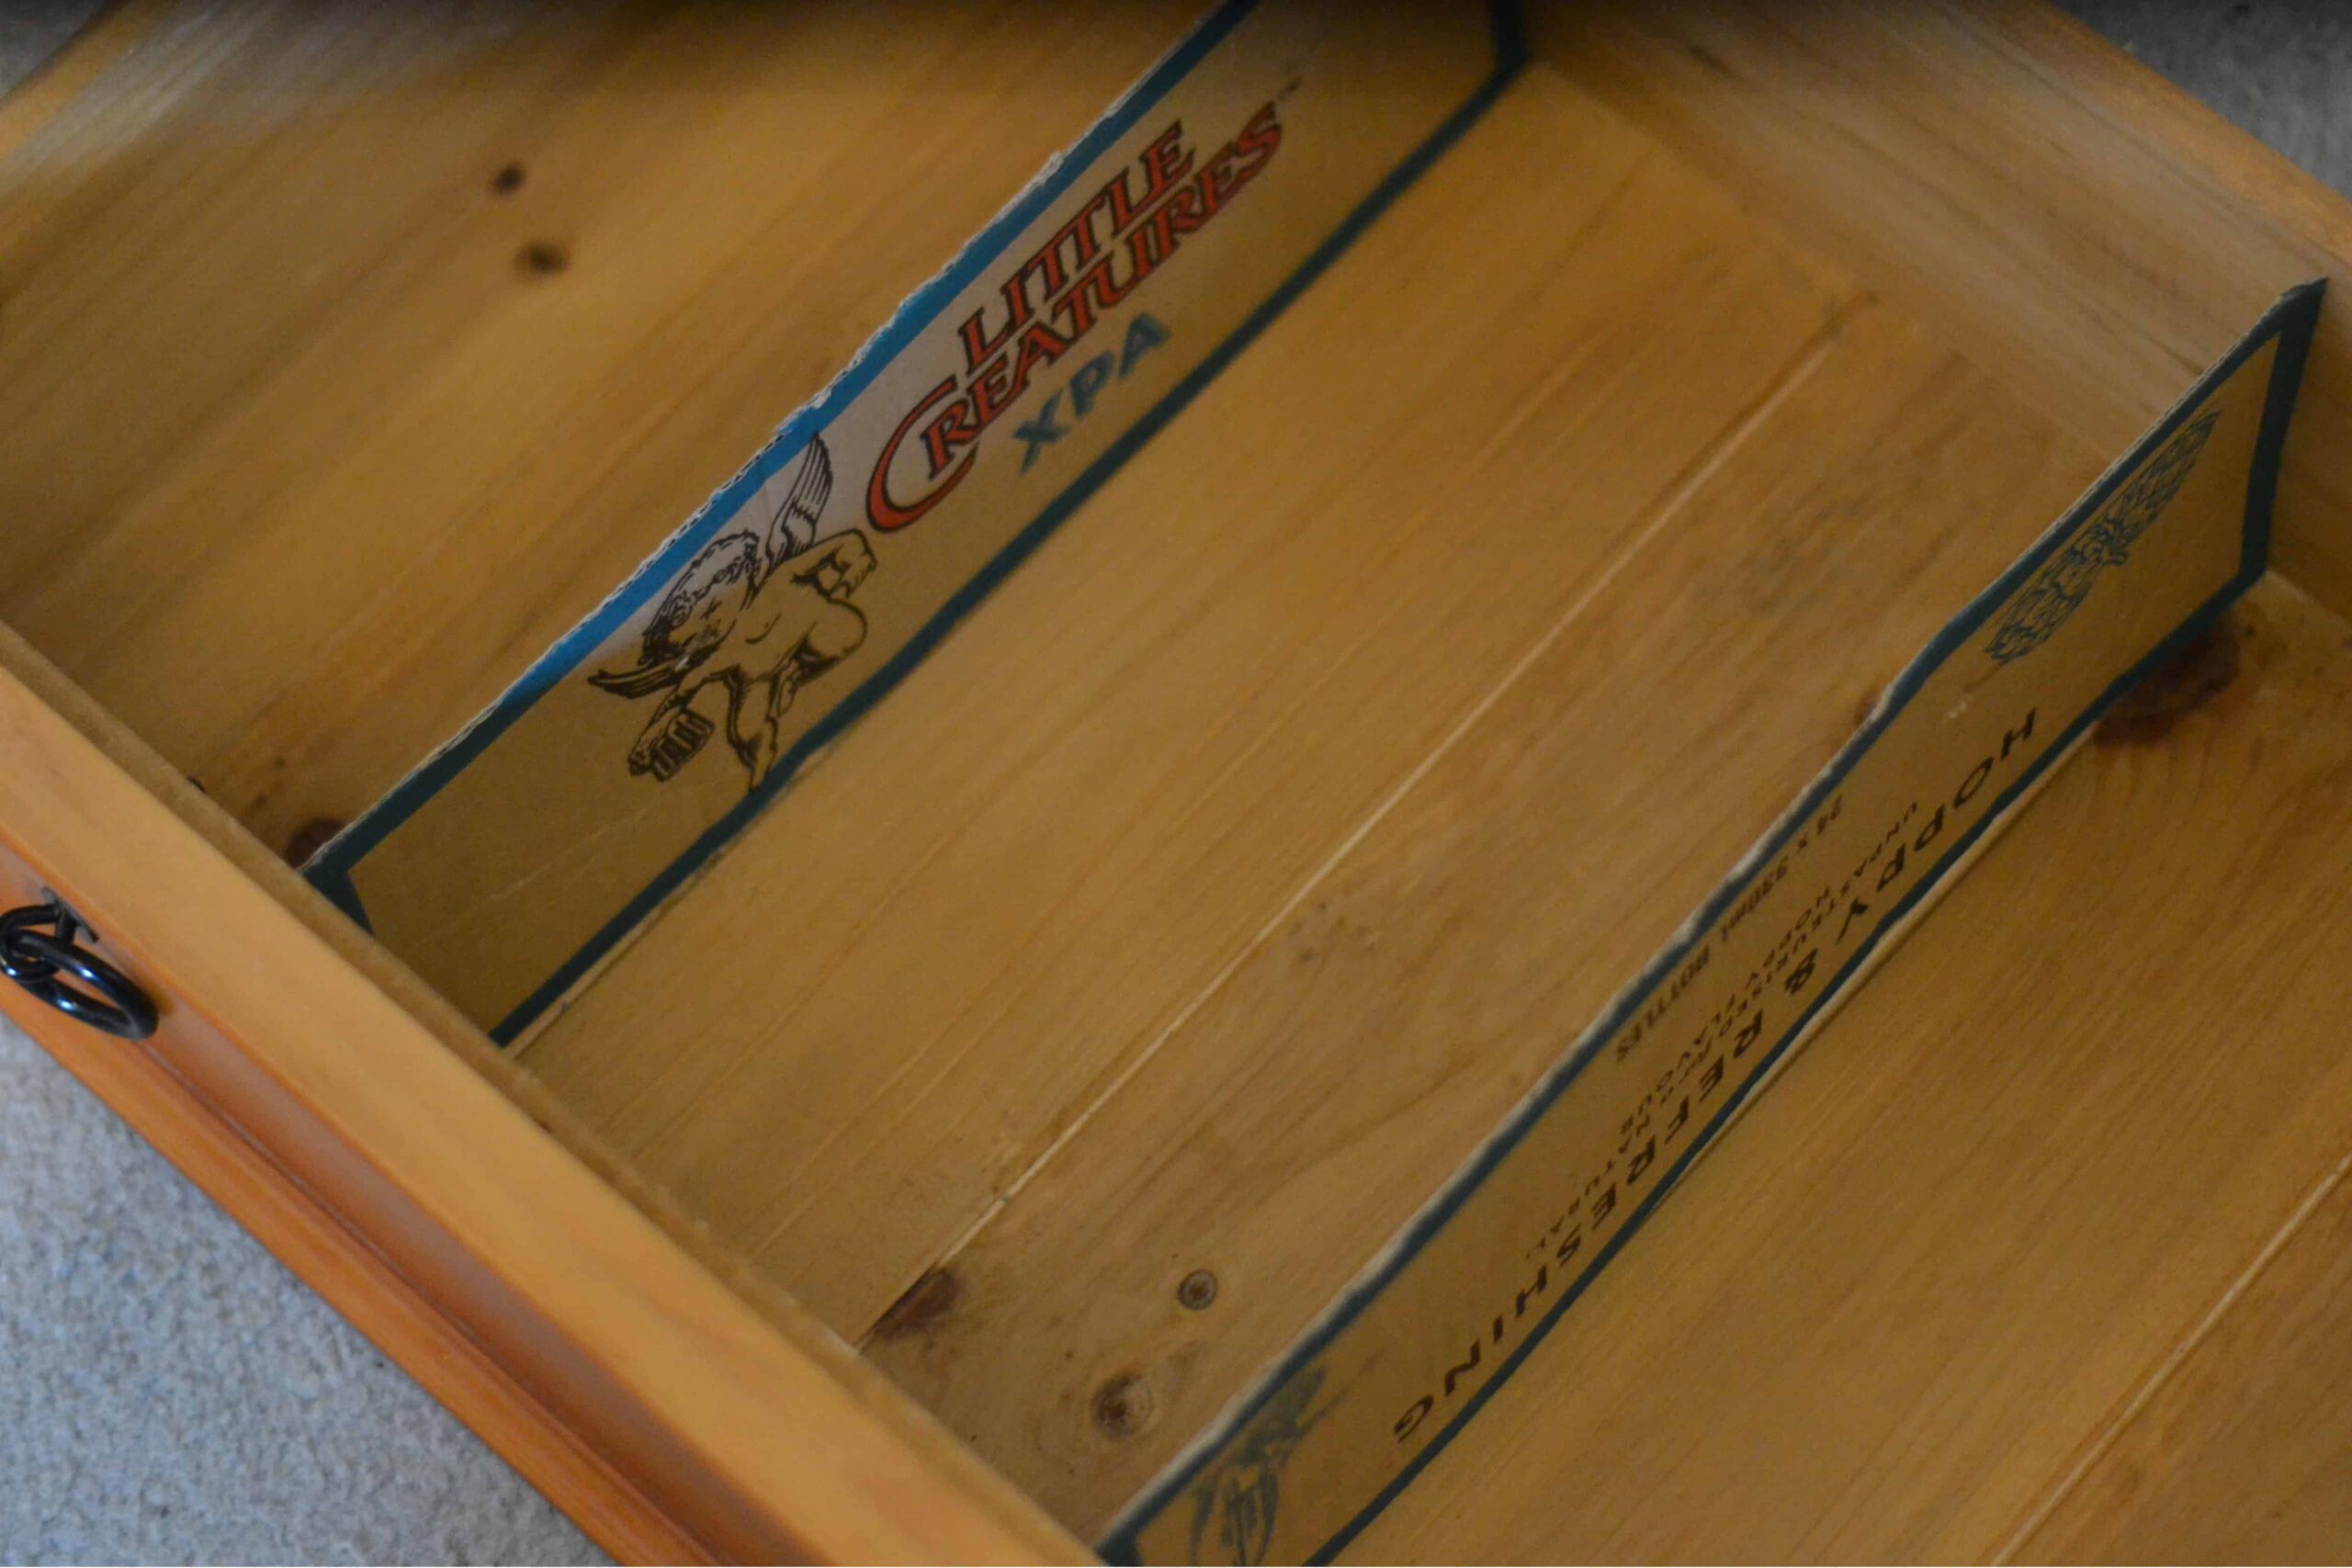
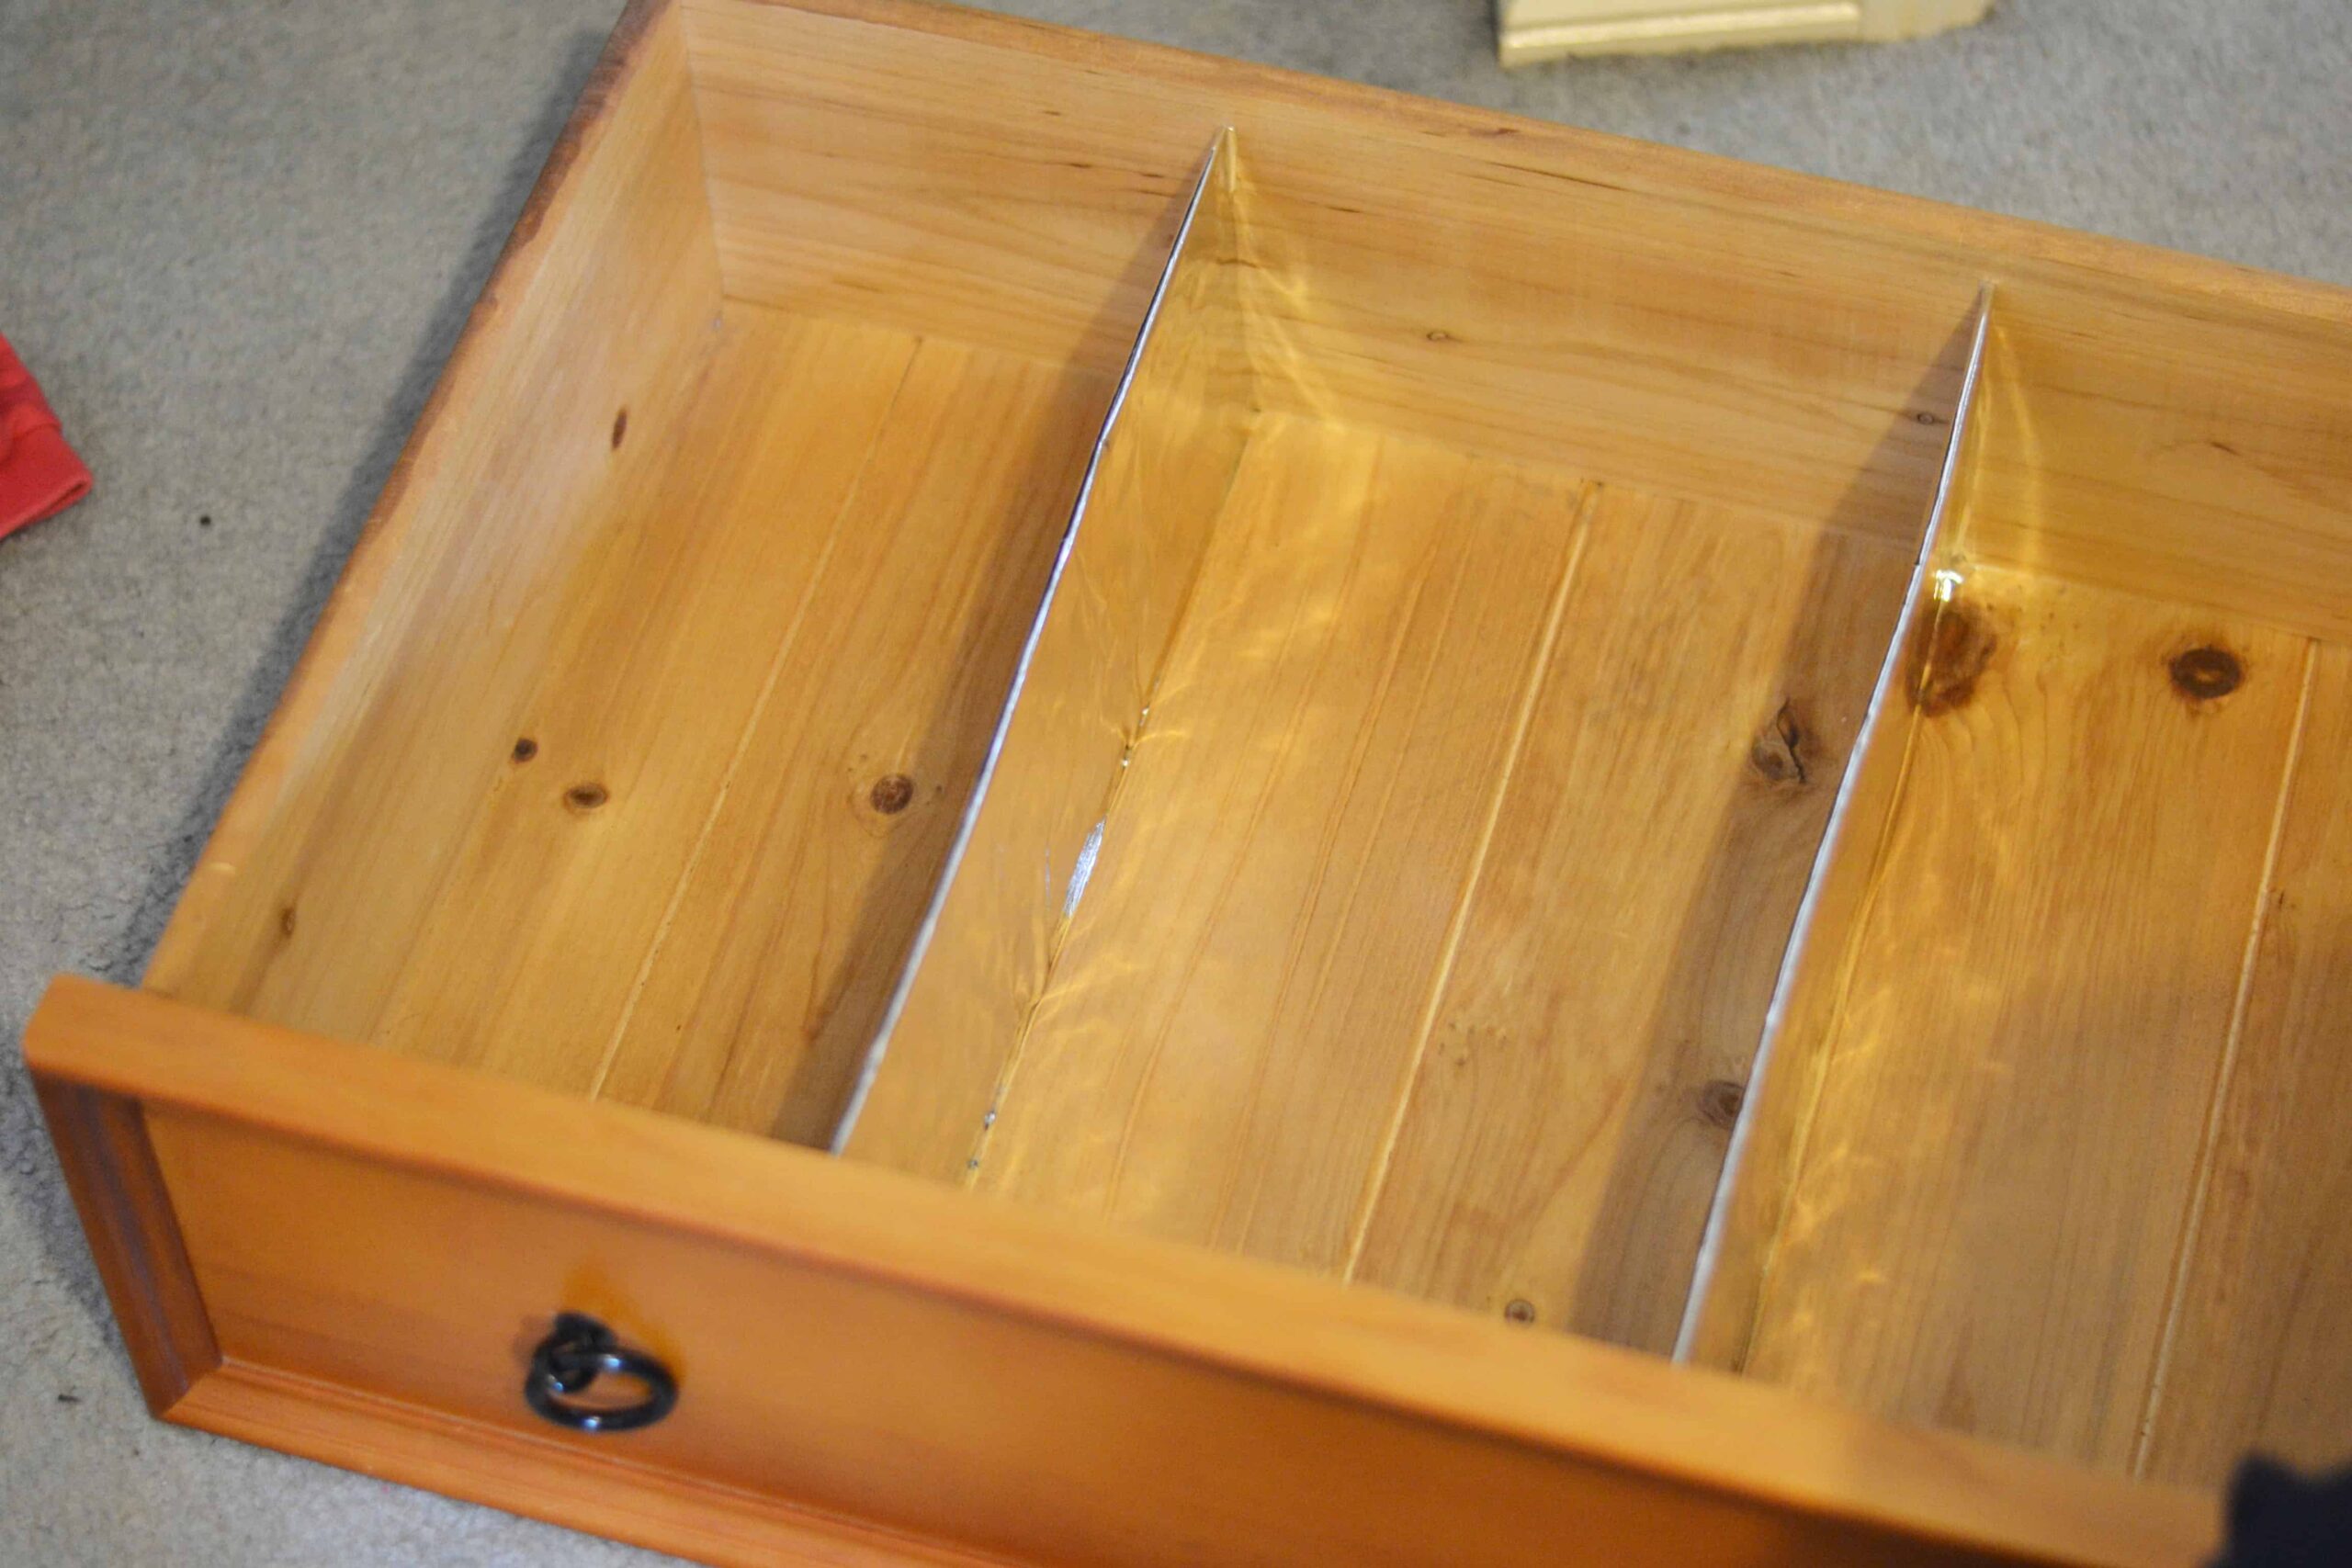
AND THAT’S IT… organised t-shirt drawer in around 15 minutes!! A completely simple DIY project and the end result is kinda magical!
In fact, I managed to reduce my clothing down from 3 overflowing drawers that wouldn’t shut, to 2 tidy drawers that glide with ease and display everything easily.
I would love to get it down even lower though so a further cull is due soon!
We also set up the kids drawers with DIY drawer dividers for clothes organisation, which has made a huge difference in keeping their dresser drawers tidy.
Although, they definitely need another clothing cleanout. Kids clothes seem to take over the household!
RELATED READING: Easy Ikea Hacks To Try
Before & After Drawer Makeover
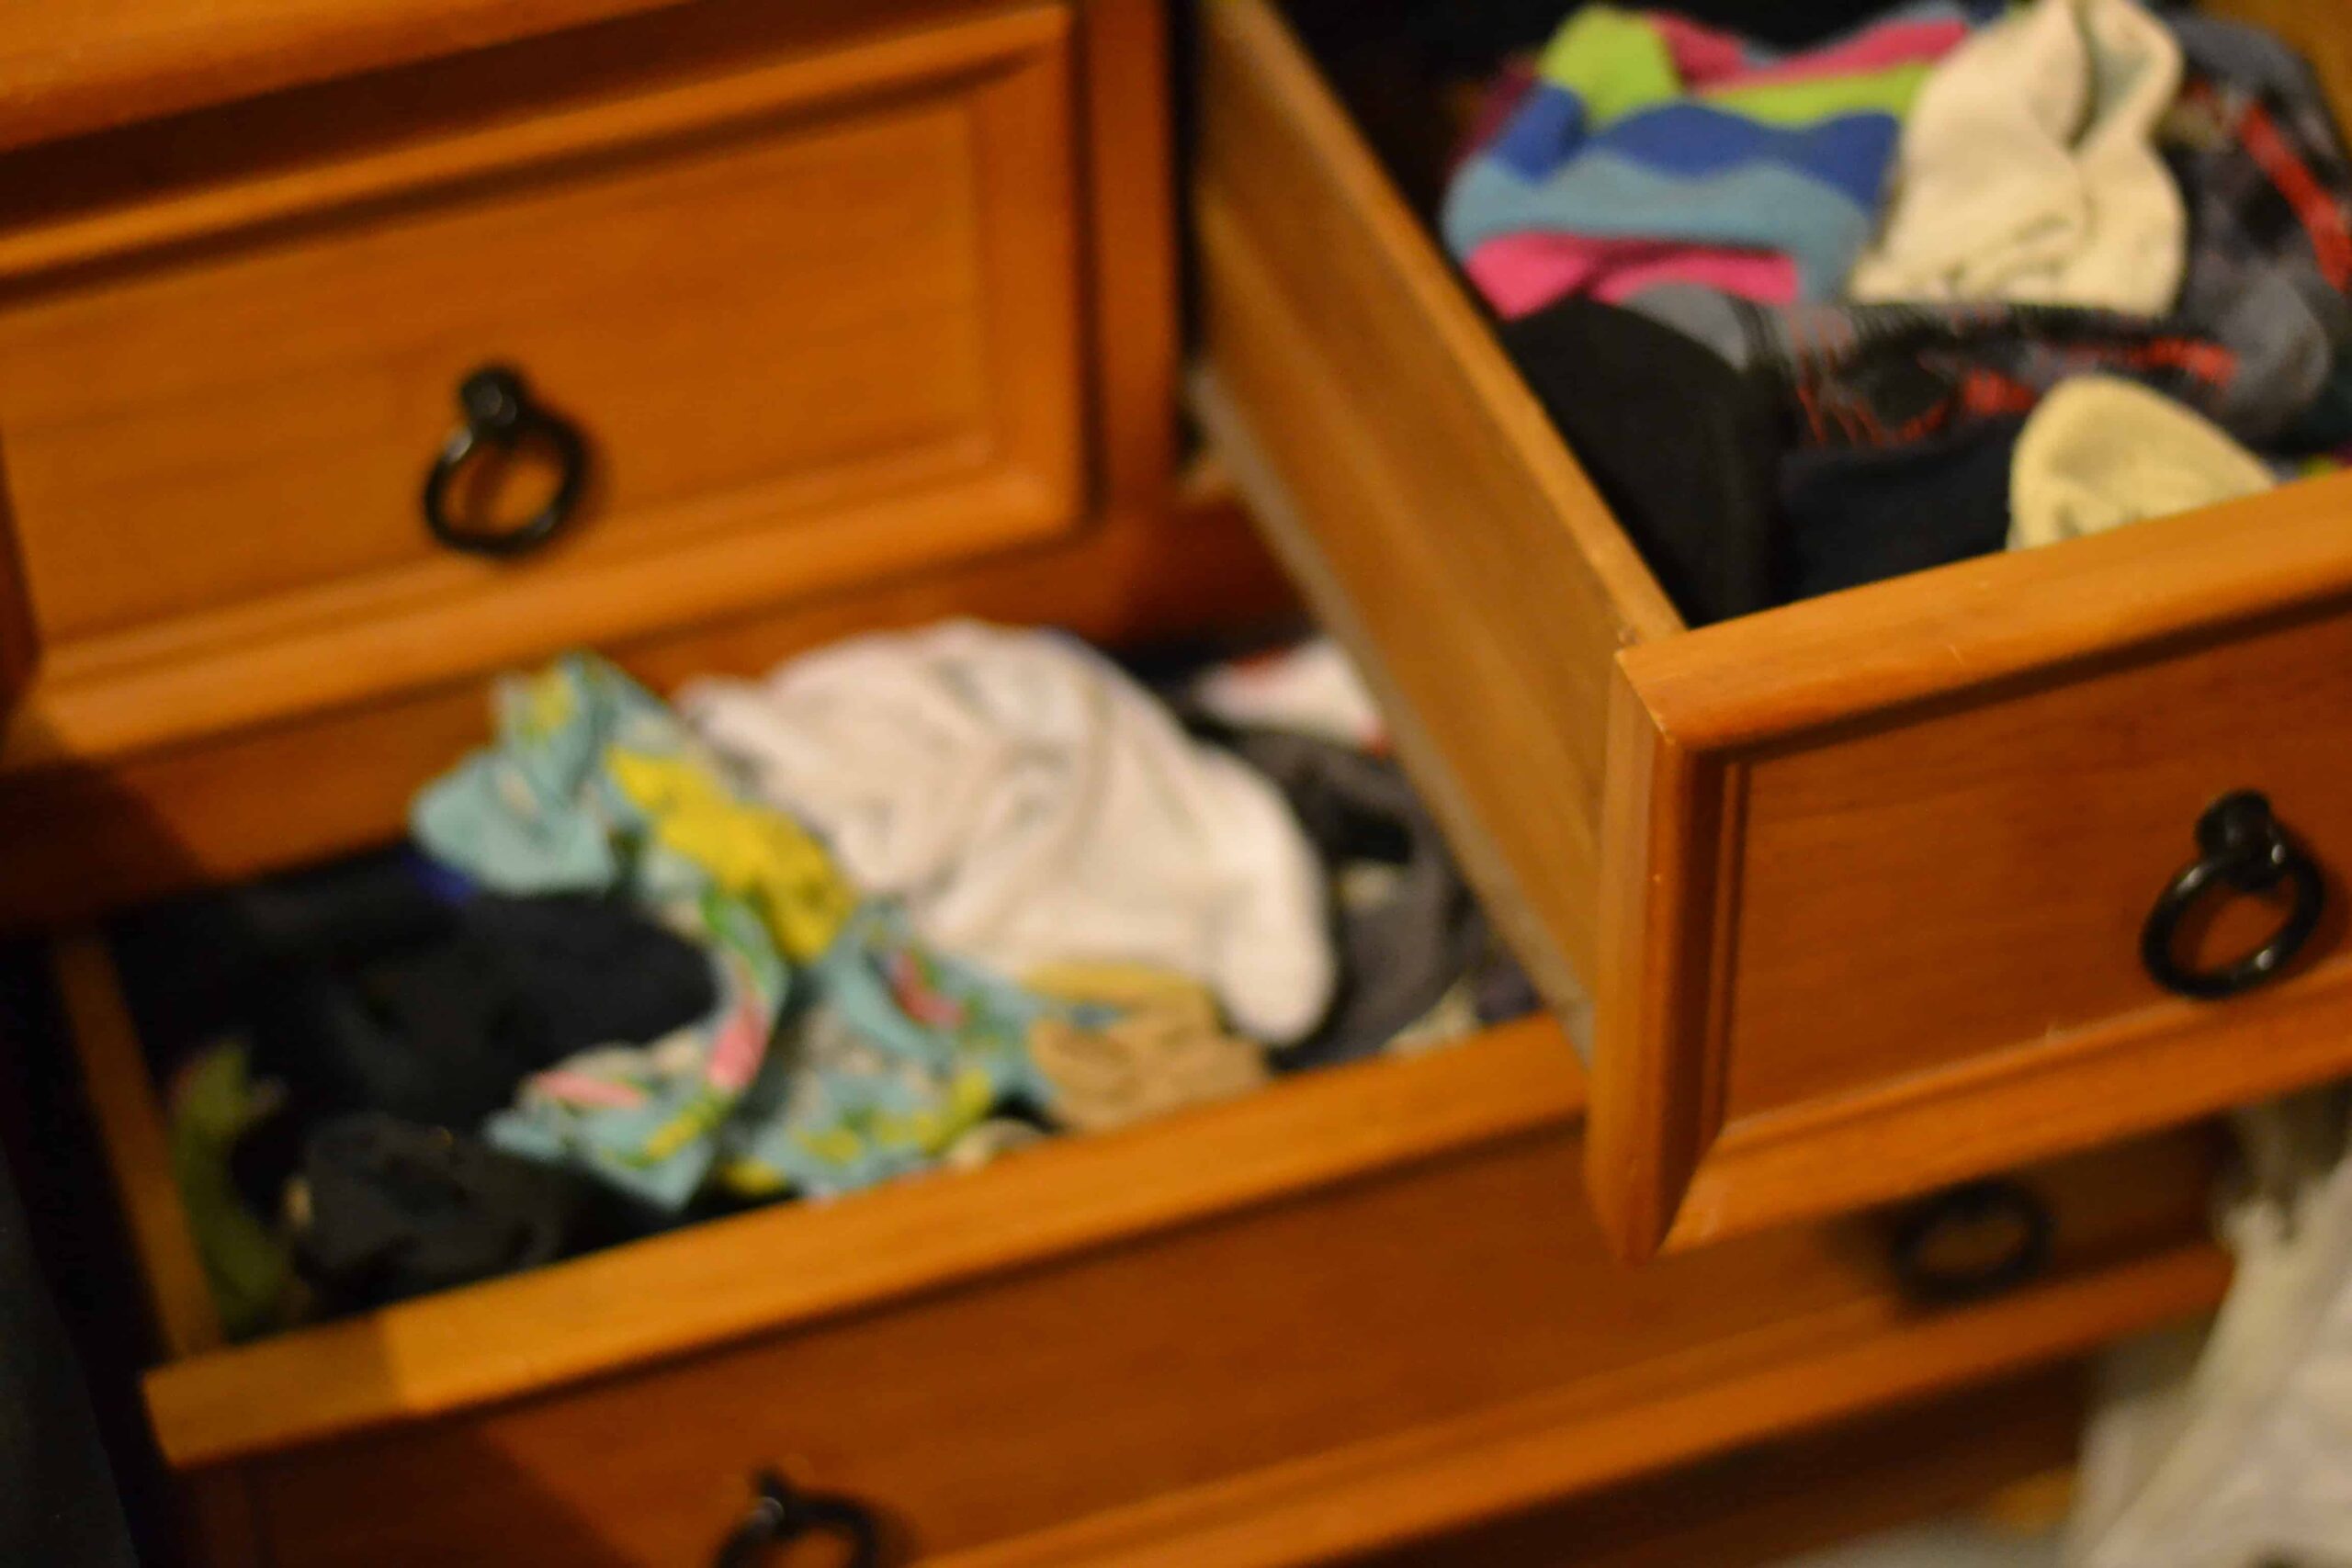
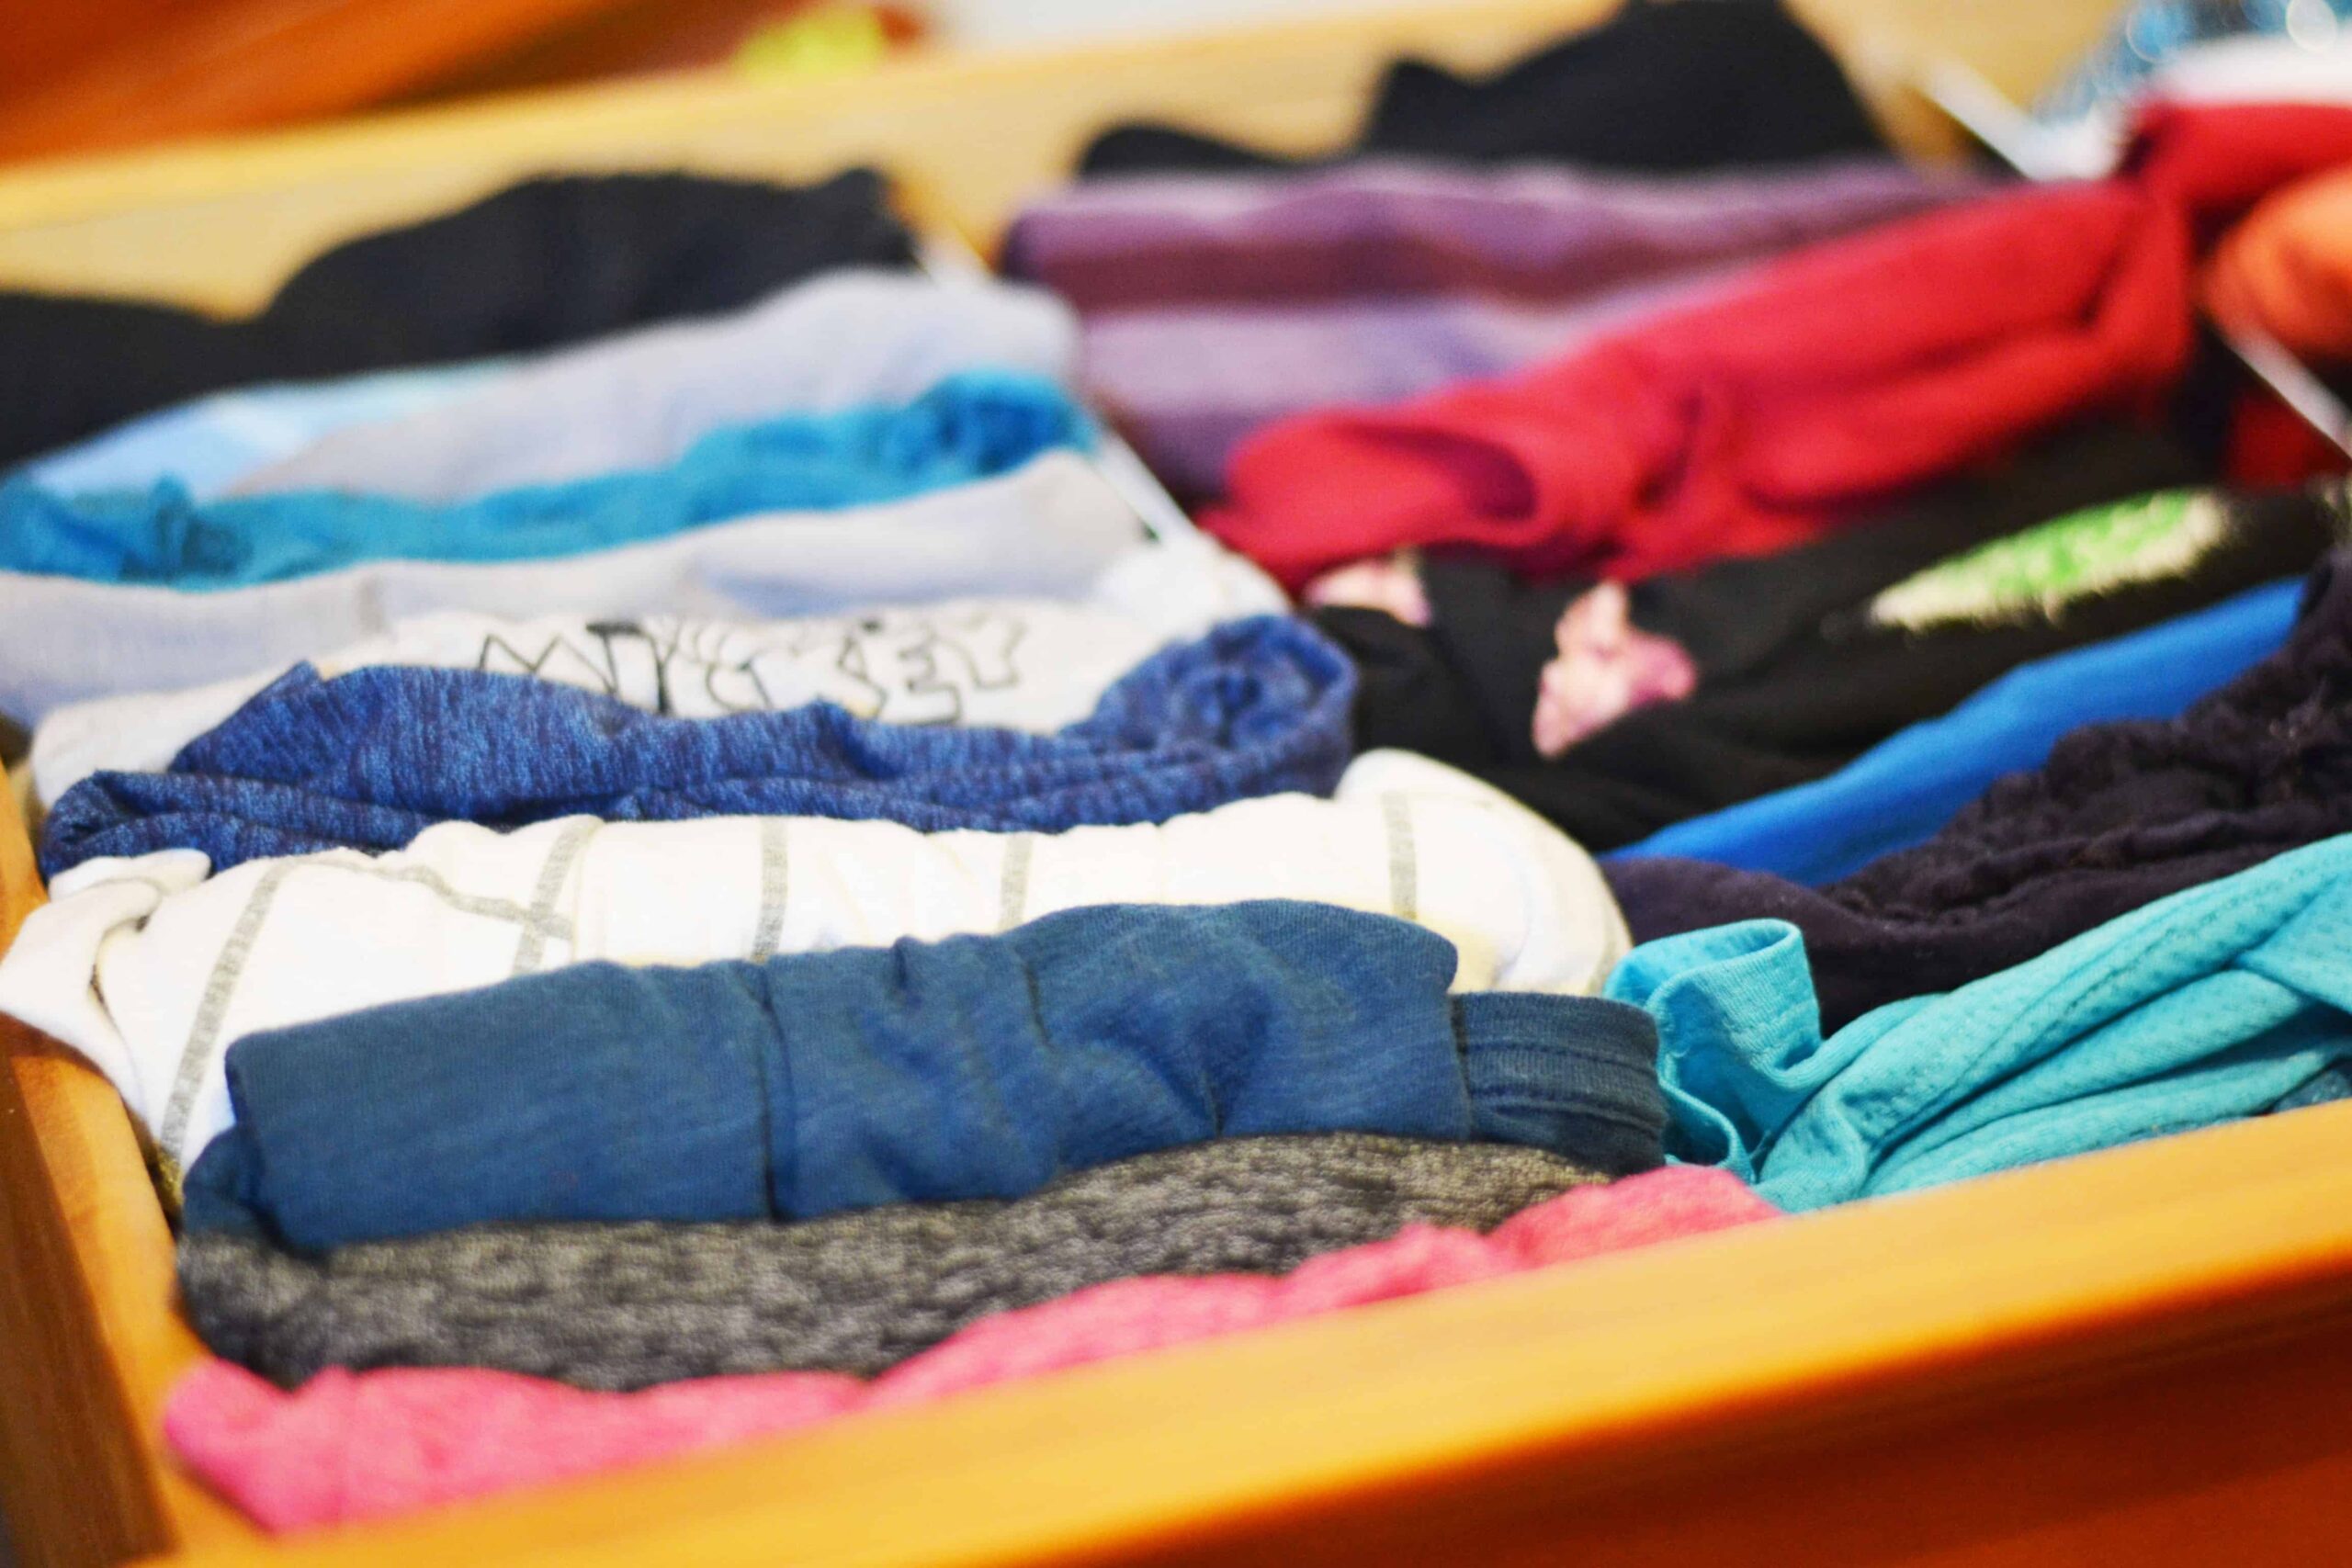
How Long Will These Cardboard Drawer Dividers Last?
The type of cardboard you use to make these DIY dresser drawer dividers and the type of items you are using them to divide will impact how long they last.
I have had our original dividers in our drawers since I first published this tutorial in 2019. It is now almost the end of 2022 and for the most part, they are still fine in our clothing drawers.
A few need to be pushed back into place at times, however, what was intended as a short-term fix has lasted the distance.
If your dividers only last a year or two, the fact that they take 15 minutes to create from scraps makes it a pretty reasonable task to re-do as well! Gotta be happy with that!
Konmari Method Clothes Organisation
Using a vertical clothing folding method, you can fit more in your drawer and also see everything easily.
I am loving this new method of storing clothes in my dresser drawers, after a lifetime of bad habits! Clothing has always been my weak point with organisation.
You can learn more about the Konmari Method in Marie Kondo’s The Life-Changing Magic of Tidying: A Simple, Effective Way to Banish Clutter Forever.
Drawer Divider Alternatives
If you aren’t so keen for the DIY option, or you need something a little sturdier for other areas of your home, such as kitchen drawer dividers, where cardboard may not be strong enough to hold long term, there are a few great alternatives.
Storage Boxes
Shallow storage boxes that fit inside your drawers are a good option if you want to be able to take things out of your drawer for a closer look… especially when it comes to utensils and bits and bobs.
You can find some great options in your local storage or department store.
Don’t underestimate the potential of your local discount variety store too. These storage boxes are great for your bras and underwear.
Plastic Drawer Dividers
If you want to make custom segments in your drawer, plastic grid dividers are a great drawer organiser option.
They can be slotted into different positions to create the right size section for your needs.
You can create grid shapes to fit things like underwear, socks or individual items of clothing if this is easier for you than the Konmari vertical folding method.
Adjustable Drawer Dividers
If you have really large or long drawers, it can be harder to find the right size dividers to suit. This is also a potential issue when using cardboard dividers with them lacking the firmness in the centre if the divider is really long.
In these cases, adjustable drawer dividers are a great option. They can be adjusted to suit the size of your drawer, are reusable and re-adjustable if you decide to repurpose them elsewhere.
They can come in so many different styles too that you can often find ones that will blend in with your drawer.
More Clothing Organisation Tips
Keep the momentum going now that you’ve begun and work your way through your entire wardrobe. Clothing tends to be one of the biggest clutter zones for most people and it can be hard to part with them.
Here are a few other resources to help you tame your clothing clutter:
- Simple method for downsizing your clothing – An easy way to determine what you no longer wear to help you cull your wardrobe.
- Wardrobe makeover – See our before and after wardrobe makeover.
- Best places to sell your unwanted stuff – Once you start downsizing your wardrobe, you need some ideas on what to do with it in case you don’t just want to donate it all.
- Avoid feeling overwhelmed by clutter – Tips to minimise anxiety when decluttering your home.
- A step-by-step guide to declutter your home – Start small and work your way through your entire home.
- 30-day declutter challenge – Free printable 30 day challenge calendar and tips for each task.
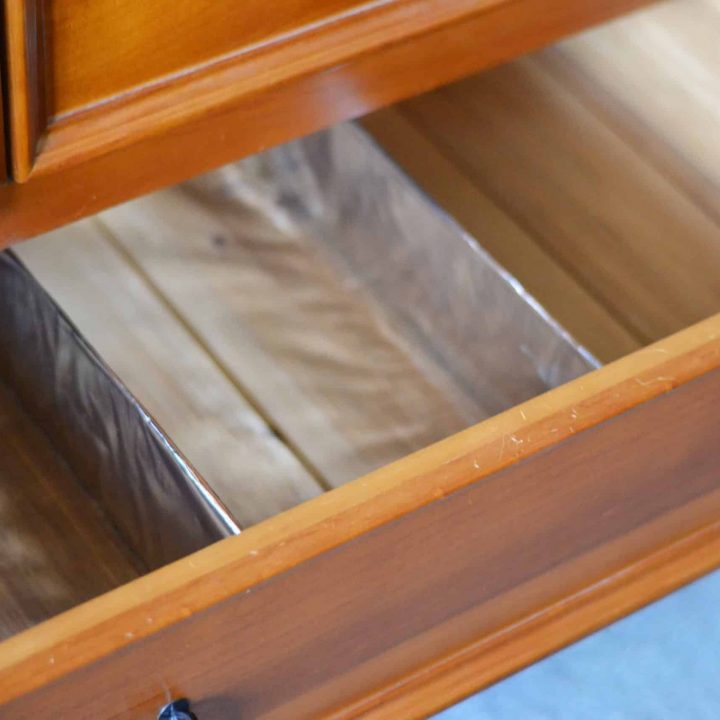
15 Minute Drawer Dividers
Make your own drawer dividers from cardboard and other supplies you have at home, and get your drawers organised.
Materials
- Firm cardboard
- Gift wrap or scrapbook paper
- Double-sided tape
- Craft knife or scissors
- Sticky tape
- Measuring tape
- Ruler
Instructions
- Measure the height and width dimensions of your drawer along where you want your cardboard dividers to fit.
- Mark out the lines and size of your dividers on your cardboard or box then take care to cut them to size. Check size in the drawer before you cover your divider and make any necessary adjustments.
- Measure your wrapping paper or scrapbook paper large enough to cover both sides of your divider, folder over. Unless you’re eager to keep your dividers as their authentic self… beer branding and all in our case. Nope.
- Adhere pieces of cardboard to paper using double-sided tape. Alternatively, you can use contact paper instead.
- Insert dividers into your drawer in the positions you want them. Add extra reinforcement with wide sticky tape if needed at the ends of the drawer. This will help prevent them from moving.
Notes
Firm cardboard will hold shape better longterm and will stay in place easier so aim for cardboard that is double corrugated if you have it available.
Recommended Products
As an Amazon Associate and member of other affiliate programs, I earn from qualifying purchases.
I hope these homemade dividers for drawers help you create your own organised clothing drawers.
Do you have any drawers that are in huge need of a makeover? Clothes or bits and bobs – what’s your biggest need?


