PE Teacher Gift: Personalised Coasters With A UV Printer
This post may contain affiliate links. Read the full disclosure
PE teachers always seem to miss out when it comes to teacher gifts. There are endless mugs and pencil cups for classroom teachers, but finding something fun for the teacher who spends all day on the oval is much harder.
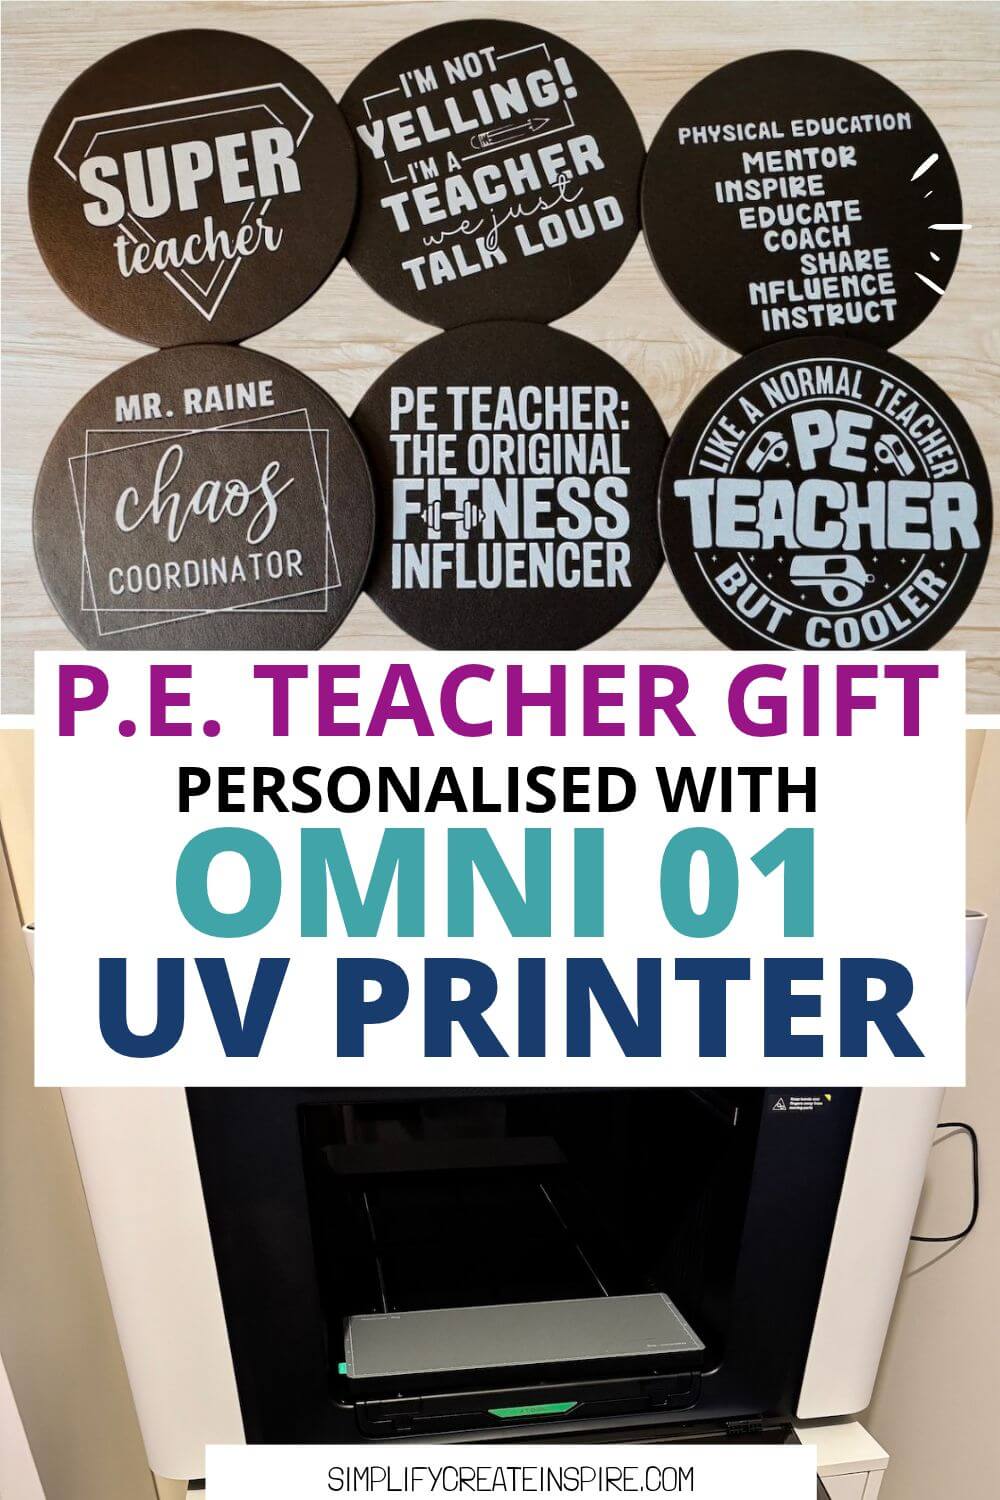
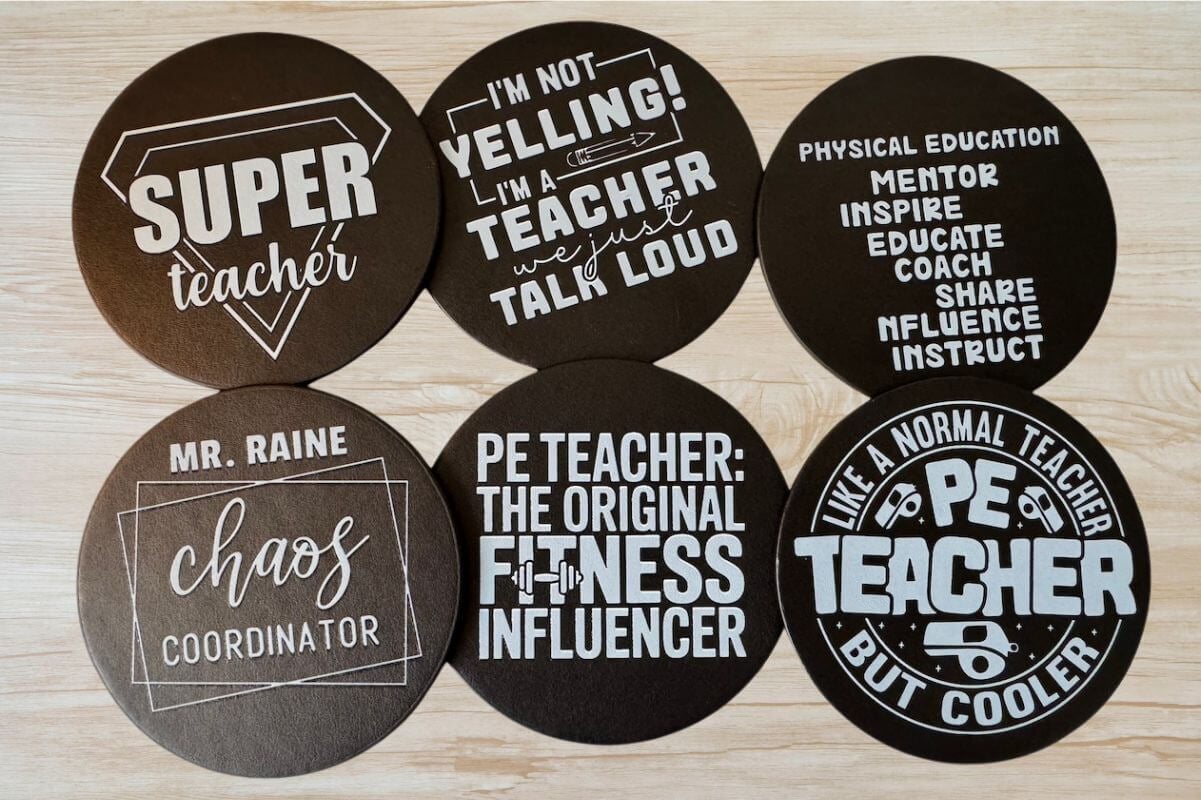
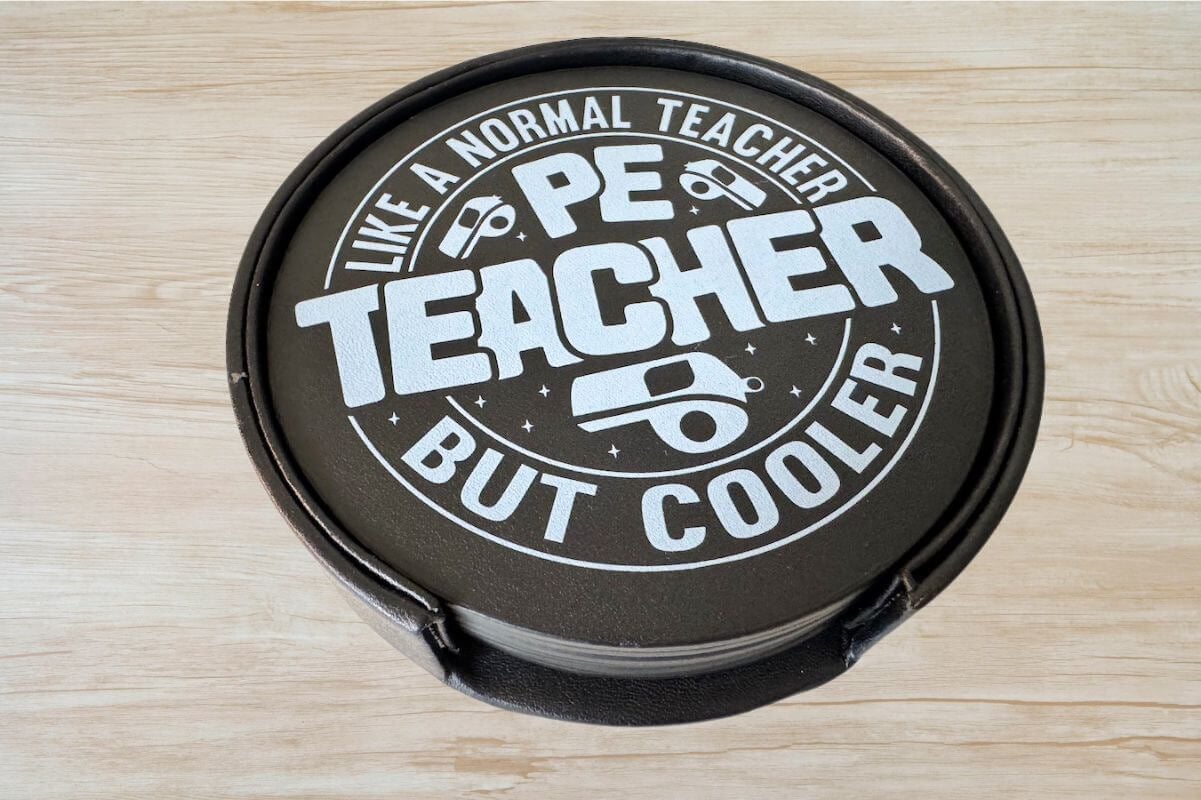
So I made a set of personalised PE teacher coasters using my xTool O1 Omni UV Printer, with funny PE quotes and one personalised with his name.
This was also my very first project on the O1 without the guided steps. If you’ve read my xTool O1 Omni review, you’ll know I’d never used a UV printer before this year. So if I can do this, you can too. From start to finish, it took me less than an hour, including a couple of beginner mistakes (which I’ll share so you can avoid them).
Project At A Glance
- Time: Under an hour for 6 coasters
- Difficulty: Beginner
- Cost: Under $15 for 6 faux leather coaster blanks, plus designs
- Machine: xTool O1 Omni UV Printer (Dual-Head UV Edition)
During my daughter’s final year of primary school, she was in an athlete development program at school. Especially a class with extra PE sessions each week and some unique excursions throughout the year.
This also meant that the PE teacher was a big part of her education for the year and absolutely deserved some teacher appreciation.
What You Need
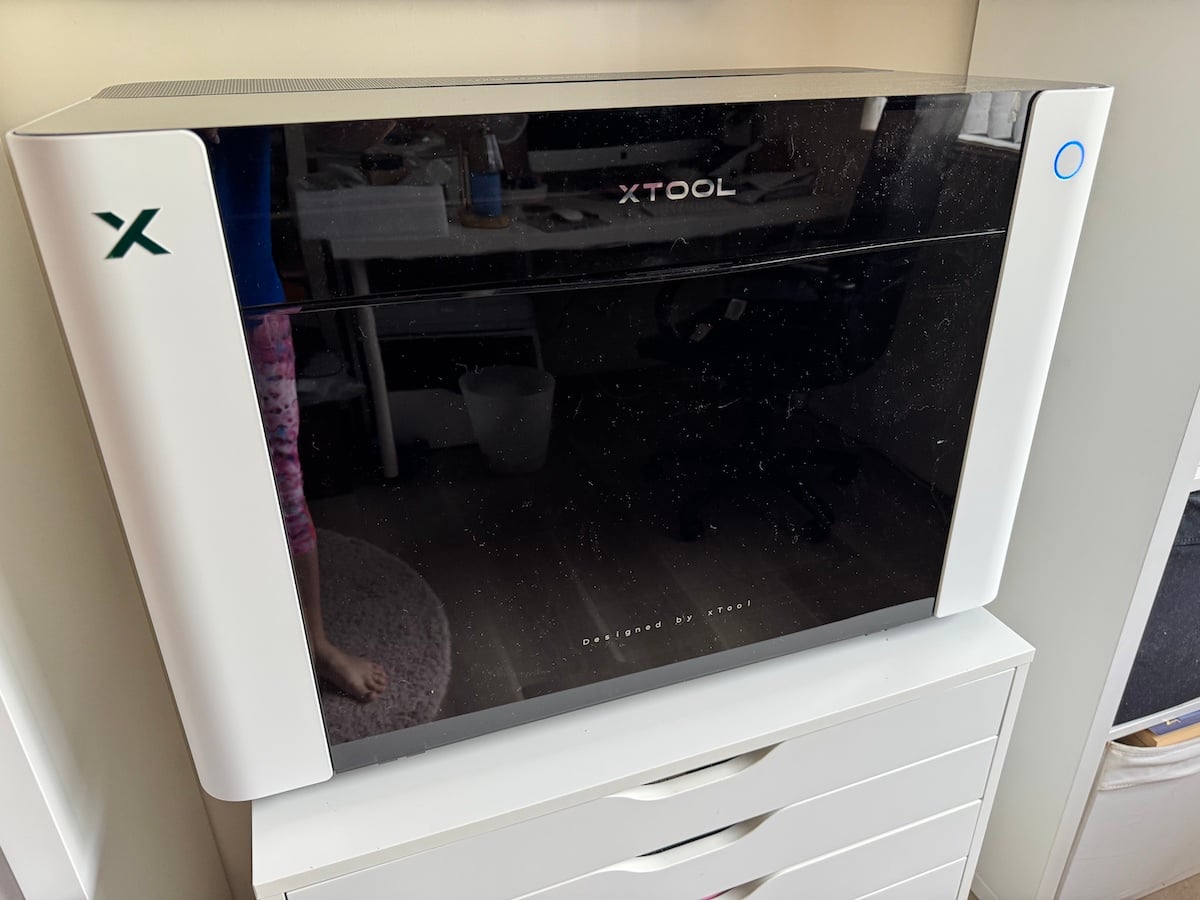
- xTool O1 Omni UV Printer: I used the Dual-Head UV Edition, which has a flexible white ink for bendy materials like leather.
- Small baseplate: comes with the O1
- Faux leather coasters: I used this set of 6 black PU leather coasters for under $15. They look nice, are simple and were easy to print on.
- Designs: I used funny PE teacher quotes from Creative Fabrica. You can also make your own in xTool Studio.
- Alcohol wipes: to clean the coasters before printing
Good news: Primer isn’t essential for this project. Flexible materials like PU leather don’t need it, so a quick alcohol wipe is all the prep you need. This makes coasters a great first project if you’re still sorting out primer for glass and metal (like I was).
PE Teacher Quote Ideas
The fun part is picking the quotes. Here’s what I used on my set:
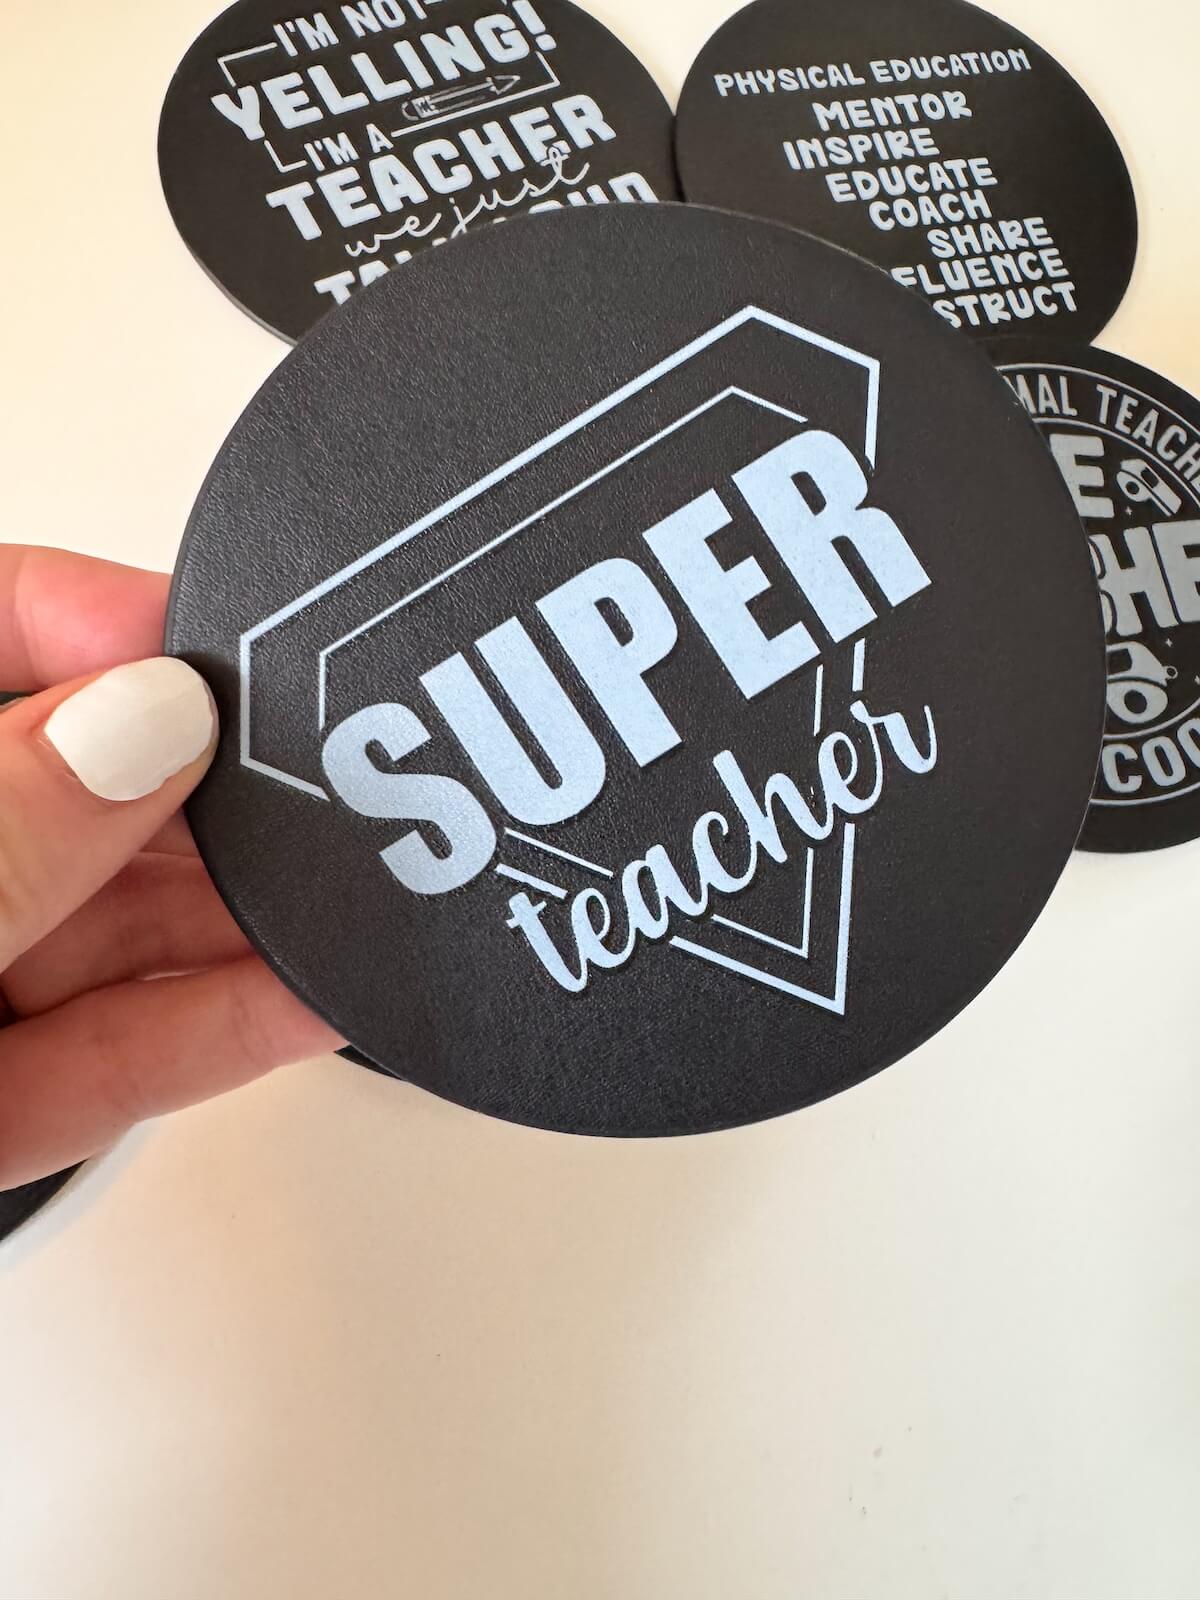
- Super Teacher
- Chaos Coordinator (personalised with the teacher’s name)
- Physical Education: Mentor, Inspire, Educate, Coach, Share, Influence, Instruct
- PE Teacher: The Original Fitness Influencer
- Physical Education acrostic poem
- I’m not yelling. I’m a teacher. We just talk loud
I found mine on Creative Fabrica by searching PE teacher quotes combined with some general teacher quotes. With a Creative Fabrica subscription, it’s easy to mix and match a whole set.
I love my Creative Fabrica subscription and use it often, and you can often get an annual deal for a bargain price.
Tip: A mixed set of quotes looks great stacked together, and adding the teacher’s name to one or two, or all of them, makes it feel properly personal rather than shop-bought.
How To Make PE Teacher Coasters With A UV Printer
Step 1: Clean The Coasters
Wipe the front of each coaster with an alcohol wipe to remove any dust or oils, and let them dry. That’s all the prep PU leather needs. If you are using glass or metal coasters, an adhesion primer is recommended.
Step 2: Place The Coasters On The Small Baseplate And Scan
Lay the coasters on the small baseplate and put it in the printer. Then scan the bed in xTool Studio. The O1 picks up exactly where each coaster is, so there’s no measuring or lining up by hand.
Step 3: Choose Your Material
Select black PU leather as the material in xTool Studio or whatever the closest option is to the type of coaster material you are using.
Step 4: Upload Your Designs
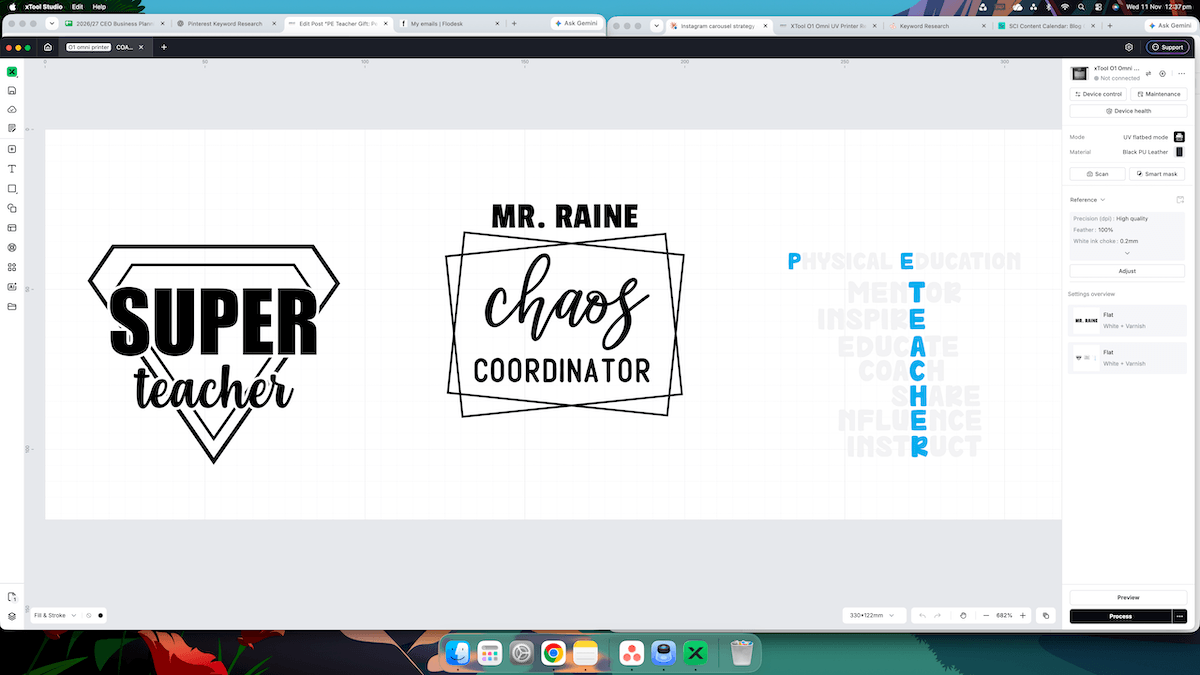
Upload your quote files from Creative Fabrica, then drag and resize each design to sit where you want it on each coaster. Or design your own in the xTool Studio.
Step 5: Personalise
To add the teacher’s name, add a text box in xTool Studio and choose one of the included fonts. I added his name to the Chaos Coordinator coaster.
As you can see above, one of my designs was meant to be a two-colour design, but I converted it to a single-colour print. The best thing is you can do this without changing a thing in your design. I just chose to do a single colour with varnish and it printed everything with the same 2 layers of white, even where it was blue in the image.
Step 6: Set Your Print Layers
Because the coasters are black, you need white ink to make the design show up. I used 2 layers of white plus 1 layer of varnish, with a flat 2mm choke.
Important: If your design file has colour in it but you just want it all white, make sure you remove the colour layer and print white only. I missed this on one of my batches (more on that below).
Step 7: Print
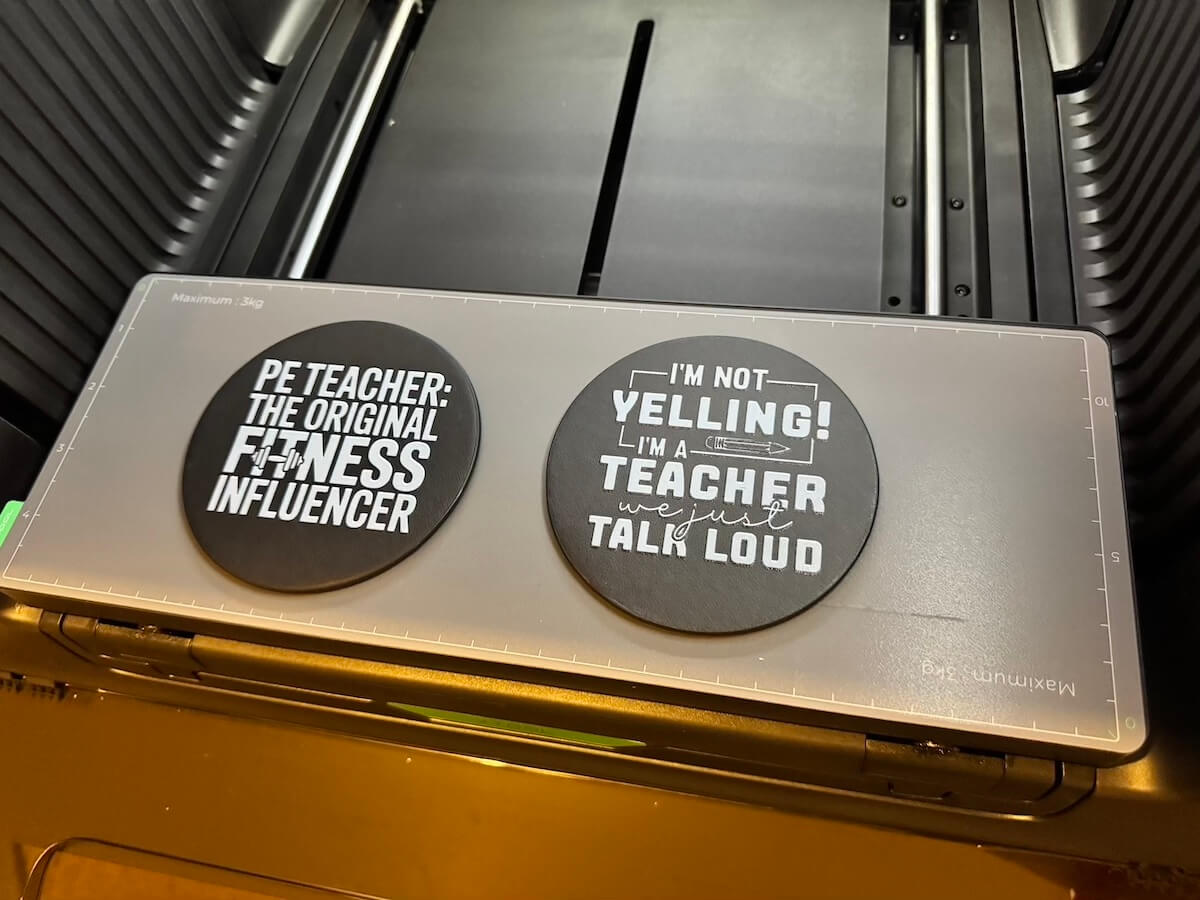
Hit print and let the O1 do its thing. I did my first coaster on its own as a test, then 2 at a time, then the last 3 together.
- 1 coaster took about 9 minutes
- 3 coasters at once took about 12 minutes
So printing in batches saves a lot of time.
Step 8: Check And Gift
Once the print is finished, it’s dry and ready to handle straight away since this is one of the best things about UV printing. Check every coaster closely before you wrap them.
My xTool O1 OMNI UV Printer Settings At A Glance
| Setting | What I used |
|---|---|
| Machine | xTool O1 Omni (Dual-Head UV Edition) |
| Baseplate | Small baseplate |
| Material setting | Black PU leather |
| Prep | Alcohol wipe, no primer |
| Ink layers | 2x white + 1x varnish |
| Choke | Flat, 2mm |
| Print time | About 9 minutes for 1, 12 minutes for 3 |
The Beginner Mistakes I Made (So You Don’t Have To)
This was my first project without the guided steps, so of course I made a couple of mistakes. Thankfully, both were fixable.
1. I forgot to remove the colour from one design. On the Physical Education coaster, I didn’t take the colour layer out of the file. Part of the word “Influence” didn’t print properly, so I had to print another layer of white over that batch. Rookie mistake, but thankfully easily fixed since I had not taken them off the baseplate.
2. I printed with the wrong layer setting. On my second batch, I accidentally left it on 2 white + colour instead of 2 white + varnish. I went over it again with varnish, so the print is slightly more raised than the others, but you honestly can’t see the difference.
Lesson learned: double-check your layer settings for every batch, not just the first one. They don’t always carry over the way you expect which is a good reason to do a test print if you are working with expensive materials.
Tips For The Best Results
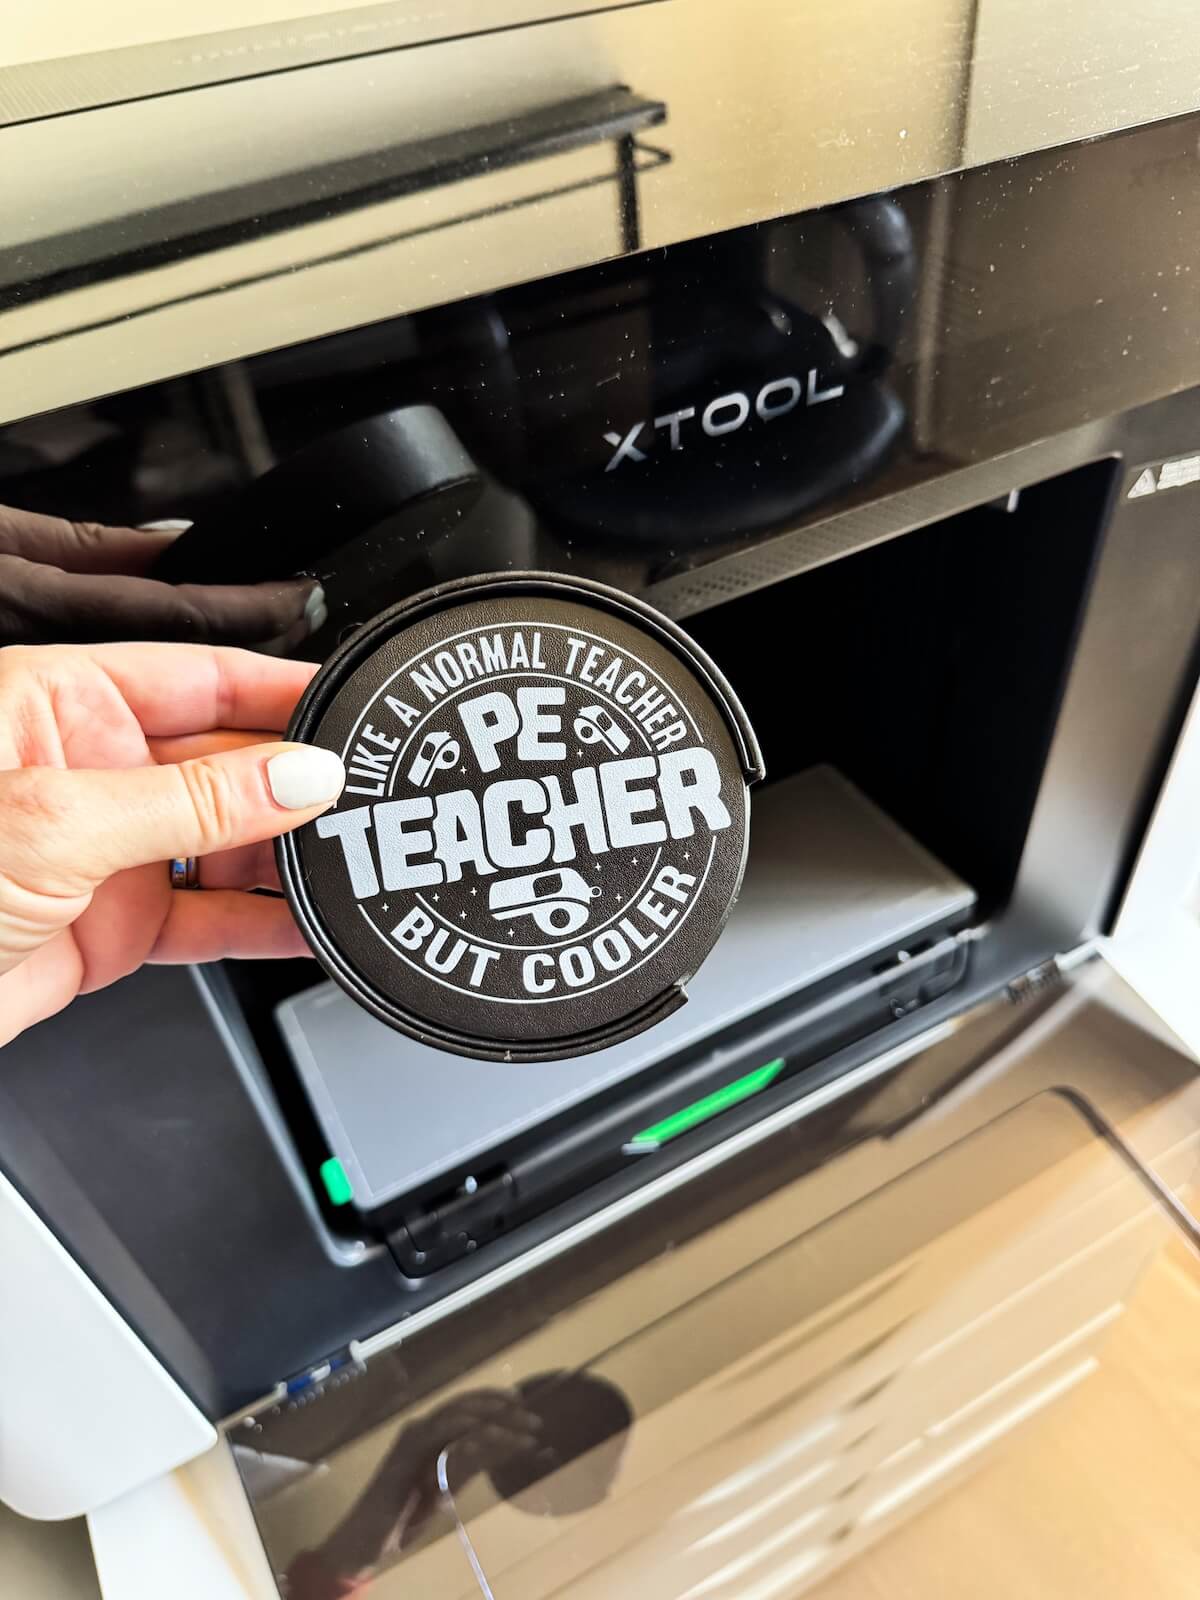
- Want brighter white? White ink on black leather can come out looking more grey than white with fewer layers. I liked the softer grey look, but if you want a crisp white, try 4 layers of white before the varnish.
- Do a test coaster first. Printing one on its own let me check the placement and colour before committing to the whole set.
- Print in batches. Three coasters took only 3 minutes longer than one.
- Check every batch’s settings. See my mistakes above.
How To Gift Them
These personalised teacher coasters were part of a bigger gift with other personalised items and general items in a gift bag. Simple overall.
Make Them For Other Teachers Too
The same steps work for any teacher. Just swap the quotes:
- Classroom teachers: apple designs or “Teaching is a work of heart” style quotes
- Music teachers: music notes and instrument designs
- Coaches: team colours and the season or year
- Teacher aides: “Teacher’s right hand” style quotes
- Principals: Motivational teaching quotes
But don’t limit them just to teachers. This is a simple gift idea that works for mostly everyone!
FAQs
What is a good gift for a PE teacher?
Personalised gifts with a funny sport or PE quote always go down well. Coasters are practical, inexpensive to make and easy to personalise with the teacher’s name.
Can you UV print on faux leather?
Yes. I printed on black PU (faux) leather coasters with the xTool O1 Omni Dual-Head UV Edition, which has a flexible white ink made for materials like leather.
Do you need primer to UV print on PU leather?
I didn’t. A quick clean with an alcohol wipe was all the prep my coasters needed.
How long does it take to UV print coasters?
On my O1, one coaster took about 9 minutes and three coasters at once took about 12 minutes. The whole set of 6, including setup, took me less than an hour.
Can I make these without a UV printer?
Yes, you could use heat transfer vinyl and a Cricut instead. Or if you have a laser printer, you can make something like these laser-engraved coasters.