How To Deep Clean A Kitchen: The Ultimate Step By Step Guide
This post may contain affiliate links. Read the full disclosure
Cleaning the kitchen is one of those never-ending tasks that always seems to take priority. It’s also one of the most important rooms in the house since it’s where we cook our food. A clean kitchen is a healthy kitchen! This step-by-step process will teach you how to deep clean your kitchen.
It will also share some great tips and hacks for keeping your kitchen clean in between deep cleans!
How To Deep Clean A Kitchen: A Complete Guide
Deep cleaning tasks can be daunting. Especially when it comes to one of the most high-traffic areas of the home – our kitchen!
The good news is that once you follow this kitchen deep cleaning checklist a couple of times, it will become second nature and an easy part of your household routine!
Having a clean kitchen is essential for the health and well-being of your family. If there is one area of the home to prioritise for deep cleaning, it is the kitchen!
A dirty kitchen is stressful and it might impact your willingness to want to cook in there too!
While most of us have a regular cleaning routine for our kitchen that includes daily (or mostly daily) resets of stacking the dishwasher or washing dirty dishes, wiping benches and taking out the trash as part of our household chores.
We will cover the basics of deep cleaning your kitchen, including processes for cleaning your kitchen appliances, surfaces and those places we often forget to clean, in this step-by-step guide for achieving the ultimate clean kitchen.
RELATED READING – How to deep clean your entire house
How Often Should You Deep Clean Your Kitchen?
You should deep clean your kitchen a minimum of once every 6 months, although it is recommended that this be done more frequently.
Certain appliances in your kitchen should be deep cleaned each month to help with maintenance and performance.
Essential Supplies For Kitchen Deep Cleaning
Before you get started cleaning your kitchen, it’s essential to have your cleaning supplies ready.
The products you use will depend on your personal preferences, however here are my favourite cleaning products to use in the kitchen:
- The Pink Stuff Cleaning Paste – I only discovered this range recently and it is magic! This is my favourite product for stovetops and ovens.
- The Pink Stuff Miracle Cream Cleaner – A cream version of the cleaning paste that is great for cleaning virtually everything.
- Scrub Daddy Sponges– These are amazing & can be sanitised in the dishwasher!
- Bar Keepers Friend Cleanser – Useful for so many things!
- Cleaning cloths – Microfibre and antibacterial cleaning cloths are a great option for cleaning most surfaces in the home. They can be washed and reused.
- Vinegar – Stock up on supermarket white vinegar. There is no need to pay extra for ‘cleaning’ vinegar.
- Baking soda – You likely have some in your pantry already. If not, get yourself a large box because this ingredient is very useful!
- Spray bottle – A basic spray bottle to use for making your own all-purpose cleaning spray.
- Scourer or scrubbing brush – Sometimes you need to put in a little extra elbow grease and these scrubbing tools will help.
- Paper towel – For really grubby cleanups, using paper towelling instead of your cleaning cloths may be a good option.
- Degreaser & dishwashing liquid – Whichever products you prefer to use to cut through grease.
- Disinfectant– If you don’t want to make your own version with vinegar, use your favourite pre-made antibacterial spray.
- Grout brush or old toothbrush – Grout brushes are a great tool to have but an old toothbrush will work too.
- Rubber gloves – Keep your hands from drying out and safe from cleaning products.
- Step ladder – Get a proper step ladder for safety when cleaning areas up high.
- Essential Oils – Essential oils are an optional item in our deep cleaning arsenal to keep everything smelling fresh and clean. Lemon is a favourite choice for cleaning and clove can be great against mould.
You will also need your mop and vacuum cleaner to thoroughly clean your kitchen!
Where To Start When Deep Cleaning A Kitchen?
Where you choose to start during your kitchen clean is up to you. I like to start with one of the biggest jobs first which for most people is either cleaning the pantry or cleaning the oven.
By starting with the hardest jobs first, you are getting them done while your motivation is highest!

How To Deep Clean A Pantry
Follow these simple steps for deep cleaning your pantry:
- Remove everything from your pantry (yes, everything!) – this makes it possible to see everything that is in the pantry and allows you to properly clean and organise it.
- Wipe down pantry shelves – Use your preferred all-purpose cleaner and cloth to thoroughly clean your pantry shelves and remove any sticky residue. Allow them to dry.
- Clean pantry storage – If you use any tubs, containers or pantry liners to organise your pantry, give these a clean too.
- Throw away expired food – Sort through all your pantry items and toss anything that is expired, stale/unsealed or that has gone bad.
- Group similar items – Group your pantry items by type/purpose on your bench.
- Get rid of unnecessary packaging – Where possible, put your pantry items into storage containers and tubs to free up space.
- Put everything back into your pantry – Create zones within your pantry to group similar items and organise everything back on your pantry shelves.
RELATED READING: How to stock your pantry
How To Deep Clean An Oven & Stovetop
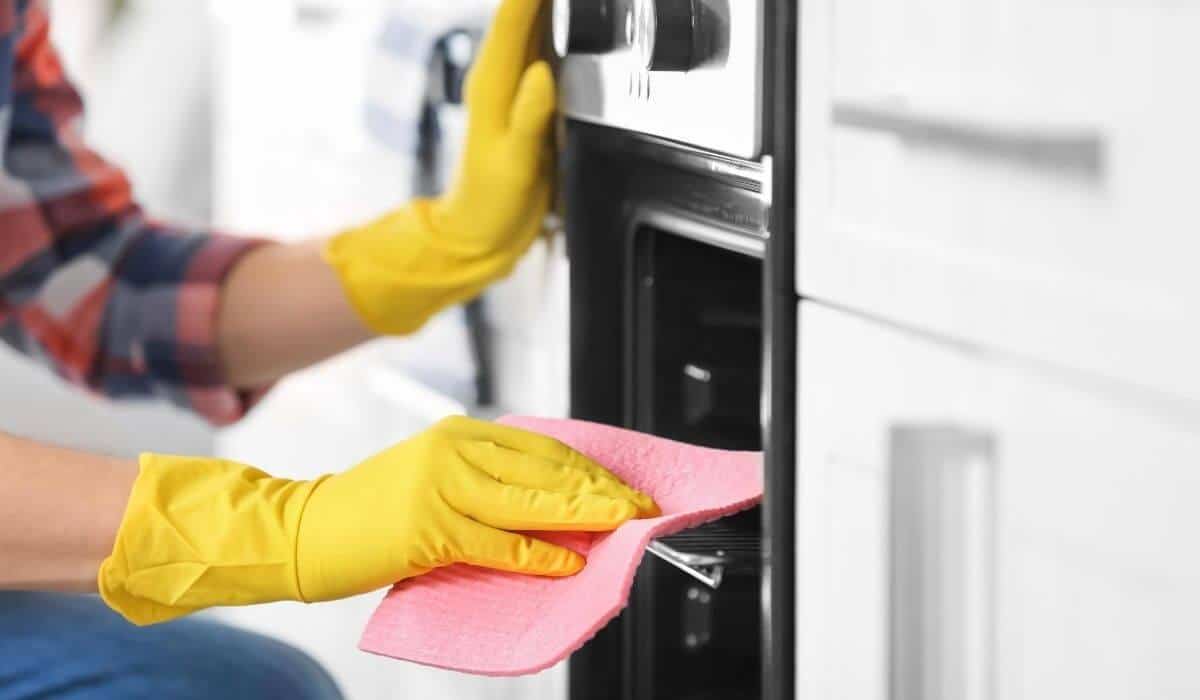
Some ovens have a self-cleaning feature that you can use instead. Make sure to follow the manufacturer’s instructions for using such features. Otherwise, follow these easy steps for deep cleaning your oven (and check out this detailed guide for some extra oven deep cleaning tips too):
- Remove oven racks and trays – Fill a sink with soapy water and scrub these as needed. Or try this bathtub oven rack cleaning hack.
- Clean inside oven – Wipe down the inside of your oven removing any food residue and crumbs. Use a coarse scrubbing pad or abrasive sponge, such as one of these, for any hard-to-remove baked-on stains. Replace oven liners if you use one. For especially dirty ovens, you may like to use a speciality oven cleaner. I find that The Pink Stuff paste is a great alternative!
- Clean the oven door – If you know how to remove the oven door, this makes it a lot easier to clean! Otherwise, clean the inside of the oven door with your preferred cleaning product or glass cleaner and wipe clean.
- Put racks and trays back – Put the clean oven trays and racks back into your oven and put the door back on if you removed them for cleaning.
- Wipe down stovetop & backsplash – I love using the Pink Stuff cleaning paste for our glass stovetop but make sure you choose a product that is suitable for your stovetop. Also, take this time to clean any marks on your backsplash.
- Clean the range hood – Give your rangehood a wipe and consider changing or cleaning the range filter too if needed, as this is something that is often forgotten.
- Wipe down buttons and handles – Clean the handles, buttons, knobs and display area of your oven as well as around the edges of the doors and lining.
How To Deep Clean A Fridge & Freezer
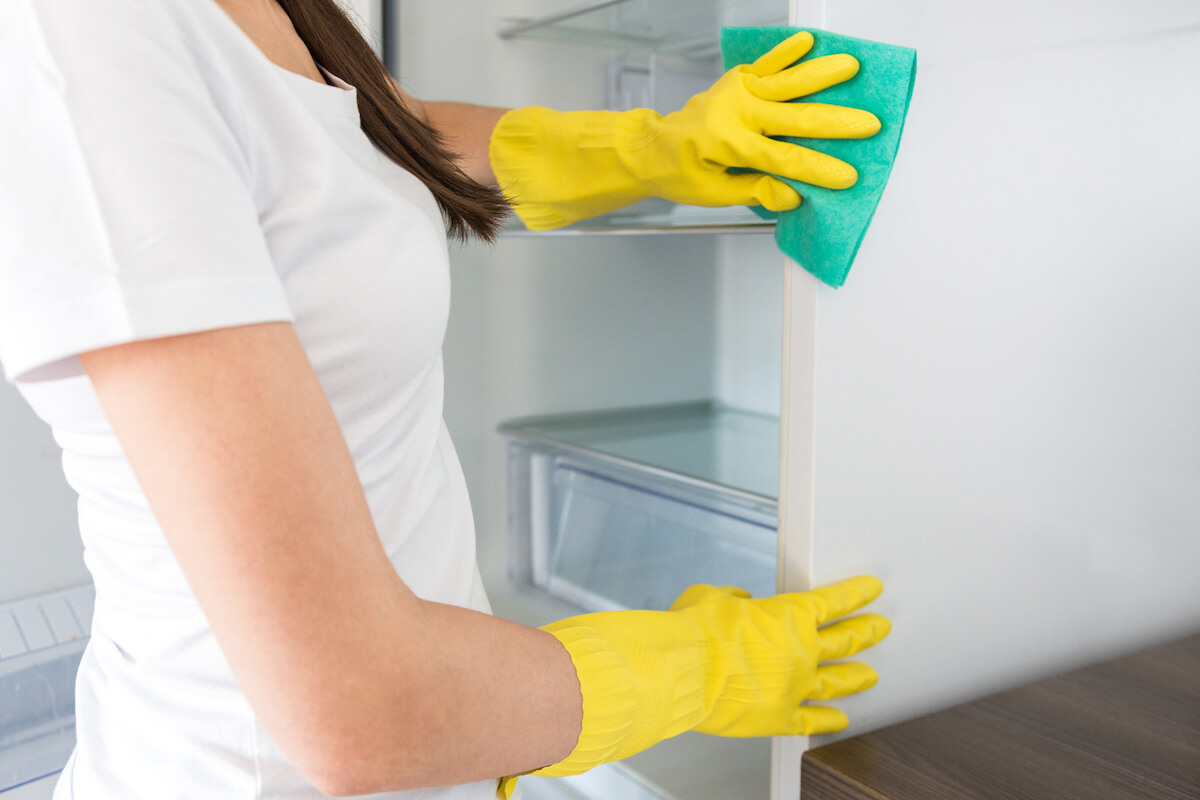
Follow these steps to deep clean your refrigerator and freezer, then check out my guide on how to organise a refrigerator to make the most of your chilled space:
- Remove everything – Start by taking everything out as this is the only way to properly clean the inside of your refrigerator.
- Wipe down shelves – If needed, remove the shelves and wash them in warm soapy water. Make sure these are completely dry before putting them back in your refrigerator.
- Clean tubs & door shelves – Wipe and clean all the different storage areas within your refrigerator and freezer, including ice cube trays and egg trays.
- Throw away spoilt/expired food – Get rid of anything that is past the best-before date or has gone bad.
- Clean or replace basket liners – If you use liners at the bottom of your fruit and vegetable baskets, clean or replace these. I use paper towels to help with moisture control in our tubs.
- Remove fridge clutter – If you have a lot of magnets and things stuck to your fridge, you might like to declutter these by tossing old papers and anything you don’t need.
- Wipe down the outside of your fridge and freezer – Wipe the front, handles, top and sides of your white goods to ensure they are dust-free and not covered in sticky fingerprints.
- Vacuum under the fridge – If you are able to, move your refrigerator out of the way and clean the floor and storage space behind it. It can get really gross!
- Put food back into fridge and freezer – Put everything back into your fridge and freezer, making sure to organise foods into zones of similar items. Using storage tubs can help keep your refrigerator organised.
If you have a deep freeze or chest freezer, you might also need to defrost this. Turn it off and put all your frozen food into a cooler while it defrosts. Throw out anything old or unidentifiable!
This can take a while so you can work on the other areas of your kitchen and come back to it later.
Once defrosted, remove all the ice/water, crumbs and bits of rubbish that might have accumulated at the bottom and give it a thorough wipe and clean. Dry the inside of your freezer then put all the food you are keeping back in an organised way.
How To Deep Clean A Dishwasher
Follow these steps to deep clean your dishwasher:
- Unstack the dishes – Empty your dishwasher. Make sure your dishes are clean before you put them away.
- Clean the filter – Take the dishwasher filter out and clean all the food particles and gunk out of it. Do the same for any other removable parts from inside your dishwasher before putting them back.
- Wipe down the inside – Wipe the inside of the empty dishwasher, including the area where the door closes as it can sometimes have a build-up of muck.
- Add a cup of vinegar to your dishwasher – Put a microwave-safe cup or bowl in your dishwasher with vinegar and run on the hottest cycle without detergent. This will help dissolve build-up and stubborn odours. Alternatively, you can use a dishwasher cleaner if you aren’t as keen on the natural option.
- Leave to dry naturally – Rather than running the dry cycle on your dishwasher, leave the door open to allow it to dry naturally.
- Wipe down the outside – Use a cloth and all-purpose cleaner to wipe down the outside of your dishwasher, including handles, buttons and display. Make sure to clean around the sides and underneath too.
How To Deep Clean A Microwave
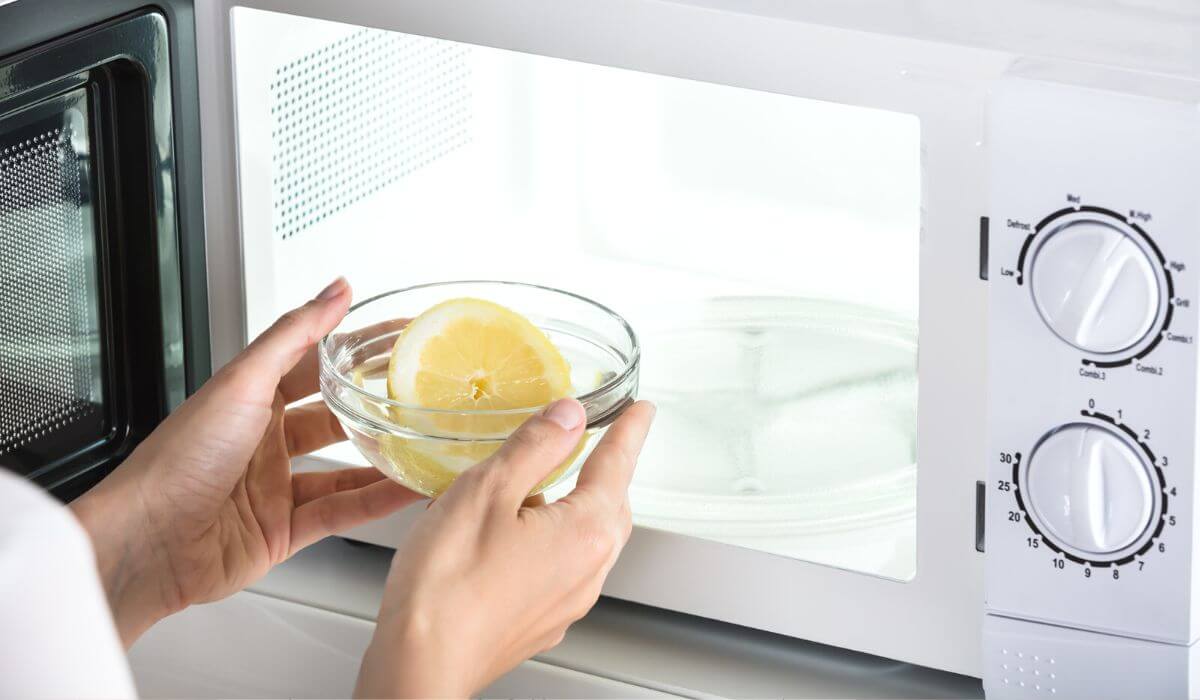
Follow these steps to deep clean your microwave with this super easy microwave cleaning hack:
- Put a bowl of vinegar in your microwave – Place a microwave-safe bowl or cup in the centre of your dishwasher filled with 2 cups of water and 1/4 cup of vinegar and run the microwave for 5 minutes.
- Leave it to sit – Let the solution sit in the microwave for 10-15 minutes after it stops. Use this time to work on cleaning a different area of your kitchen and come back to it.
- Wipe down – Carefully remove the hot water and vinegar solution from the microwave and use a cloth or paper towel to wipe down the inside of the microwave, including the turntable. It should wipe away easily as the vinegar works as a natural sanitiser and the steam helps remove the mess.
- Clean the outside of the microwave – Use a damp cloth to clean the outside of your microwave and the microwave door.
Get more microwave cleaning tips and several different cleaning methods in this guide, including methods that use lemon juice or baking soda instead of vinegar.
How To Descale A Kettle
Follow these steps to descale and deep clean a kettle:
- Fill with vinegar & water – Add 250ml of each water and vinegar to your kettle and boil. Leave it to sit for an hour while you work on different areas of your kitchen.
- Pour out the mixture – Pour the vinegar mixture from your kettle and use a cleaning brush or cloth to wipe the inside of your kettle and remove any lingering limescale.
- Scrub with baking soda – If you have any particularly stubborn limescale build-add, add some baking soda to your scrub brush and scrub the area. This should remove it.
If your limescale is difficult to remove, increase the portion of vinegar to water and repeat the boil and soak process overnight.
Deep Cleaning Kitchen Sink & Drains
To deep clean your kitchen sink and kitchen drains, follow these steps:
- Pour baking soda down your drain – Pour approximately 1 cup of baking soda down your kitchen drains. Follow this with approximately 1 cup of vinegar and cover the drain with a cloth.
- Leave for 30 minutes – Leave your drains covered for 30 minutes then pour boiling water down your drain. This should help clear most drain build-up if done regularly.
For clogged or slow-draining sinks, you may need to use a chemical drain cleaning product instead. Make sure to follow the instructions carefully.
- Clean your dish drying rack – Wipe down your dish drying rack or wash in soapy water if needed.
- Wipe down sinks – Use a cloth to wipe down your kitchen sink and tapware.
If you have hard water stains that are hard to remove around the base of your tap and faucets, soak some paper towel in vinegar and wrap this around the problem areas. Leave this for 30 minutes then scrub. It should now come off easily.
Deep Cleaning Kitchen Cabinets & Drawers
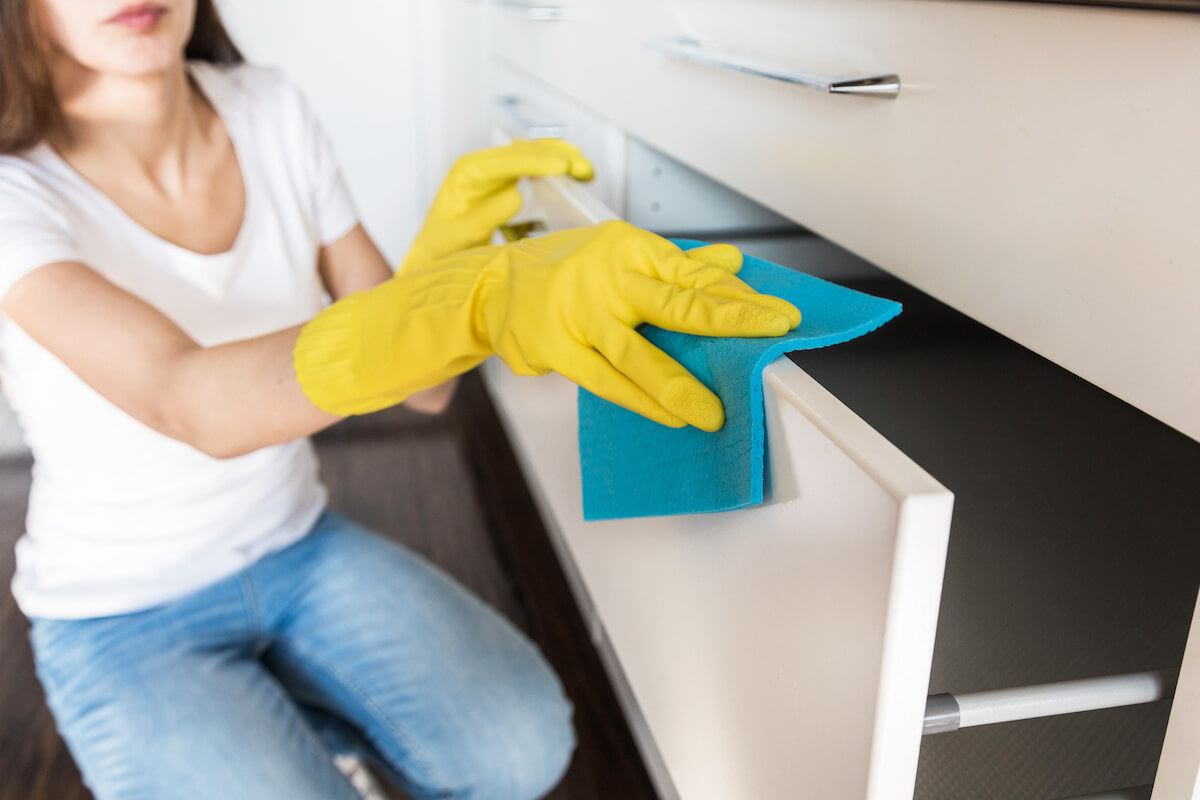
To thoroughly clean the inside of your kitchen cabinets and kitchen drawers follow these steps:
- Remove everything – Take everything out of your cabinet or drawer
- Wipe down surfaces – Wipe inside your kitchen cabinets or drawer and the outside of the cupboard doors and handles.
- Put everything back – Put back the contents of your cabinet in an organised way. This is a great chance to declutter any obvious items that you no longer want or need, without having the time to do a full kitchen declutter.
- Repeat – Repeat this process for each of your kitchen cabinets, drawers and shelves.
How To Clean Kitchen Surfaces
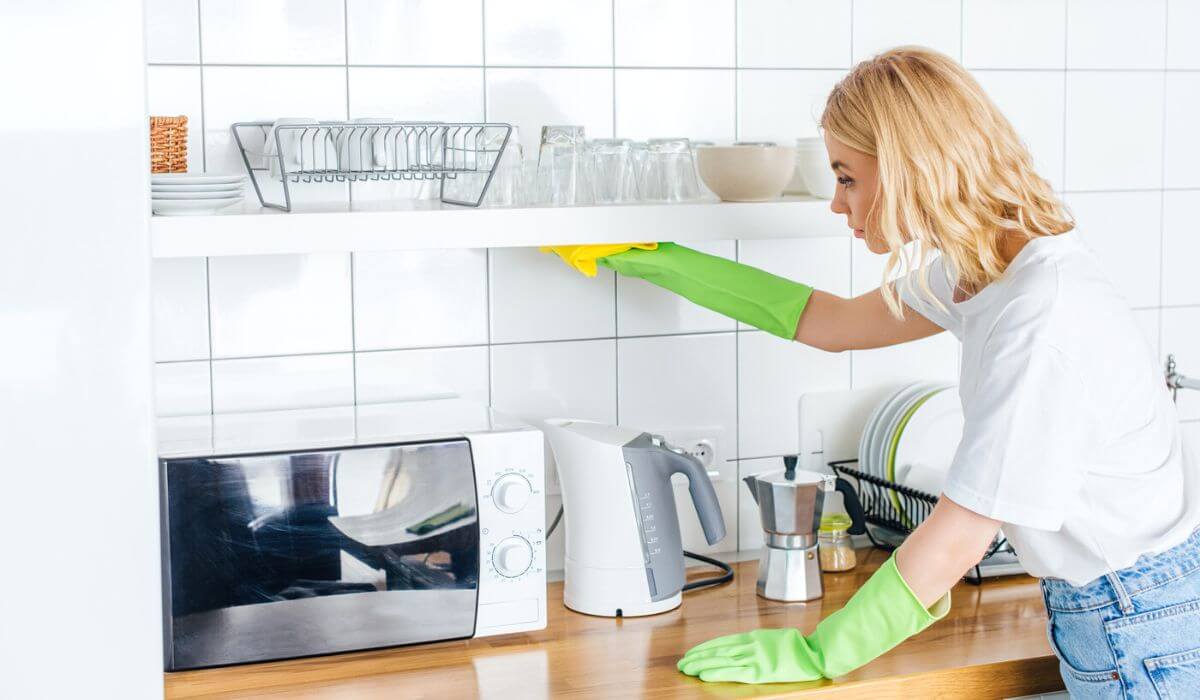
Use these tips for deep cleaning your remaining kitchen surfaces, such as countertops, appliance surfaces and walls:
- Clear kitchen surfaces – Remove any remaining items from your kitchen countertops and surfaces.
- Dust flat surfaces – Dust the tops of cabinets, shelves, appliances and around the edge of your roof areas.
- Wipe clean – Use a microfiber cloth and all-purpose cleaner to wipe the surfaces clean, including any other areas of your kitchen or appliances you have not yet cleaned.
- Sanitise – Sanitise kitchen counters with a sanitiser spray.
Other kitchen surfaces that might need cleaning include the following:
- Ceiling fan
- Coffee machine
- Free-standing water cooler
- Kitchen stools
- Walls
- Door handles
- Kitchen mats
- Toaster oven
- Kitchen table & chairs
- Light fixtures
- Light switches
- Windowsills
- Bottoms of drawers
- Powerpoint covers
For stainless steel appliances, you may like to use a stainless steel cleaner which will help remove those annoying fingerprints and give it a great shine.
How To Clean Kitchen Floors
Cleaning your kitchen floor may depend on the type of surface your floor has.
- Clean baseboards & under cabinets – Start by cleaning your kitchen baseboards and around the bottoms of your cabinets, scrubbing dirty spots. These can get really grotty and are often neglected.
- Vacuum – Vacuum (or sweep) your whole kitchen area.
- Mop – Finish up by mopping your kitchen floors and leave them to dry.
My Favourite Hacks To Keep The Kitchen Clean For Longer

I love a good cleaning hack and there are some fantastic kitchen cleaning hacks that will help keep your kitchen cleaner for longer and save you time on those dreaded cleaning tasks too!
- Do a daily reset – Finish your day with a quick kitchen reset. Make sure the dishwasher is stacked and turned on or the dirty dishes washed and wipe down your countertops. This means not being greeted with a filthy kitchen in the morning!
- Have a cleaning routine – Having a schedule of cleaning tasks you do each day, week and month will help you stay on top of your house cleaning and a little bit each day means no more spending your whole weekend cleaning your home!
- Use liners – Line your fridge baskets, pantry shelves, oven and microwave as an easy way of keeping these surfaces clean, whether with reusable liners or disposable ones.
- Eliminate clutter hotspots – Avoid your kitchen turning into a clutter hotspot by identifying problem areas and putting systems in place to prevent clutter from ending up on your kitchen surfaces.
Deep cleaning your kitchen doesn’t have to be a daunting task. By following the steps outlined in this guide, you can easily and effectively know how to deep clean your kitchen from top to bottom and make this part of your regular household cleaning routine. Even if your kitchen is extra dirty, you will soon have it spotless, ready to cook a delicious family meal!
Does your entire house need deep cleaning? Check out my 30-day deep cleaning challenge!
WANT ACCESS TO MY FREE PRINTABLES LIBRARY?
For more cleaning posts & tips:
- How to deep clean your entire house
- How to deep clean your bathroom
- Cleaning hacks to save you time
- How to speed clean your house
- Create a cleaning schedule
- How to clean a really messy house
- Things you are forgetting to clean
- Time-saving cleaning tips
- Cleaning games for kids
- Tips to make cleaning more fun
- How to clean pillows
- How to descale a showerhead
- Easy natural stain removal methods
Save It For Later!


