How To Make A Pom Pom Rug Tutorial
This post may contain affiliate links. Read the full disclosure
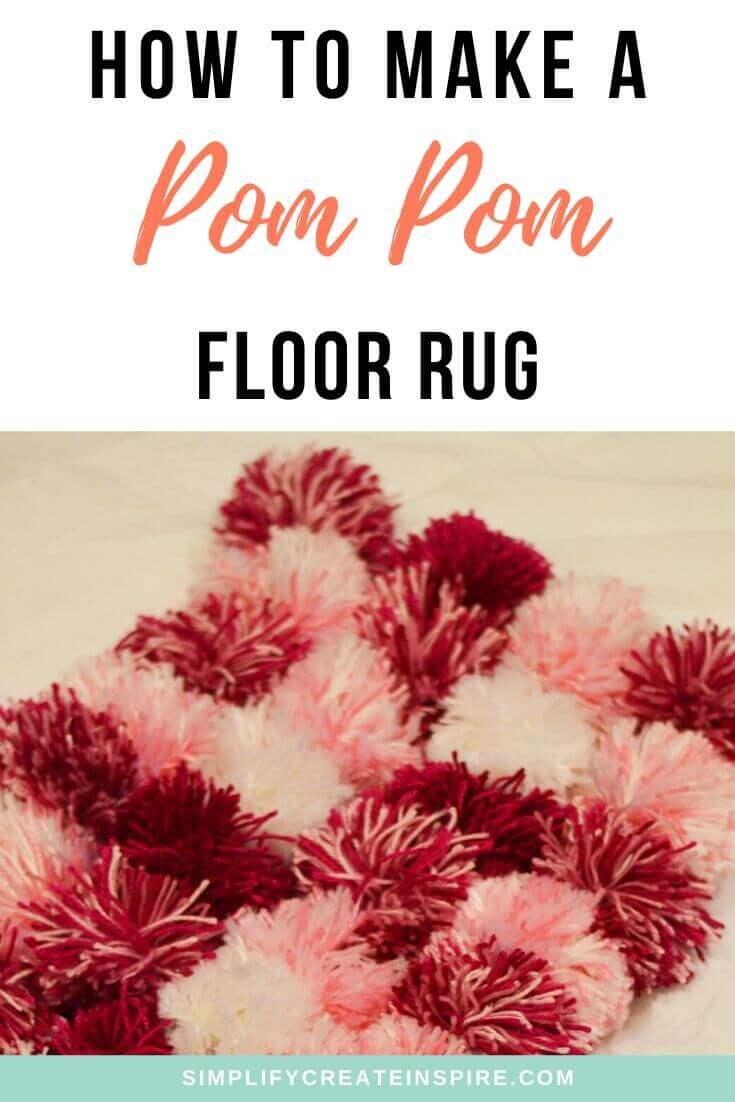
Learn how to make a pom pom rug for a cute and easy DIY gift idea or a quick and affordable way to add DIY decor to a bedroom at home. This is so simple even the kids can help to make their very own pom pom mat with these instructions!
DIY Pom Pom Rug
My eldest daughter loves to make things, so being school holidays, it seemed like the perfect time to introduce her to some new crafts.
My initial thought was how fun it would be to make some pom poms, but we decided to step it up a level and create a pom pom rug instead!
The coolest thing about this simple pom pom rug tutorial is that it is super inexpensive to make and it only takes a few hours… less if you have dedicated helpers.
My helper didn’t help a lot, but she loved the fact that she still contributed a couple of the pom poms and popped back to check on the progress.
She was essentially my supervisor in the end! And she absolutely adores her new rug!
If you are looking for DIY gift ideas, check out this door name sign and these gifts kids can make.
How To Make A Pom Pom Rug

Pom poms are simple to make and turning them into a rug doesn’t take too much more effort!
You only need a couple of extra tools to make it happen, and it can become your afternoon project or something you work on over a couple of days!
In fact, your kids can likely do it on their own if they are older!
For the younger kids, you will need to assist as there is a lot of scissor use involved in making toilet paper pom poms.
We got our wool/yarn and our rubber backing from the discount variety store, so it cost around $12-15 all up. The rest of the materials I had at home already!
Okay… let’s get to the pom pom rug instructions:
What You Will Need
To make a pom pom rug you will need the following:
- Toilet paper rolls (at least 2)
- Wool/yarn
- Rubber rug pad backing roll
- Crochet hook
- Sharp scissors

Alternatively if you’re not so keen on the toilet roll method, you can get pom pom makers online for cheap and they usually come in sets with different sizes to give you a guide of how big they will turn out.
Pom Pom Rug Instructions
The first step is to make your pom poms.
You can make them single colour or you can use two or three different yarn colours to create multi colour pom poms.
We did a mix of single-colour and double-colour pom poms for rug.
Most of this tutorial is for making 2 colour pom poms, so if using a single colour, make sure you take note of the changes needed.
STEP ONE – Tie two pieces of yarn together with a small knot and place between your toilet paper rolls, holding together with your fingers. This keeps your string in place when you start to roll.
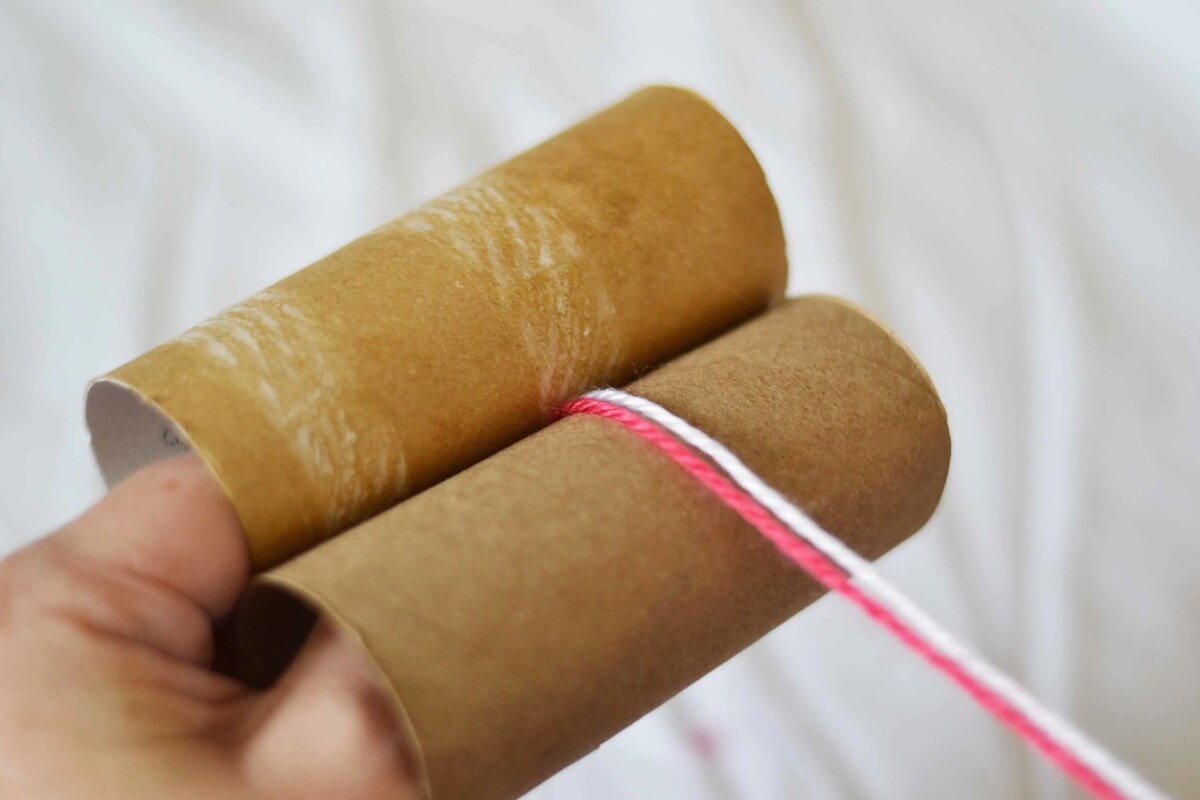
STEP TWO – To get a large pom pom that is perfect for a rug, wind your wool around both toilet paper rolls around 60 times, or 120 for a single colour strand. You can experiment with this until you get the pom pom size you desire. More layers mean a thicker, fluffier pom pom.
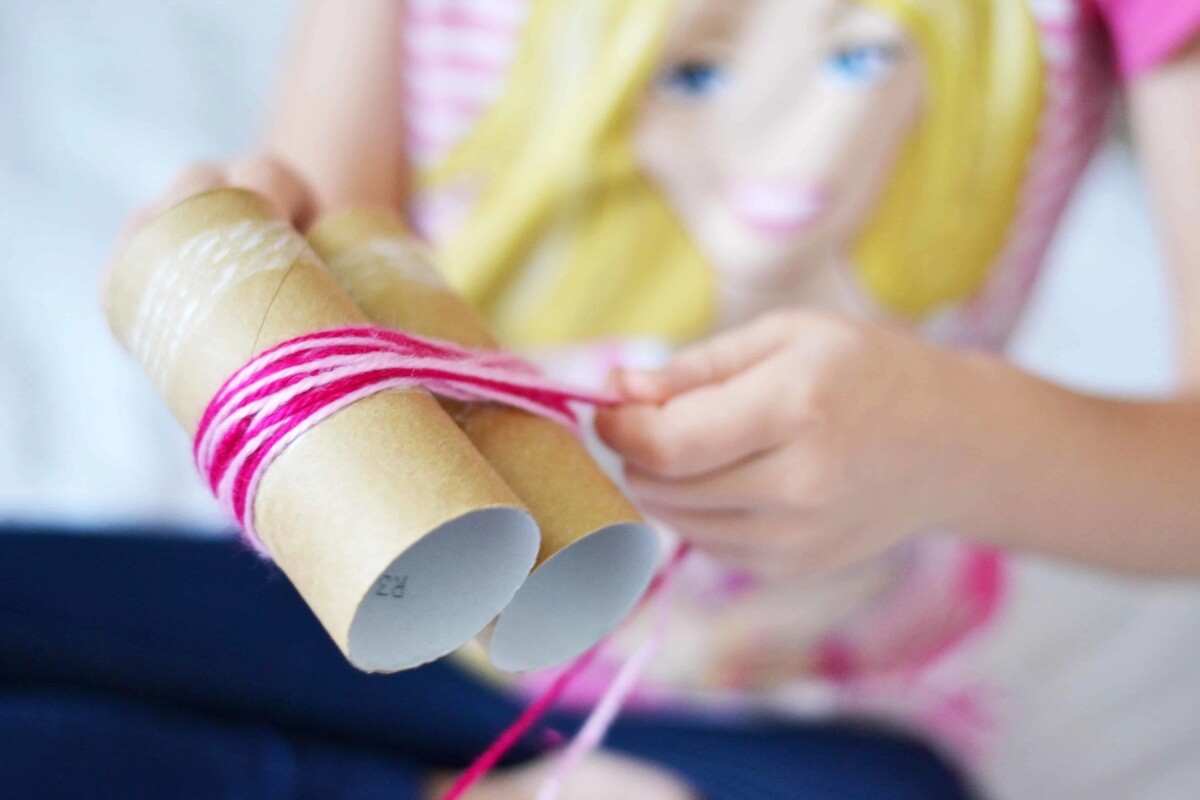
STEP THREE – Cut off an extra piece around 30cm of wool and tie this around the centre, between your two rolls. Your knot will be loose for now. Hold onto the section with the knot for the next step.
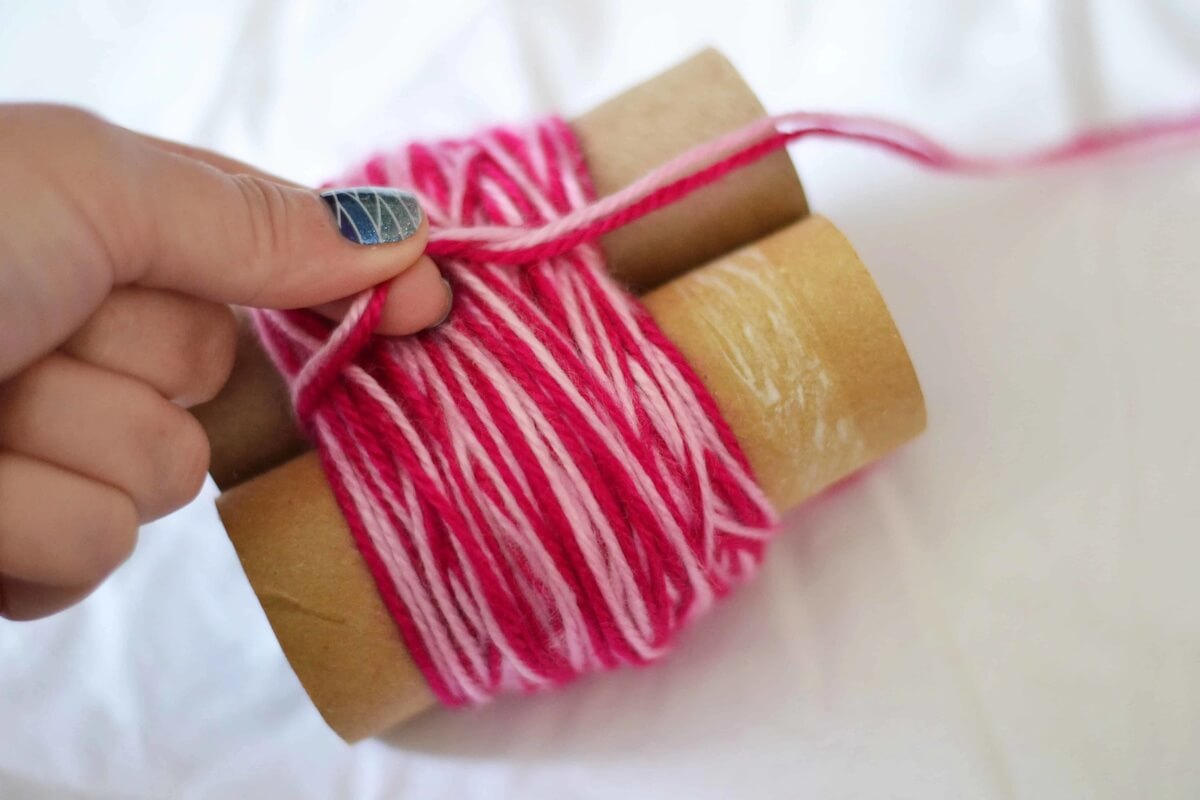
STEP FOUR – Carefully side your two toilet paper rolls out, keeping your loops in tact. Tighten the knot around the centre. Double or triple knot this to make sure it is firm and secure. Insert your scissors and cut upward through the loops on each side.
Take care not to cut your knot string as you will need this later.
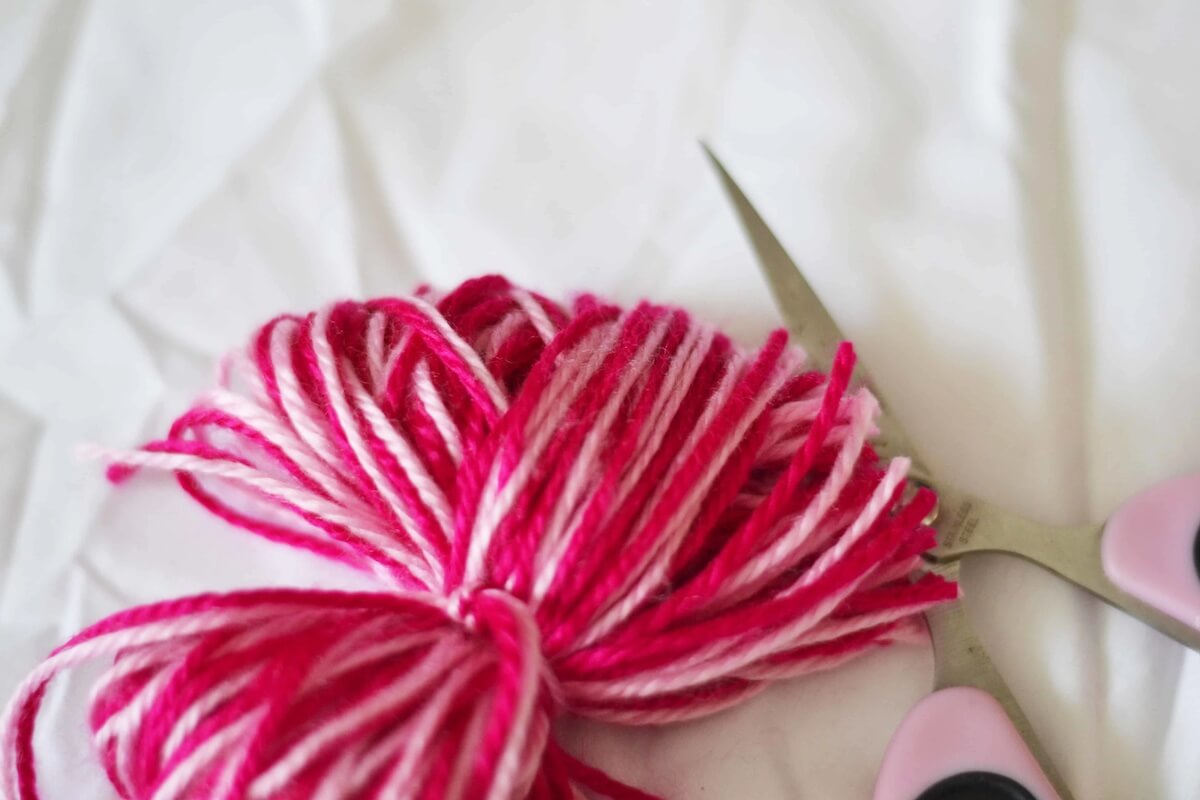
STEP FIVE – Once all your loops are cut, you can fluff up your pom pom and trim any uneven pieces. If you want really fluffy pom poms, this may require trimming many of the strands shorter, as it creates a thicker pom pom.
For the purpose of our rug, we left ours quite shaggy as that was the look we wanted.
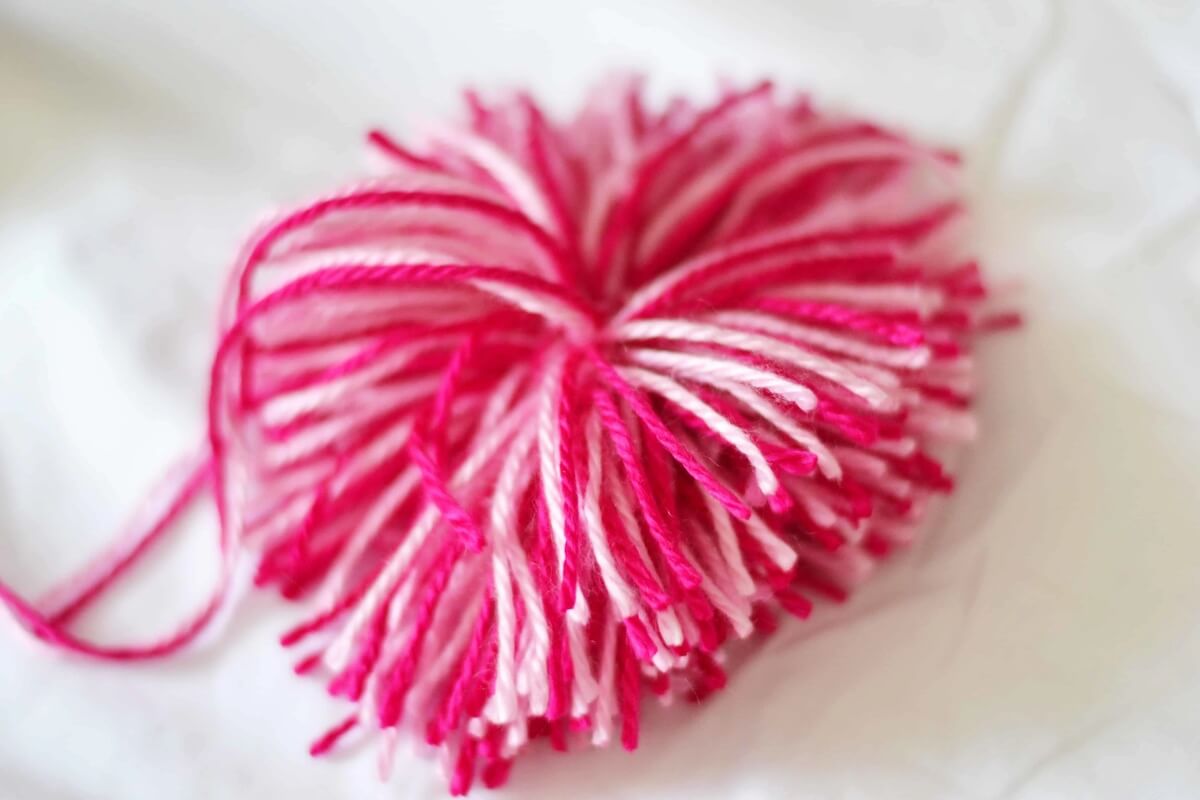
STEP SIX – Roll out your rubber mat backing and decide the shape of your mat. If you are creating a circle rug, you may be able to use a laundry basket or similar to create your shape and then cut around it.
We stuck with a rectangular shape and just trimmed off some of the length.
Then map out your rug by placing your pom poms where you want them.
This way you know if you need to make any extra before you start too! Never mind the extra long bits. This is just for planning purposes so far.
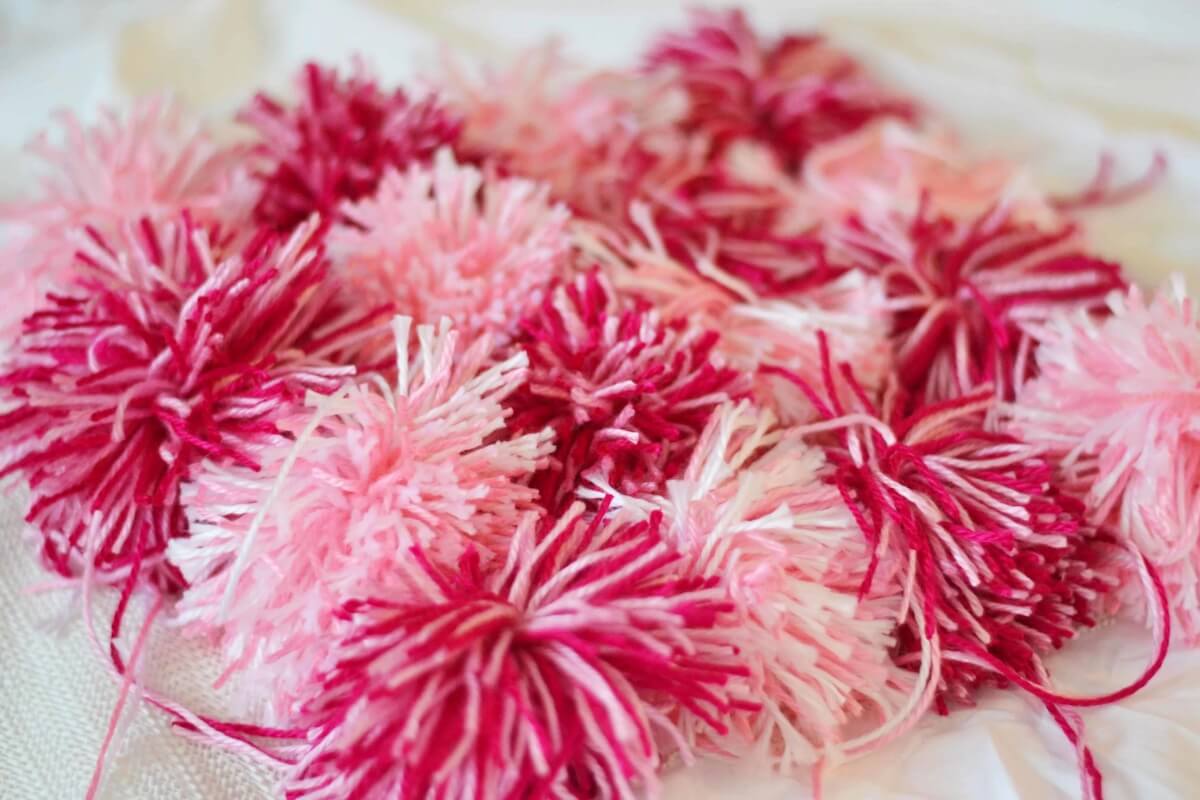
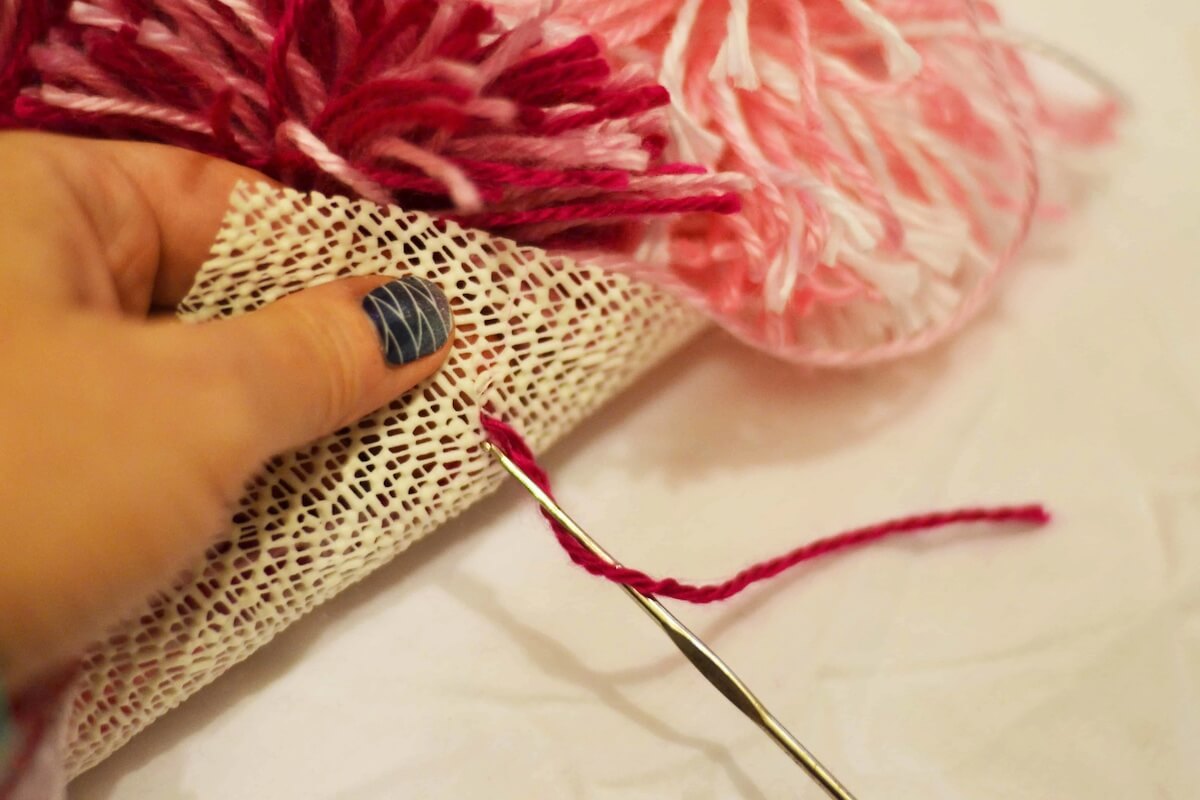
STEP SEVEN – Now it is time to use those long knot strands we left on our pom poms. Use a crochet hook to pull them through the bottom of the rubber mat then tie them together on the reverse side.
This is how your pom poms stay in place. There is no glue needed.
Alternatively, you could use a hot glue gun but you may require a different rug backing as it may melt a rubber backing like this one.
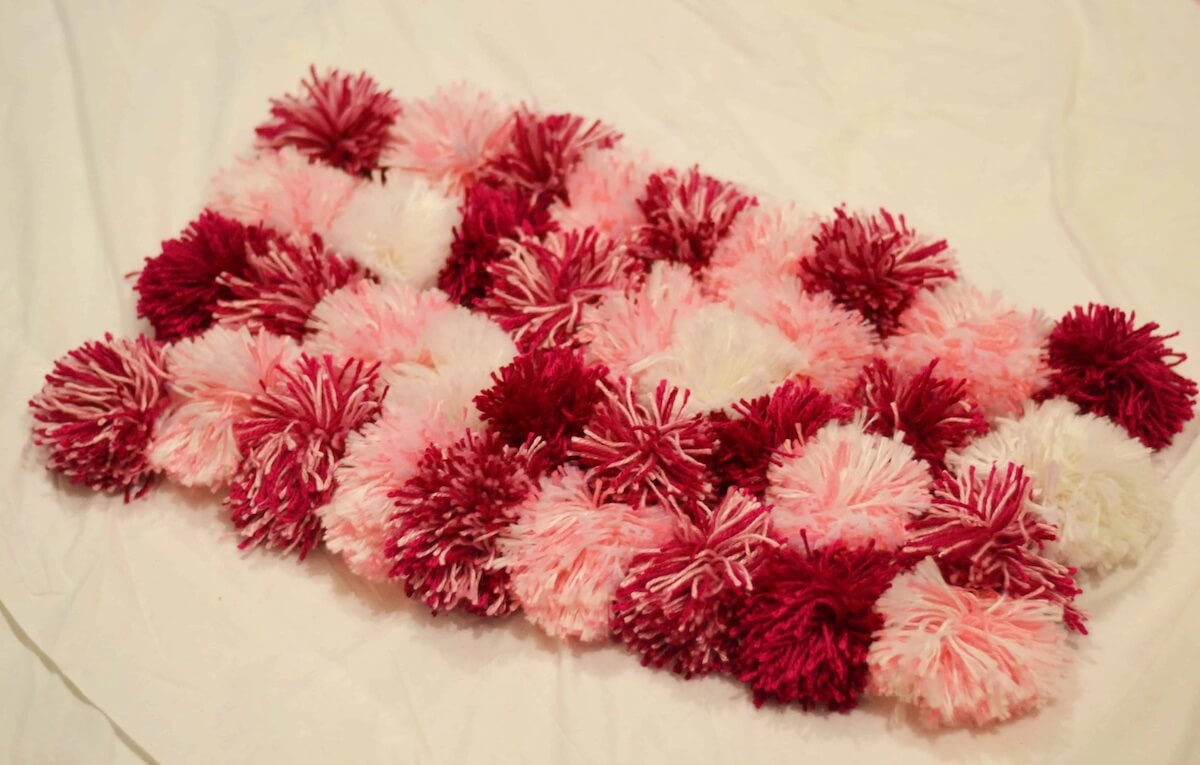
STEP EIGHT – Once all your pom poms are in place, you can fluff them up and trim any uneven pieces you may have missed earlier. And that’s it.. your simple pom pom rug tutorial is complete!
Tips For Making Your Rug
It can get a little messy with all the wool fluff and off-cuts so you might want to lay down a sheet before you start so you can pour them all into the bin afterwards.
I worked on my lounge room floor so there was plenty of room for us both to sit.
The wool can roll away as you’re wrapping it so doing it at the table can get annoying!
You can experiment with different size pom poms, a mixture of sizes, colours and textures.
Pretty much you can make it any way that you want, limited only to your imagination and your supplies!
The end result is plush and super soft, and they are perfect for stepping out of bed in the winter, so my daughter tells me! She has hers beside her bed, even though her bedroom has carpet.
Because it has rubber backing, you can put it on the tiles and it will be non-slip also!
My helper thinks it is the coolest thing ever and she could not get the smile off of her face.
She even put it under her while laying in bed reading for the first time! She plans to use it to sit on when she is playing on the floor too so she has a soft place to sit.
However, you could make them for a huge range of purposes and maybe even create some for a gift too.
It only took us around 3-4 hours. I should say… it took me 3-4 hours, with a tiny bit of help and breaks for dinner and general interruptions.
More hands mean a faster job! But definitely an afternoon project perfect for occupying yourself and the kids!
You could even make mini versions for pot-holders or table runners. So much fun to be had!
For more DIY ideas check these out:
- How to make Christmas crackers
- How to make pom pom Christmas ornaments
- How to make a name door sign
- How to make friendship bracelets
What do you think? Are you going to have a go at making your own pom pom rug?

