Gratitude Jar Ideas: How To Start A Gratitude Jar As A Family
This post may contain affiliate links. Read the full disclosure
A gratitude jar sounds simple, and it is. But it can also be surprisingly powerful.
In a world that constantly pulls our attention toward what’s missing, a gratitude jar is a little reminder of everything that’s already good. You write down what you’re thankful for, drop it in the jar, and over time it fills with small moments you’d otherwise forget: a kind word from a friend, a sunny afternoon at the park, the kids actually getting along for once.
It’s also one of the easiest family traditions to start. All you need is a jar, some paper and a few minutes each week, and kids of any age can join in. At the end of the year, you open it and read every note together.
We love this activity as a family for looking back at the year together.
Here’s how to start a gratitude jar, plus gratitude jar ideas to make it fun for the whole family.
What Is a Gratitude Jar?
A gratitude jar is a container where you collect small written notes about things you are grateful for.
Each note captures a moment, memory, or detail from your day.
Over time, the jar fills with reminders of good things you might otherwise forget.
At the end of the month — or year — you open it and reflect.
It’s simple.
It’s tangible.
And it works.
Why Start A Gratitude Jar?
- Improve mood
- Reduce stress
- Increase resilience
- Improve sleep
- Strengthen relationships
- Shift focus away from negativity
- Strengthens emotional well-being.
- Provides a way to celebrate and reflect during tough times.
A gratitude jar works especially well because it’s visible.
Unlike journaling, which stays closed in a notebook, a jar sitting on your shelf becomes a physical reminder to notice the good.
The Negativity Bias
The negativity bias is a natural tendency of the human brain to focus more on negative experiences or emotions than positive ones, often as a survival mechanism to identify threats.
While this bias can be helpful in certain situations, it can also overshadow the many good things happening in our lives, making us more prone to stress, anxiety, and dissatisfaction.
This is why a gratitude jar is such a wonderful idea! For example, at the end of a year, do you typically look back and think “That wasn’t a great year” or only remember the hard moments? It’s pretty common!
Practising gratitude serves as a powerful counterbalance to negativity bias. By consciously focusing on the positive—whether it’s small joys, personal achievements, or acts of kindness—we train our minds to notice and appreciate the good more often. Over time, this shift helps to rewire our brain’s default patterns, fostering a greater sense of happiness and well-being.
You will also be looking back over your past 12 months and realising it was actually a pretty awesome year (hopefully) if you kept up with your gratitude habit!
New Year Gratitude Jar Tradition
One of my favourite ways to use a gratitude jar is as a New Year’s Eve tradition. On the 1st of January, start your gratitude jar, filling it throughout the year with moments you are grateful for, happy memories and positive experiences.
On New Year’s Eve, open your jar and read all of your jar entries. This is one of the best ways to reflect back on the year that was, so even if it felt like a challenging year, you are finishing it with a reminder of all the awesomeness that you experienced throughout the year.
You can do this as a solo activity, or if you involve your partner or family in sharing moments of gratitude, you can all share them with one another. A beautiful tradition to share!
What You Need to Create a Gratitude Jar
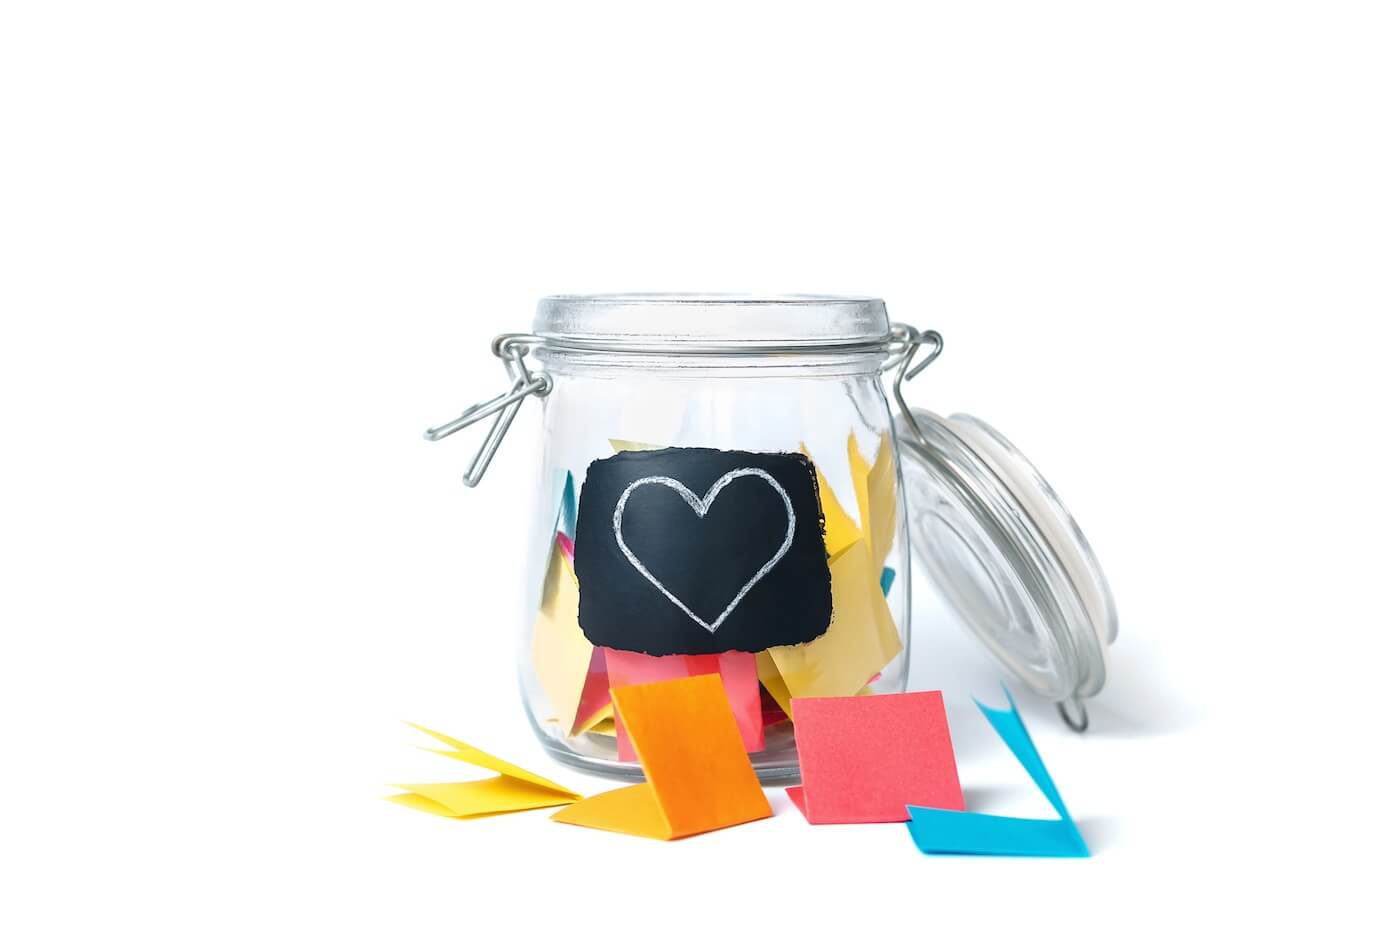
Gather the following materials to get started:
- A Jar or Container: Choose a size that suits your space and purpose. Mason jars, recycled jars, or decorative containers work well.
- Paper and Pens: Use colourful paper, sticky notes, or plain slips of paper to write your gratitude notes.
- Decorations (Optional): Ribbon, stickers, paint, or markers to personalize your jar.
- A Designated Space: Select a spot where your gratitude jar will be easily accessible, like a shelf, desk, or kitchen counter.
Step-by-Step Guide to Creating Your Gratitude Jar
You really don’t need to think too hard about putting together your own jar of gratitude! Any jar will do or box or bowl or draw string bag. Any pieces of paper will work. Just get started!
Step 1: Choose Your Jar
Pick a jar or container you will actually see.
Visibility matters.
If it’s hidden in a cupboard, you’ll forget it exists.
Step 2: Personalise Your Jar
This step is totally optional but fun! Decorate your jar to make it visually appealing and unique. You can:
- Paint the jar or add stickers for a fun, artistic touch.
- Tie a ribbon or add a label with a phrase like “Gratitude Jar” or “Things I’m Thankful For.”
- Include inspirational quotes to motivate you.
Step 3: Prepare Your Gratitude Notes
Cut paper into small, manageable pieces. If you prefer, use pre-cut sticky notes or purchase decorative note cards. Keep a pen or marker nearby to make writing easy and convenient. They goal is to make it easy so it isn’t a big process to add to your jar. If it feels hard, you won’t stick with it!
Step 4: Set a Gratitude Practice
Decide on a routine for adding to your jar. This could be daily, weekly, or whenever something positive happens. For example:
- Write one thing you’re grateful for each day before bed.
- Make it a family activity during dinner or at the end of the week.
- Use it to reflect on special moments, like holidays or celebrations.
I prefer not to stick to a routine and like to just add to mine at random, although it’s easy to let it fall to the wayside without some sort of reminder. This is why you want to keep your jar in a prominent place or have a regular reminder to add to it.
Just because you set a daily or weekly reminder does not mean you have to add to the jar on that day!
Step 5: Start Filling Your Jar
Write down your gratitude moments and place them in the jar. These notes can include:
- Simple joys like a sunny day or a kind gesture.
- Achievements, big or small.
- Positive interactions or acts of kindness.
- Something that made you smile
- A person who helped you this week
- A win you almost overlooked
- Something that felt peaceful
- Something you learned
- A kind thing someone said
- A moment you felt proud
- A simple pleasure
Step 6: Review and Reflect
Set aside time to read your notes periodically. This could be:
- At the end of the year to reflect on all the positive experiences.
- During a challenging time to remind yourself of past blessings.
- On a special occasion, like Thanksgiving, to share gratitude with loved ones.
Creative Variations of the Gratitude Jar
If a general jar of gratitude sounds a little overwhelming, you can make it more specific or have different jars for different purposes too. Here are some fun ideas:
- Themed Gratitude Jar
Focus on specific areas like work, relationships, or health. - Family Gratitude Jar
Get everyone involved! Use it to bond as a family and share your reflections together. - Goal-Focused Jar
Combine gratitude with goal setting by including achievements or progress toward personal goals. - Birthday Gratitude Jar
Just like the New Year’s gratitude jar idea, do the same but instead, start your jar after your birthday and each year, open all your notes on your birthday for some special memories.
How To Do A Family Gratitude Jar
A gratitude jar is one of the easiest family traditions to start, and kids love it. Keep the jar somewhere everyone walks past, like the kitchen bench, with a pen and a stack of notes beside it.
- Little kids can draw a picture or tell you what to write.
- Older kids can add their own notes, and a quick question at dinner (“What was the best part of your day?”) gives everyone something to write.
- Make it a ritual. Add notes on a set day each week, then open the jar together on New Year’s Eve or Christmas Day and read them out.
We love this as a New Years’ Eve activity with kids, since we often spend the night celebrating together at home.
If your kids get stuck, these gratitude prompts for kids give them something to start with.
When to Start a Gratitude Jar
The best time to start a gratitude jar is now! Whether it’s the beginning of the year, a birthday, or just a random day, there’s no wrong time to begin cultivating gratitude.
Over time, your gratitude jar will become a treasure trove of uplifting memories and quite possibly one of your favourite annual traditions. It’s such a simple one to start and the ultimate feel-good experience when you read all those little notes back and remember the moments that prompted them!